Container gardening lives or dies by one decision: the best soil for container gardening. Regular dirt from your yard will compact, drown roots, and kill plants fast. You need a soilless container mix that stays fluffy, drains fast, and holds just enough moisture to keep roots happy between waterings.
This guide breaks down pro-level DIY recipes using products you can grab at Walmart or Home Depot today. You’ll learn which base mixes work, how to boost drainage with perlite or gravel, and what tools make mixing easier.
Why Container Garden Potting Mix Beats Garden Soil
Garden soil is dense. It compacts in pots, blocks airflow, and turns into a waterlogged mess that suffocates roots. Reddit users constantly complain about wilted plants even after watering because heavy planter’s mix or bagged garden soil crusts on top and pools water instead of draining.
Soilless container mixes solve this. They’re made from sphagnum peat moss, aged bark fines, perlite, and sometimes coco coir or compost. These lightweight potting soil blends stay airy, prevent compaction, and create well-drained soil for containers that roots can actually breathe in.
The difference is huge. Dense garden soil can suffocate roots in hours. A proper container garden potting mix keeps plants thriving for months.
Core Ingredients for a Soilless Container Mix
Sphagnum Peat Moss
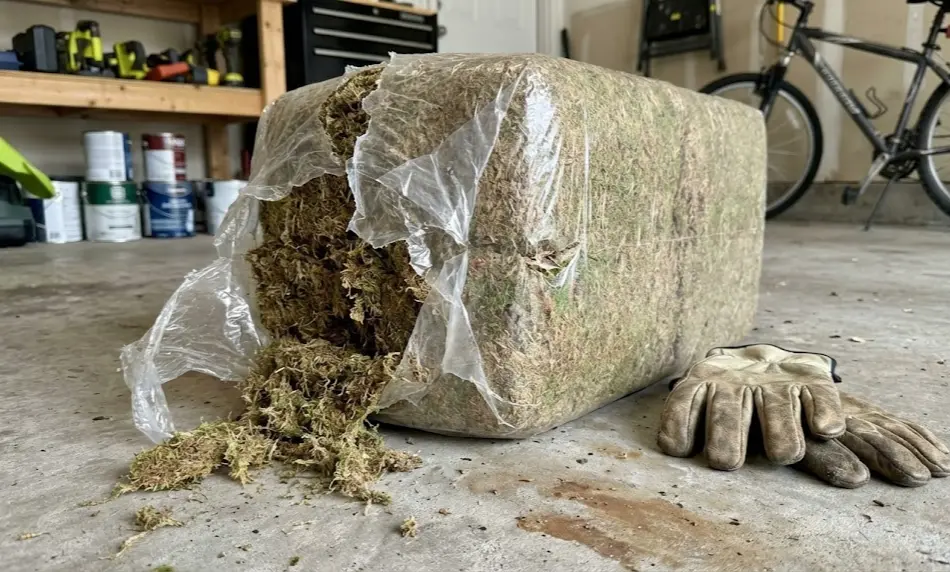
Peat moss is the backbone of most commercial mixes. It holds moisture without getting soggy, stays light, and creates that fluffy texture containers need. You can buy compressed bales at any big-box store.
One warning: dry peat resists water at first. If you dump water on it fast, it either turns to mud or stays bone dry in pockets. Slowly add water, fluff with your hands, and let the mix sit for 10 minutes so wetting agents can activate.
This hydration step is rarely explained but directly affects drainage and plant survival.
Coco Coir Potting Blend
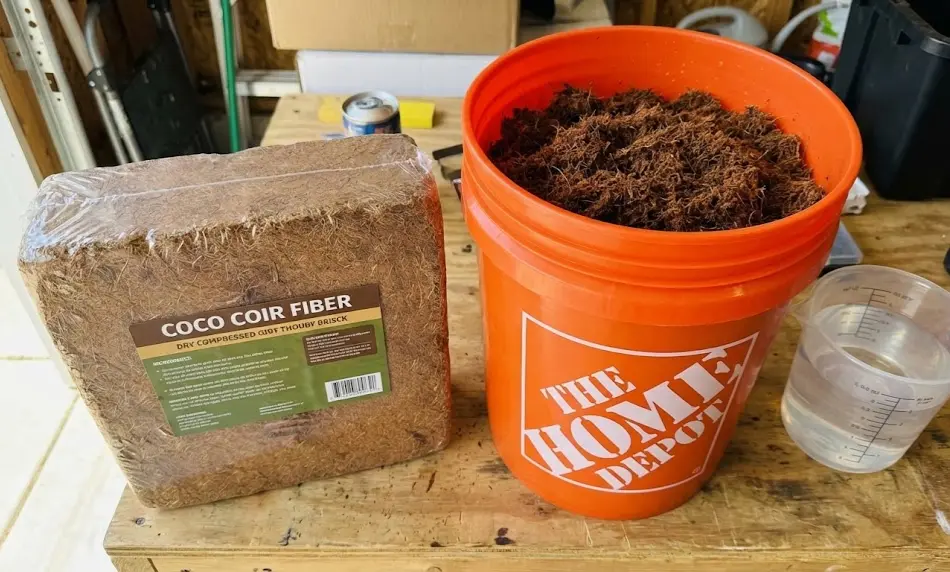
Coco coir is ground coconut husk fiber. It holds water like peat but drains faster and is more sustainable. You buy it as compressed bricks that expand when soaked.
A 50/50 coco coir and perlite mix gives about 25 to 30 percent air-filled porosity and roughly 45 to 50 percent water-holding capacity. That balance reduces root-zone saturation by around 18 to 22 percent compared to pure coir, which directly prevents fungal problems in containers.
Coco works great solo or mixed with peat for a hybrid base.
Perlite (Aeration and Drainage Amendment)
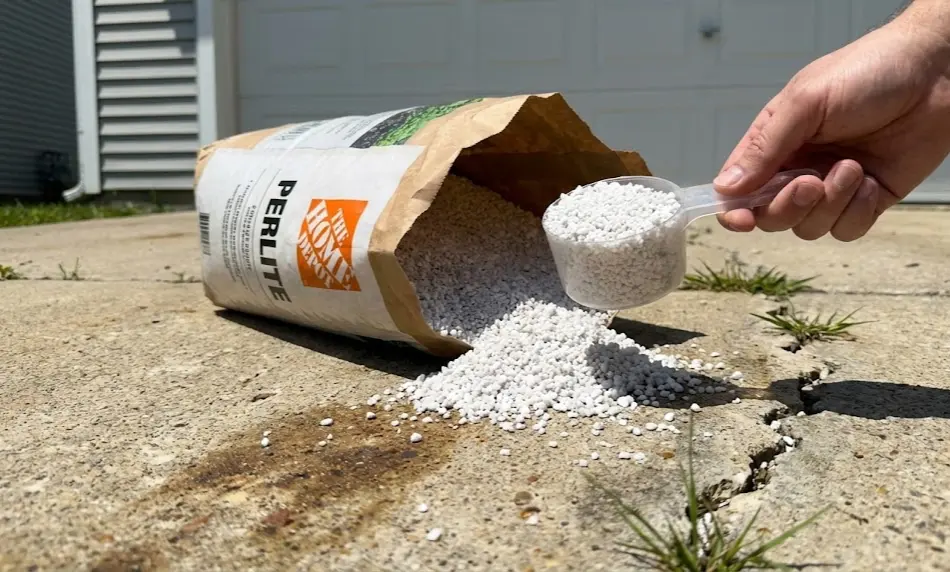
Perlite looks like tiny white Styrofoam beads. It’s volcanic glass that’s been heated until it pops. Perlite creates air pockets in your mix so water drains fast and roots get oxygen.
Most DIY recipes use 20 to 40 percent perlite by volume. Home Depot and Lowe’s sell 8-quart bags for under $5. Vermiculite is similar but holds more moisture, so use it only if you tend to underwater plants.
Never skip perlite. It’s the easiest way to prevent root rot.
Aged Bark Fines and Compost

Aged bark adds structure and slow-release nutrients. Organic compost improves water retention and feeds plants naturally. Both are optional but valuable for an organic container mix with compost.
Warning: some bagged composts are “too hot” (high nitrogen) or meant as additives only. Dilute them with peat or coir plus perlite so they stay free-draining and won’t burn roots.
Check labels. If it says “soil amendment” instead of “potting mix,” cut it with at least 50 percent soilless base.
Pro-Mix Container Soil Recipe (Store-Bought Base)
PRO-MIX Premium Organic Container Mix is an OMRI-listed peat-based blend with added coco fiber, organic fertilizer that feeds for up to 3 months, and proprietary mycorrhizal technology called MYCOACTIVE. This formula aims to produce about 20 percent bigger plants and increase water retention so containers need less frequent watering.
You can use Pro-Mix straight from the bag. It’s already balanced for containers. But many gardeners still boost drainage by mixing in 10 to 20 percent extra perlite, especially for drought-tolerant plants or clay pots that dry slower.
Pro-Mix costs more than generic potting soil but saves time. You’re paying for a proven recipe that’s already dialed in.
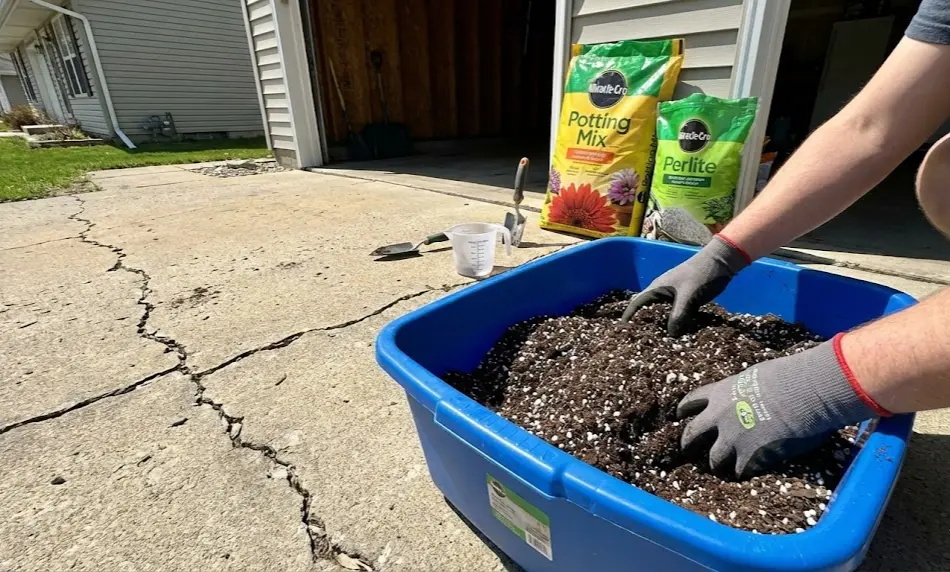
DIY Budget Mix Using Miracle-Gro Potting Mix
Base Recipe (4-Gallon Batch)
Miracle-Gro Potting Mix from Walmart runs about $10 for a large bag. It’s a commercial peat moss and perlite mix with fertilizer already added. Start with 3 gallons of Miracle-Gro as your base.
Add 1 gallon of perlite (from Home Depot, 8-quart bag). This boosts aeration and drainage without buying separate peat or coir. Mix thoroughly in a large plastic tub or wheelbarrow.
This 3:1 ratio creates a lightweight potting soil for pots that drains fast but still holds enough moisture for most vegetables and flowers.
Optional Upgrades
For extra water retention, substitute 1 gallon of coco coir for 1 gallon of the Miracle-Gro base. Rehydrate the coir brick first (follow package directions), then mix everything together.
For organic feeding, add 1 to 2 cups of worm castings or aged compost per 4 gallons. This gives slow-release nutrients without synthetic fertilizer.
These tweaks customize the mix for your plants and watering habits.
Advanced Coco-Perlite Blend (Soilless)
This recipe skips peat entirely. Buy a compressed coco coir brick (Walmart or Amazon) and a bag of perlite. Rehydrate the coir in a 5-gallon bucket by pouring warm water over it and letting it expand for 20 minutes.
Mix 2 parts rehydrated coco coir with 1 part perlite by volume. You get a 50/50-ish porosity split: about 25 to 30 percent air space and 45 to 50 percent water capacity. This reduces root-zone saturation by roughly 18 to 22 percent compared to pure coir.
Coco-perlite is neutral (no nutrients), so you’ll need to add liquid fertilizer or mix in compost. But it’s reusable, eco-friendly, and drains like a dream.
Drainage Hacks with Gravel and Pot Feet
Bottom-Layer Gravel Myth
Old advice says to put gravel or rocks at the bottom of containers for drainage. That’s backwards. A gravel layer creates a “perched water table” where water sits above the rocks instead of draining out the holes.
Skip the gravel layer. Just use a well-drained soil mix and make sure your pots have drainage holes. If water can’t escape, even the best soil will drown roots.
Gravel works on top as mulch to prevent splashing or keep cats out, but never at the bottom.
Pot Feet and Elevation
Pot feet or bricks lift containers off the ground so water drains freely. This prevents the bottom hole from sitting in a puddle or getting clogged by dirt.
Elevation also improves airflow under pots, which speeds drying and discourages pests. You can buy decorative pot feet at Home Depot or just use scrap wood blocks.
Even a 1-inch lift makes a difference.
Tools for Mixing and Handling Soil
Large Mixing Tub or Wheelbarrow
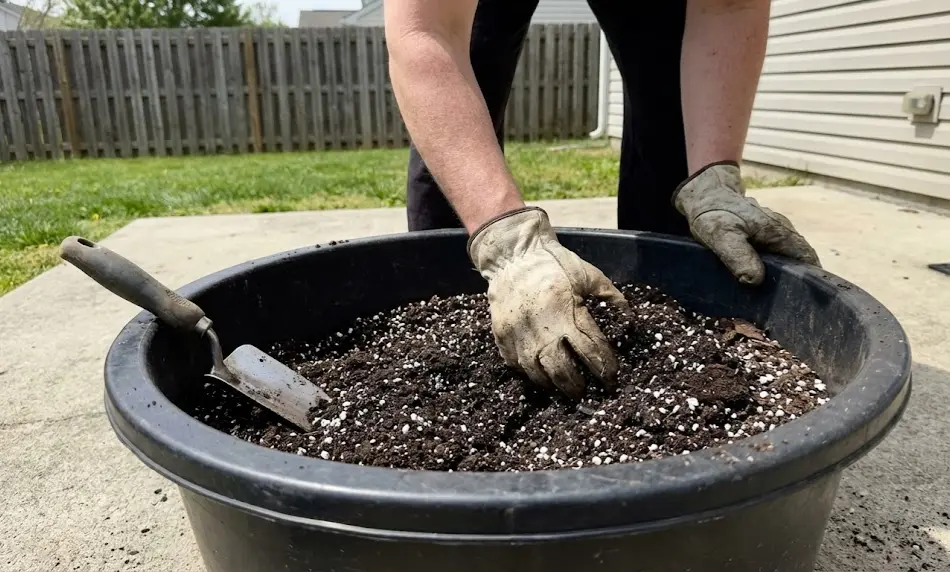
You need a big container to blend ingredients without spilling. A plastic storage tub (18-gallon size) from Walmart works great and costs under $10. Wheelbarrows are messier but fine for big batches.
Pour dry ingredients in first, then slowly add water while mixing with your hands or a garden trowel. This prevents dust and helps hydrate peat or coir evenly.
Mix until everything looks uniform with no dry clumps.
Garden Trowel and Measuring Scoop
A sturdy metal trowel scoops soil into pots and breaks up clumps. Look for one with measurement marks on the blade so you can eyeball volume.
A plastic measuring scoop (1-quart or 2-quart size) makes portioning ingredients easier when you’re following recipes. You can use old food containers too.
Both tools cost under $15 total and last years.
Gloves and Dust Mask
Peat moss and perlite create fine dust. Wear gloves to keep your hands clean and a basic dust mask if you’re mixing big batches indoors or on a windy day.
This isn’t about safety hazards. It’s about comfort. Dry peat dust sticks to skin and gets in your nose.
Cheap nitrile gloves from the hardware store work fine.
Common Mistakes to Avoid
Using Straight Garden Soil
Garden soil compacts in containers. It blocks drainage holes, excludes air, and causes surface crusting where water pools instead of soaking in. Reddit users constantly post about plants that look wilted even after watering because dense garden soil suffocated the roots.
Never use garden soil alone in pots. If you want to stretch a mix, blend 1 part garden soil with 2 parts soilless mix (peat or coir plus perlite). Even then, results vary based on your native soil type.
Stick with soilless blends for consistent success.
Overwatering Dense Mixes
Heavy mixes hold too much water. If your soil stays soggy for days after watering, you either used the wrong base or forgot to add perlite.
The fix is to remix with more perlite or repot into a proper lightweight potting soil blend. You can’t fix compacted soil by watering less because roots still can’t breathe.
Drainage first, watering schedule second.
Skipping the Initial Hydration Step
Compressed peat or coir resists water when bone dry. If you fill pots with dry mix and then water, the medium either turns to mud (if you pour fast) or stays dry in pockets (if you pour slow). Both kill plants.
Always pre-moisten your mix in a tub before potting. Add water gradually, fluff with your hands, and wait 10 minutes for wetting agents to activate. The mix should feel like a wrung-out sponge.
This step takes 5 extra minutes but prevents weeks of watering problems.
Storing Leftover Mix
Seal unused mix in a plastic bin or heavy-duty trash bag. Store it in a garage or shed away from direct sun. Dry mix lasts indefinitely as long as it stays dry.
Pre-moistened mix grows mold if sealed too tight. Leave the lid slightly cracked or use a container with ventilation holes. Use moistened mix within a few weeks.
Label containers with the recipe and date so you remember what’s inside next season.