Your bedroom feels flat and uninviting, but you don’t have the budget—or permission—to rewire overhead lights. What if you could create a warm, layered glow for less than the cost of takeout this week?
These three complete lighting setups are designed for renters and budget-conscious decorators who want instant transformation without drilling, hiring electricians, or breaking the bank. Each setup includes exact products, placement guides, and renter-friendly installation tricks you can copy this weekend.
At a Glance
Difficulty: Beginner-Friendly (No Tools Required)
Avg. Cost: $50–$150 (Three Budget Tiers)
Perfect For: Renters, small bedrooms, dark spaces with no overhead lighting, anyone wanting cozy ambiance without permanent changes
Note : Prices are accurate at the time of publishing but subject to change.
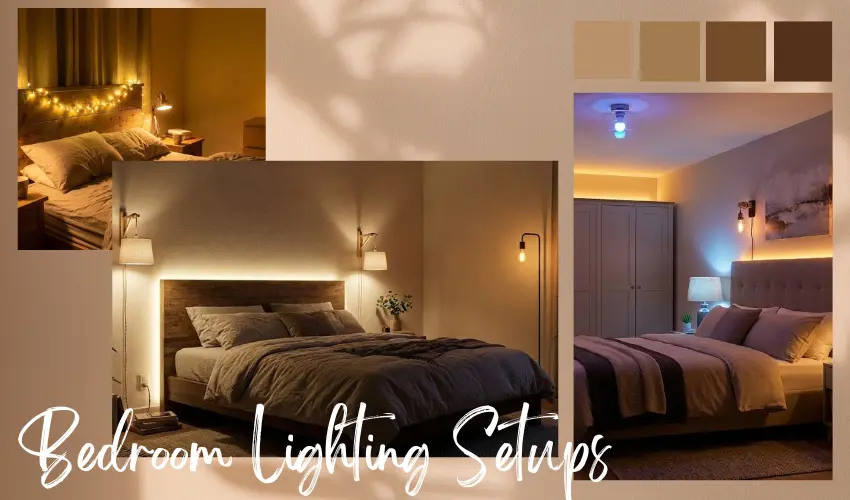
3 Creative Lighting Setups to Transform Your Space
1. Cozy Basics Under $50 (The Starter Kit)
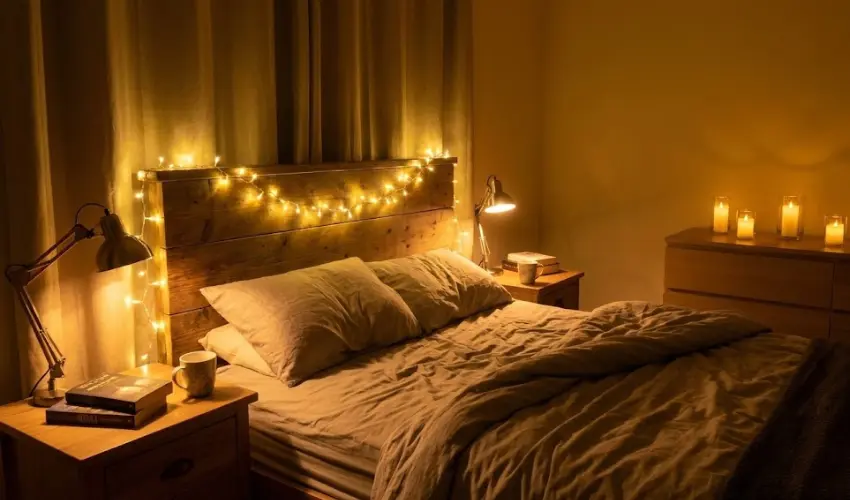
This setup costs just $42 and solves the dark rental problem instantly. You’ll use fairy lights ($12) draped along your headboard or window frame, two clip-on bedside lamps ($15 each) that attach to shelves or bed frames without drilling, and battery-operated tea lights ($6) for corner ambiance. The fairy lights create a soft backdrop glow, while the clip-on lamps give you focused reading light exactly where you need it.
This combination works beautifully for tiny bedrooms or studio apartments because nothing takes up floor space. The clip-on design means you’re not limited by outlet placement, and the battery tea lights add flickering warmth to dark corners without cords snaking across your room. Everything installs in under 10 minutes with zero tools required.
Start by draping the fairy lights behind your headboard using removable adhesive hooks, then clip the lamps onto your nightstand edges or headboard posts. Scatter the tea lights on dressers, windowsills, or floating shelves for instant depth and coziness that transforms your space tonight.
2. Reading + Mood Under $100 (Layered Ambiance)

This $87 setup introduces layering with two plug-in wall sconces ($28 each) mounted with Command strips, LED strip lights ($16) tucked behind your headboard or dresser, and a budget floor lamp ($15) for task lighting. The sconces act as elegant bedside lights without requiring hardwiring, while the LED strips add a modern ambient glow that makes your walls look more expensive than they are.
The plug-in sconces are the game-changer here because they mimic installed fixtures without landlord approval. Use heavy-duty Command picture hanging strips rated for 16 pounds—press firmly for 30 seconds, then wait one hour before hanging the sconces. Run cords down behind furniture or use adhesive cord clips painted to match your wall color so wiring disappears completely.
Position the floor lamp in the corner opposite your bed to create diagonal lighting that eliminates harsh shadows. The LED strips should go behind furniture edges rather than exposed on walls—this creates a floating effect that adds depth and makes small bedrooms feel larger and more intentional.
3. Full Luxury Look Under $150 (Pro-Level Layers)
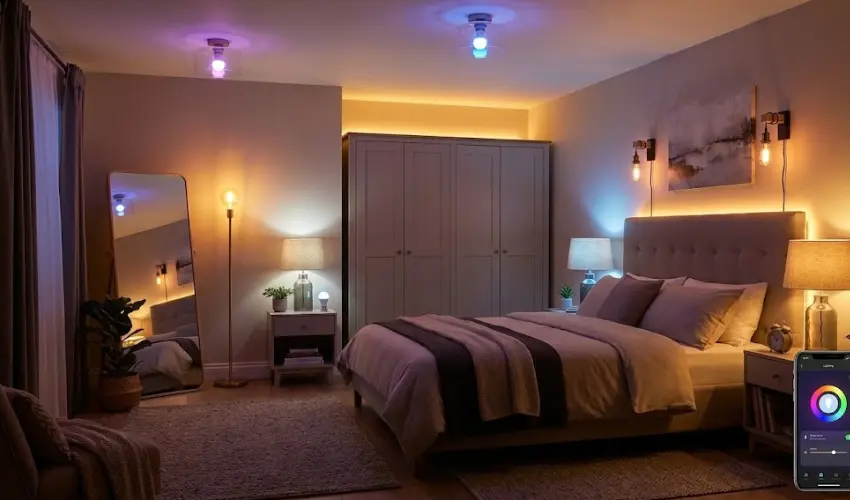
This $138 setup delivers professional designer results with a floor lamp ($35), two matching table lamps ($25 each), premium LED strips ($20), decorative wall sconces ($22), and smart bulbs ($16) that let you adjust brightness and warmth from your phone. You’re creating three distinct lighting layers—ambient background glow, focused task lighting for reading or getting dressed, and accent lighting that highlights artwork or architectural features.
The smart bulbs are your secret weapon because they eliminate the need for dimmer switches your landlord would never approve. Set morning routines with cool white light for energizing wakeups, then switch to warm amber tones for evening wind-down—all without touching a single switch. The LED strips go behind your headboard and along the top of tall furniture to create indirect lighting that bounces off ceilings for a soft, expensive look.
Position the floor lamp near your closet or mirror for getting-ready tasks, place table lamps symmetrically on nightstands for balanced ambient light, and install sconces at eye level when seated in bed for flattering reading light. This layout follows the three-layer formula: ambient light fills the room, task light serves specific activities, and accent light creates visual interest—the same approach interior designers use in luxury hotels, now adapted for your rental budget.
Bonus: Quick Mounting Hacks for Renters
Use 3M Command Picture Hanging Strips rated for at least 12 pounds per pair when mounting plug-in sconces—the large strips hold better than the medium ones even though they’re slightly more visible. For cord management, snake wires behind furniture first, then use flat adhesive cable clips in white or your wall color to run any exposed sections vertically toward outlets. Hide battery packs for LED strips inside decorative boxes or behind picture frames so the tech disappears completely.
Tension rods placed between walls or inside window frames create no-damage mounting points for string lights and lightweight fabric diffusers. When removing Command strips later, pull straight down slowly—never outward—to prevent paint damage. For heavy floor lamps that tip easily, place furniture gripper pads underneath the base to increase stability without marking floors.
Final Thoughts
Pick the setup that matches your budget, order the products this week, and transform your bedroom in one afternoon without asking your landlord for permission. The difference between a flat, unwelcoming bedroom and a layered, cozy retreat is just a few strategically placed lights—not a complete renovation.
Check out our Budget DIY Hacks for more renter-friendly makeovers, or search ‘cheap room makeovers’ above for ideas that work in every space you’ll ever rent.