Got empty jam jars collecting dust? You’re 60 minutes away from gorgeous Christmas candles that smell like a holiday lodge.
These beginner-friendly candles cost under $5 each, reuse what you already own, and cure while you sleep. No fancy equipment needed—just a pot, some wax, and that drawer full of glass containers you’ve been hoarding.
Project Cheat Sheet
| Time | Cost | Difficulty | Eco-Rating |
|---|---|---|---|
| 30–60 min (+ 24–48 hr cure) | $4–$10/candle | Beginner | ⭐⭐⭐⭐⭐ 8/10 Scrap-Friendly |
Why the high eco-score? You can reuse old jars, melt down candle stubs, and choose natural waxes. Only wicks and fresh scent oils are must-buys.
Supplies You Need
Shop your home first! Check for old candle jars, pasta sauce containers, or thrift store glass before buying new.
Must-Haves:
- Candle wax (soy, beeswax, or paraffin blend)
- Pre-tabbed wicks (cotton or wood, sized for your jar)
- Heat-safe glass jars or silicone molds
- Fragrance oils (cinnamon, pine, orange, peppermint)
- Double boiler setup (or metal pitcher + pot)
- Kitchen scale for accurate measuring
- Thermometer (digital or clip-on)
- Wick holders (or chopsticks/skewers)
- Scissors or wick trimmer
Optional Add-Ons:
- Candle dye chips (red, green, white)
- Dried orange slices, cinnamon sticks, rosemary
- Ribbon or twine for gifting
5 Stunning Christmas Candle Ideas
Not sure which style to make? Here are our top picks for this season.
1. Rustic Mason Jar Christmas Candles
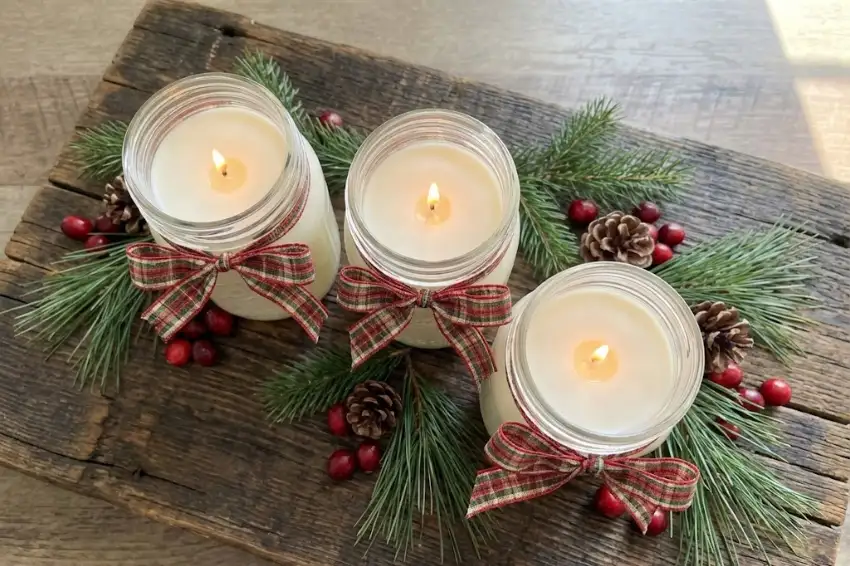
Why we love it: Old jam jars instantly become farmhouse-chic decor. The wide mouth makes them easy to pour and perfect for beginners.
Best for: Gift-giving on a budget (under $5 each).
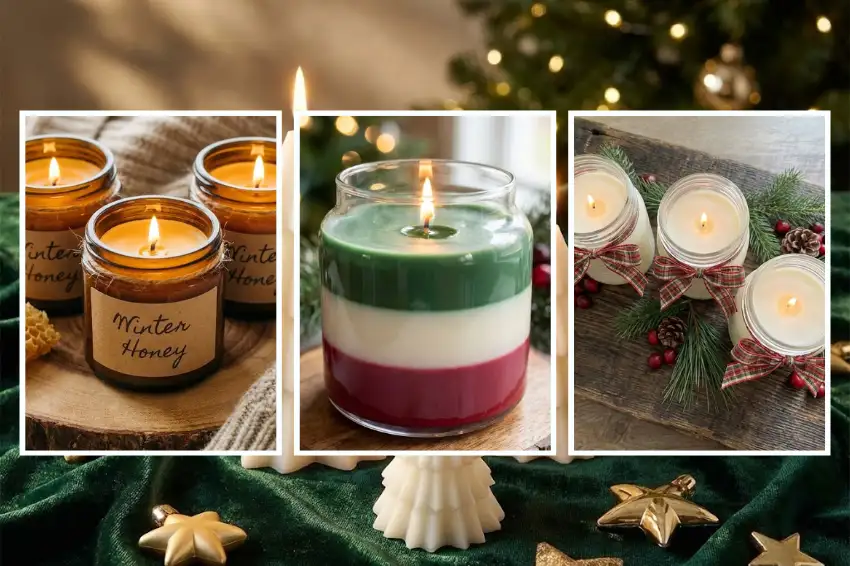
2. Soy Wax Christmas Tree Candles
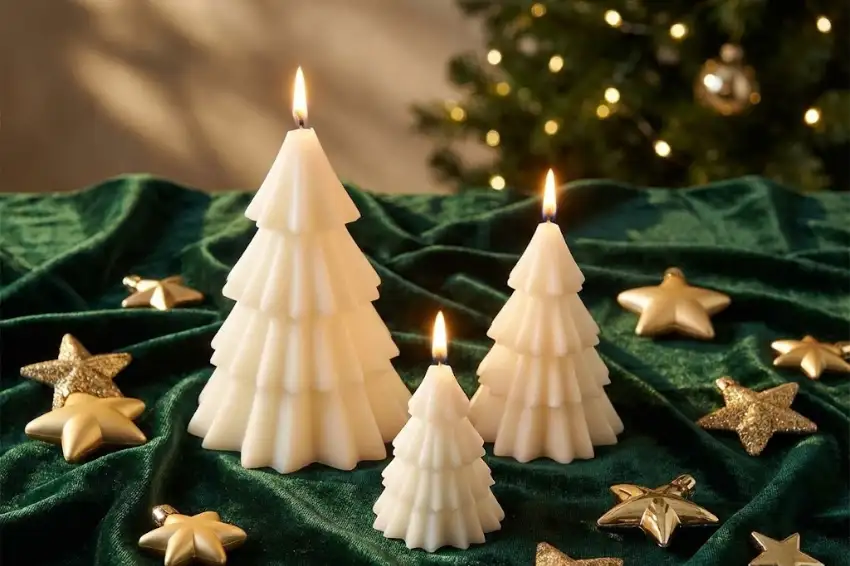
Why we love it: Silicone molds turn plain soy wax into sculptural statement pieces. They look expensive but cost $5–$8 to make.
Best for: Mantel displays and centerpieces.
3. Layered Scented Christmas Candles
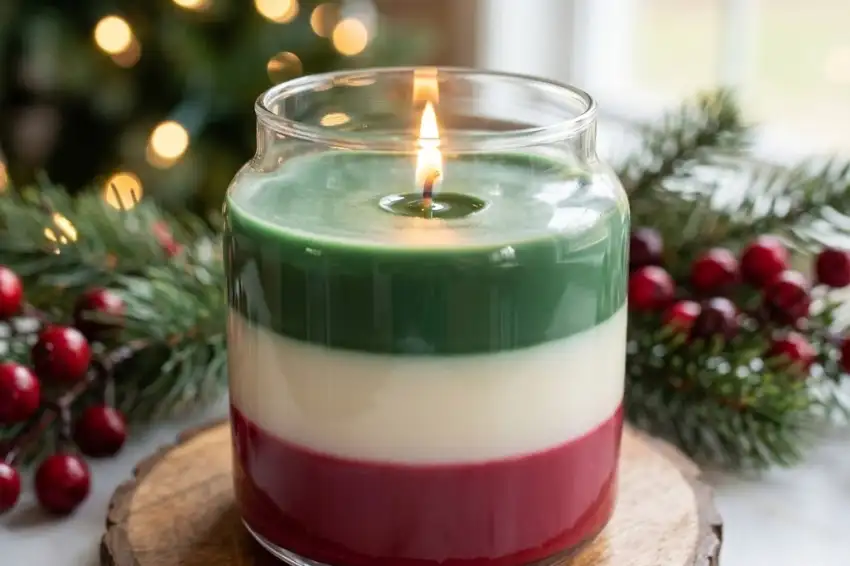
Why we love it: Each layer releases a different scent as it burns (cinnamon, then vanilla, then pine). It’s like a holiday playlist in candle form.
Best for: Intermediate makers who want to level up (timing the layers takes practice).
4. Beeswax & Soy Blend Holiday Candles
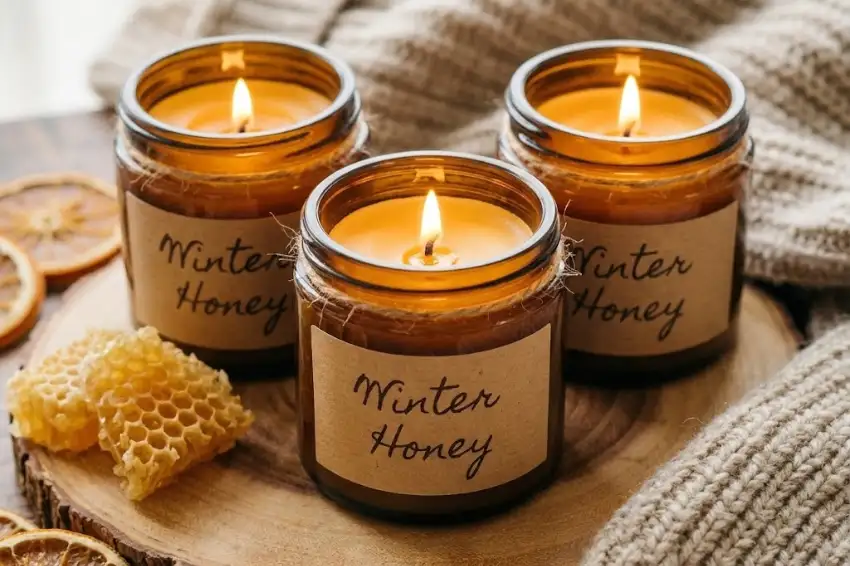
Why we love it: Natural wax blend burns longer and cleaner with subtle honey notes. Perfect for eco-conscious gift lists.
Best for: Anyone avoiding synthetic fragrances. If you are looking for more toxin-free ways to make your home smell amazing, try pairing this gift with our Natural Air Fresheners from Pantry Scraps.
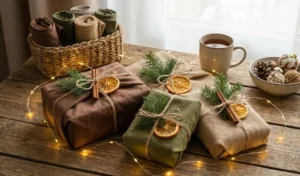
5. Dried Orange & Herb Jar Candles
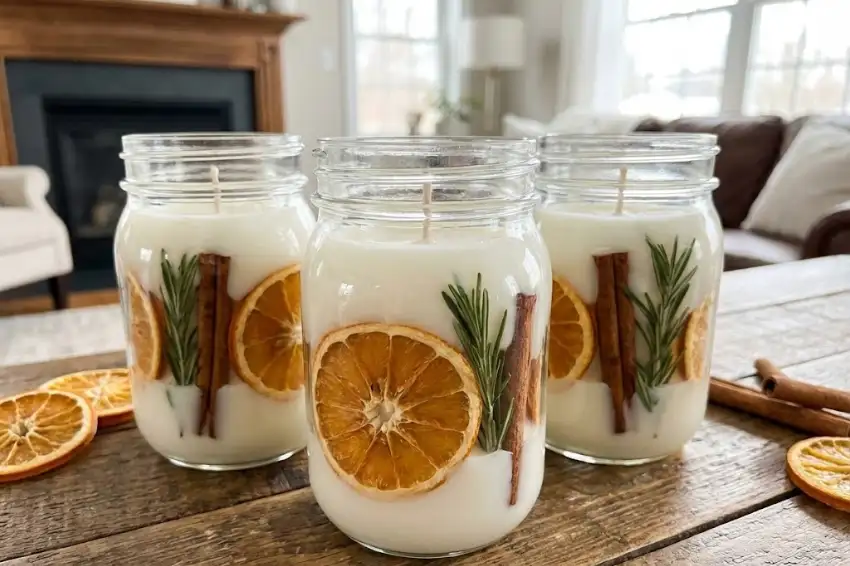
Why we love it: Pantry ingredients become minimalist art. The botanicals stay visible through the glass for organic, Pinterest-worthy style.
Best for: Scandinavian or modern farmhouse decor lovers.
Step-by-Step Instructions
Step 1: Prep Your Jars & Center the Wicks
Wash and dry your jars completely. Stick the metal tab of your wick to the jar bottom using a glue dot or melted wax.
Use chopsticks or wick holders across the top to keep wicks straight while you pour.
Pro-Tip: Warm jars slightly in a 150°F oven for 5 minutes to reduce frosting and sinkholes as the wax cools.
Step 2: Melt the Wax Safely
Place wax flakes in a metal pitcher or glass jug. Set it inside a pot with 2 inches of simmering water (never boiling).
Stir occasionally and monitor temperature with a thermometer. Most soy wax melts at 170–180°F.
Pro-Tip: Keep water at a gentle simmer and avoid overheating; follow the wax supplier’s target melt and pour ranges for smoother tops.
Step 3: Add Color and Christmas Scent
Once wax reaches 180–185°F, remove from heat. Add dye chips if desired and stir until dissolved.
Let wax cool to 160–170°F, then add fragrance oil at the manufacturer’s recommended rate (usually 6–10% by weight).
Pro-Tip: Add fragrance at the recommended temperature and usage rate to avoid weak scent or oil separating from the wax.
Step 4: Pour Into Containers or Molds
Pour slowly at 130–140°F for soy wax (check your wax’s ideal pour temp). Leave about ½ inch of headspace at the top.
Tap jars gently on the counter to release air bubbles.
Pro-Tip: Pour slowly and at a slightly cooler temperature to minimize air bubbles, sinkholes, and wet spots.
Step 5: Decorate the Surface (Optional)
Wait 5–10 minutes until the wax starts to thicken slightly. Gently press decorative elements like dried citrus, herbs, or spices onto the surface.
Keep all decorations at least 1 inch away from the wick to prevent large flames.
Pro-Tip: Keep decorative items away from the wick and use small, flat pieces so they don’t create large flames or soot when the candle burns.
Step 6: Cool, Cure, and Trim
Let candles sit undisturbed for 24–48 hours in a cool, draft-free spot. Soy wax candles improve dramatically with 1–2 weeks of curing.
Trim wicks to 5–7 mm (about ¼ inch) before the first burn.
Pro-Tip: Let candles sit undisturbed for at least 24–48 hours (longer for soy) before lighting to improve scent throw and burn quality.
Step 7: Style for Gifting or Display
Add simple kraft paper labels with the scent name and burn time. Tie with ribbon or twine for a professional finish.
Group candles on trays with greenery and ornaments for Instagram-worthy holiday vignettes.
Pro-Tip: Add simple labels with scent name and burn-safety icons to make gifts look professional and encourage safe use.
Common Questions
Why does my Christmas candle have sinkholes or ugly tops?
The wax cooled too fast or was poured too hot—try pouring at 130–140°F, pre-heat jars, and use a heat gun to smooth the top after cooling.
How long do I really need to cure homemade soy Christmas candles?
At least 1–2 weeks for 100% soy wax and 3–7 days for blends to get a stronger scent throw and cleaner burn.
Why can’t I smell my candle when it burns?
You likely used too little fragrance oil or added it at the wrong temperature—check your wax’s recommended fragrance load (usually 6–10%) and mixing temp.
Can I reuse old candle wax from store-bought candles?
Absolutely! Melt down leftover wax from old candles, strain out debris, and remix with fresh fragrance oil for a zero-waste project.
What’s the difference between soy, beeswax, and paraffin?
Soy burns cleanest and longest, beeswax has a natural honey scent and air-purifying properties, and paraffin is cheapest but petroleum-based.
Your Holiday Table Just Got Cozier
These handmade Christmas candles prove you don’t need a craft room to create something beautiful. Just grab a jar, melt some wax, and let them cure while you wrap presents.