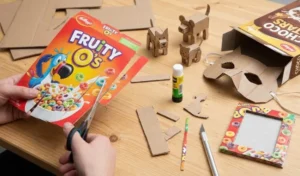
Your yard deserves personality without the price tag. These 10 diy garden decor ideas prove you can transform everyday scraps, recycled materials, and thrift-store finds into a whimsical outdoor space that looks straight out of Pinterest. Grab your paintbrush and let’s get to work.
1. Rustic Copper Wind Chime
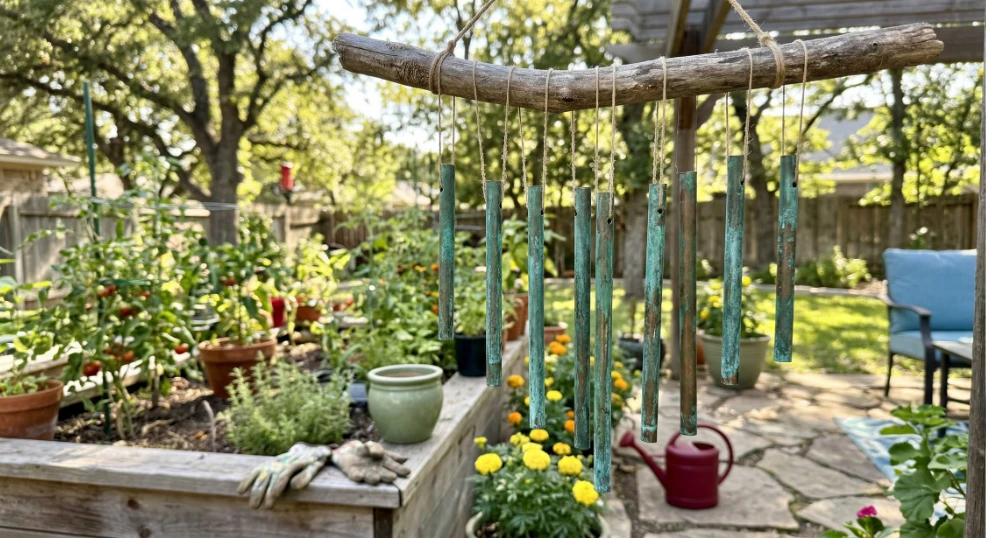
Sun-warmed copper tubes catching afternoon light bring that handmade, storytelling charm that makes a garden feel genuinely lived-in and loved. Gather scrap copper pipe pieces in varying lengths, from about 4 inches to 12 inches, and sand them lightly to reveal the warm metal underneath. Drill a small hole at the top of each tube, thread them onto a length of jute twine, and knot each piece at staggered heights. Tie the bundle to a weathered branch at least 18 inches wide and hang it from a sturdy porch hook or tree limb where the breeze can do its thing.
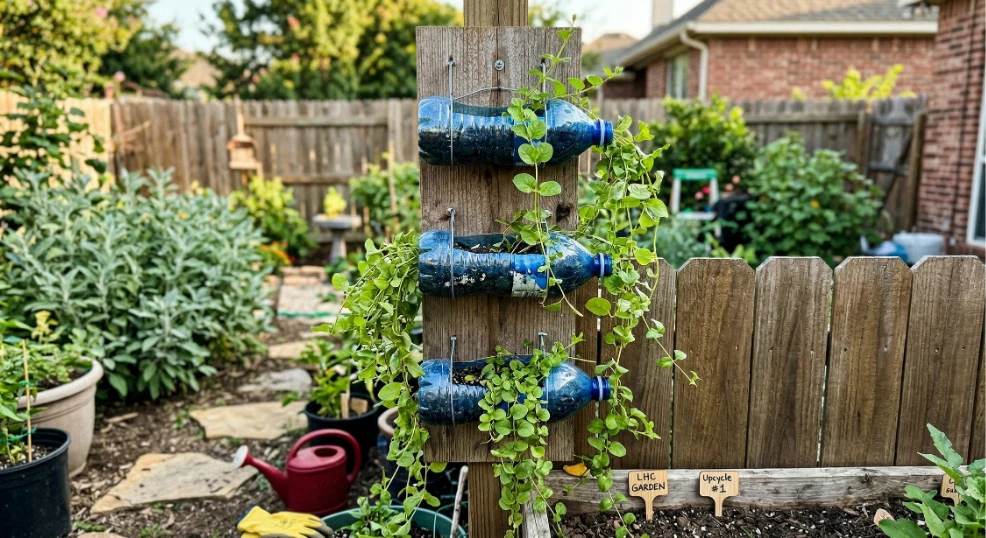
2. Recycled Bottle Cluster Planter
A vertical wall of upcycled blue plastic bottles turns zero-cost kitchen waste into a colorful, trailing garden display that earns double-takes. Collect 8 to 12 clean plastic bottles of similar size, cut an opening on one flat side of each, and punch a drainage hole on the opposite side. Mount them to a wooden fence board using zip ties or wire, staggering heights every 6 inches for a dynamic arrangement. Fill each bottle with lightweight potting mix and tuck in a trailing vine like sweet potato vine or creeping jenny for instant lush effect.
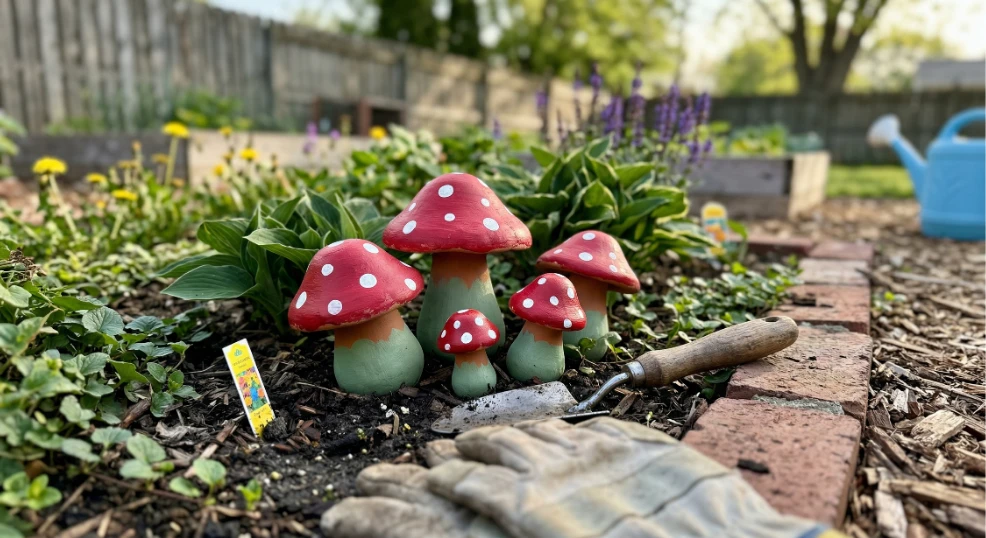
3. Whimsical Mushroom Pot Cluster
Turned terracotta pots painted as oversized fairy mushrooms bring an instant playful focal point that draws every guest straight to that garden corner. Flip a standard 6-inch pot upside down for the stem and use a wider 10-inch saucer as the cap, securing them with waterproof outdoor adhesive. Paint the cap ruby red with a white base coat, then add white polka dots using a round sponge or the eraser end of a pencil. Arrange three mushrooms of varying sizes together in a garden bed, spacing them about 8 inches apart for a clustered fairy-tale grouping.
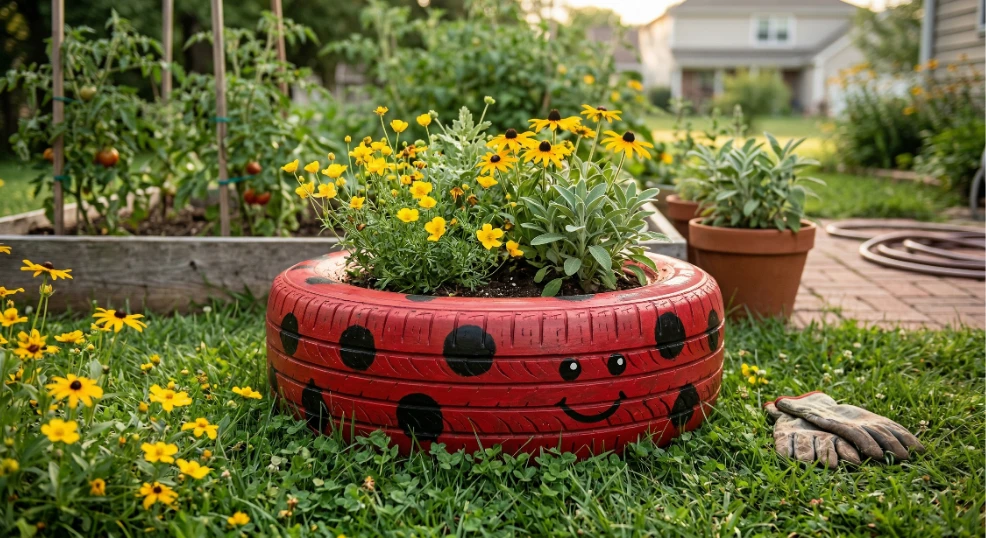
4. Ladybug Tire Flower Bed
A rescued car tire painted into a smiling ladybug is the kind of bold, cheerful upcycle that makes your front yard the most talked-about one on the block. Clean and dry a standard passenger tire thoroughly, then apply two coats of bright red exterior spray paint and let it cure for 24 hours. Use black exterior paint to add large round spots, a dividing center stripe, and a curved smile on the front face. Place the finished tire on a sunny patch of lawn, fill the interior with potting soil, and plant compact marigolds or petunias for a vibrant, budget-friendly flower bed.
5. Driftwood Metal Art Mobile
Free beach or riverside driftwood strung with scrap metal pieces creates a breezy, sculptural mobile that feels both rustic and artsy without spending a dime. Find a straight driftwood branch about 24 inches long and sand any rough or splintered edges smooth. Collect scrap metal odds and ends such as old keys, bottle caps, hardware store washers, and bent wire, and knot each piece to lengths of jute twine ranging from 6 to 18 inches. Tie the twine pieces along the branch at uneven intervals, then hang the whole mobile from a tree branch or pergola beam where wind will animate it naturally.

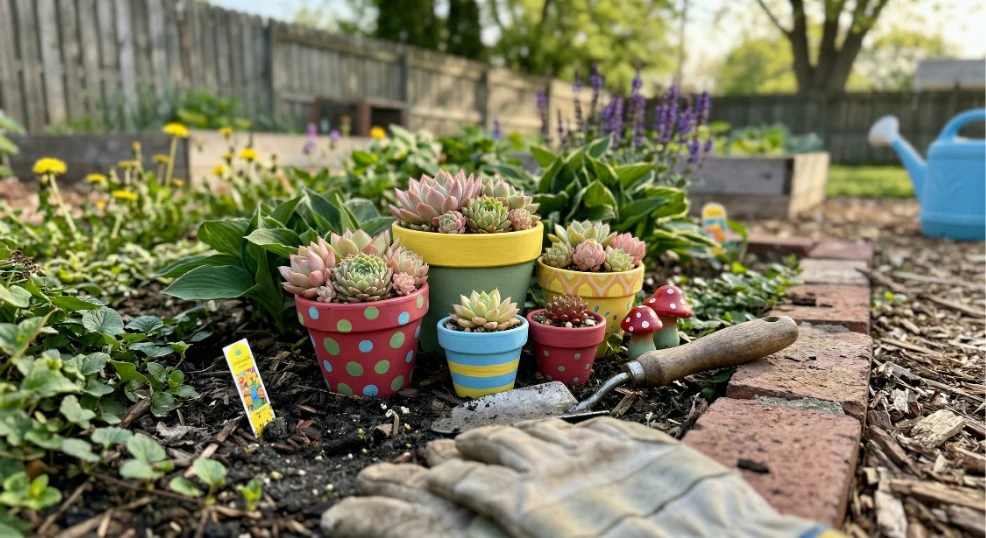
6. Succulent Fairy Garden Nook
A curated corner of painted pots packed with hardy succulents and tiny toadstool props builds an enchanted miniature world that grows more charming with every season. Choose three to five terracotta pots in graduated sizes, paint each one a different accent color from sage green to sky blue, and seal with outdoor Mod Podge. Arrange them on a flat garden stone or wooden pallet slice, planting a different rosette succulent variety in each pot for textural contrast. Tuck ceramic or resin toadstool figurines between the pots to complete the fairy-tale scene without any ongoing cost.
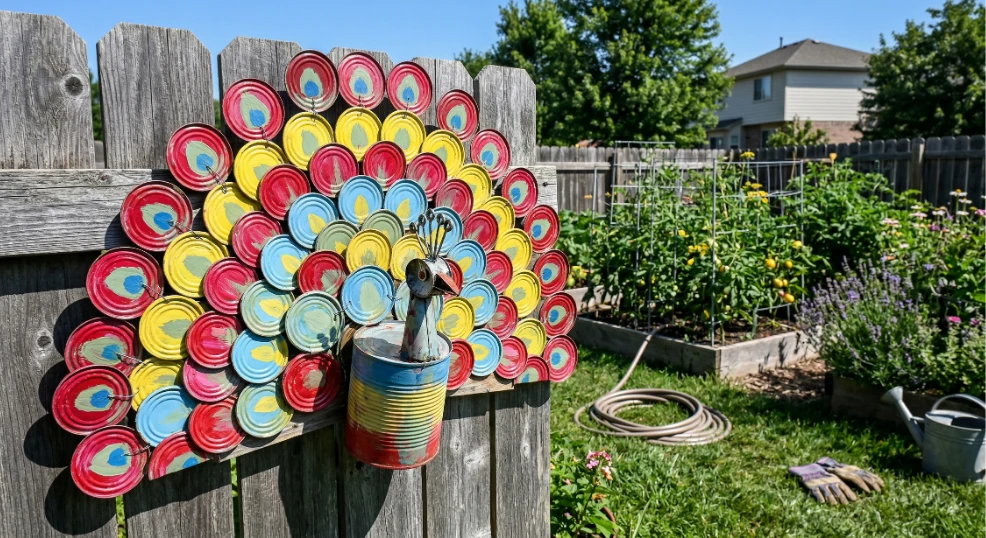
7. Tin Can Peacock Sculpture
Repurposed tins and painted lids assembled into a fan-tailed peacock deliver shimmering, sun-catching art from materials most people toss every week. Save 20 to 30 tin lids from canned goods and paint each one a different jewel tone, from teal to cobalt to sunny yellow, using rust-resistant spray paint. Arrange the lids in a fan shape on a flat piece of plywood cut into a peacock body silhouette, attaching each lid with a short screw through the center. Mount the finished piece on a garden fence or stake it upright in a flower bed where sunlight will bounce off the metallic surfaces throughout the day.
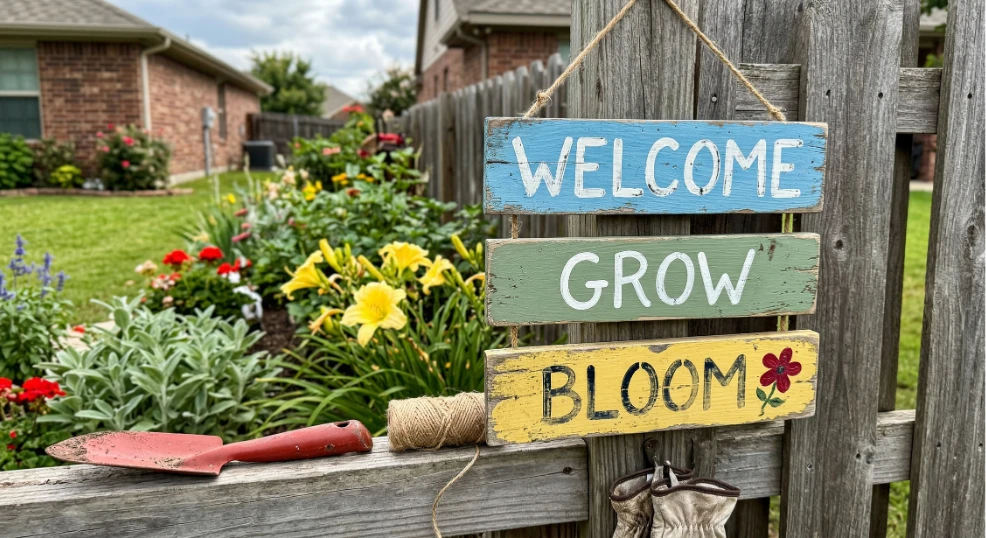
8. Wooden Welcome Sign Trio
A row of weathered wood signs with hand-painted lettering transforms a plain garden entry into a warm, story-rich welcome that only costs the price of a few craft paints. Source three untreated pine boards cut to roughly 6 by 24 inches each, then sand all edges and distress the surface lightly with coarse sandpaper for an instant aged look. Paint each board a different neutral or soft color, then letter words like “Welcome,” “Grow,” and “Bloom” in contrasting paint using a basic stencil or freehand brush. Hang the trio vertically or horizontally from a garden gate, fence post, or shepherd’s hook using jute rope at staggered heights.
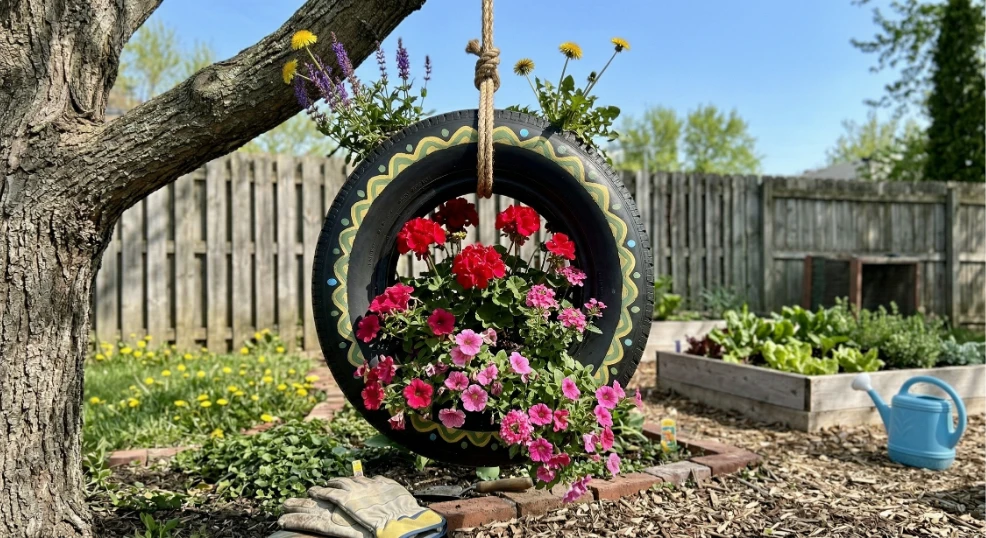
9. Painted Tire Hanging Planter
A single tire painted in a bold accent color and suspended from a tree branch becomes a swinging vertical planter that saves ground space and adds serious visual drama. Clean a standard tire, coat it in two layers of bright exterior paint in ruby red or sky blue, and allow it to cure for a full day. Thread a length of thick rope or chain through the tire center and knot it securely on both sides of the rim, leaving about 2 feet of rope above for hanging. Fill the interior with potting soil mixed with perlite for drainage, plant trailing red geraniums or fuchsia blooms, and hang from a sturdy tree limb at least 6 feet off the ground.
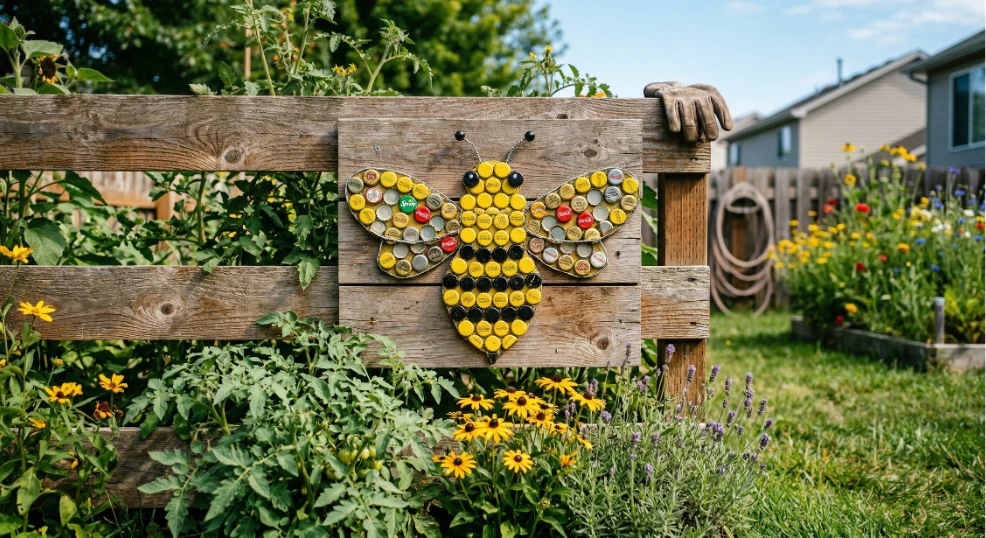
10. Bottle Cap Mosaic Bee
A fence-mounted mosaic bee built entirely from saved bottle caps turns kitchen waste into a sweet, zero-spend pollinator tribute that sparks neighborhood conversations. Collect 40 to 60 bottle caps in yellow and black tones, then sketch a simple bee outline directly onto a scrap piece of plywood cut to about 12 by 18 inches. Arrange the caps within the outline in alternating yellow and black stripes, gluing each one flat side down using waterproof construction adhesive. Mount the finished mosaic to a garden fence or exterior wall with two sturdy screws, positioning it at eye level where sunlight will catch the metallic caps.
Every one of these diy garden decor projects proves that the most whimsical, personality-packed yards are built from recycled rubber, saved tins, and thrifted wood rather than expensive garden center hauls. From the sun-catching copper chimes to the smiling ladybug tire bed, the common thread is bold color, playful form, and smart reuse of what you already have. Now tell us: which of these 10 rustic, budget-friendly ideas are you most excited to build in your own yard this weekend?