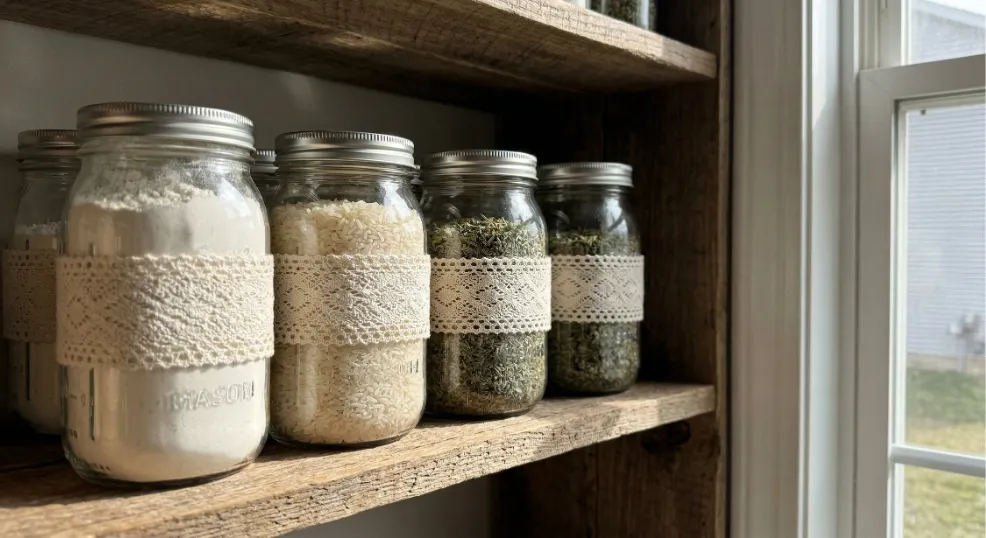
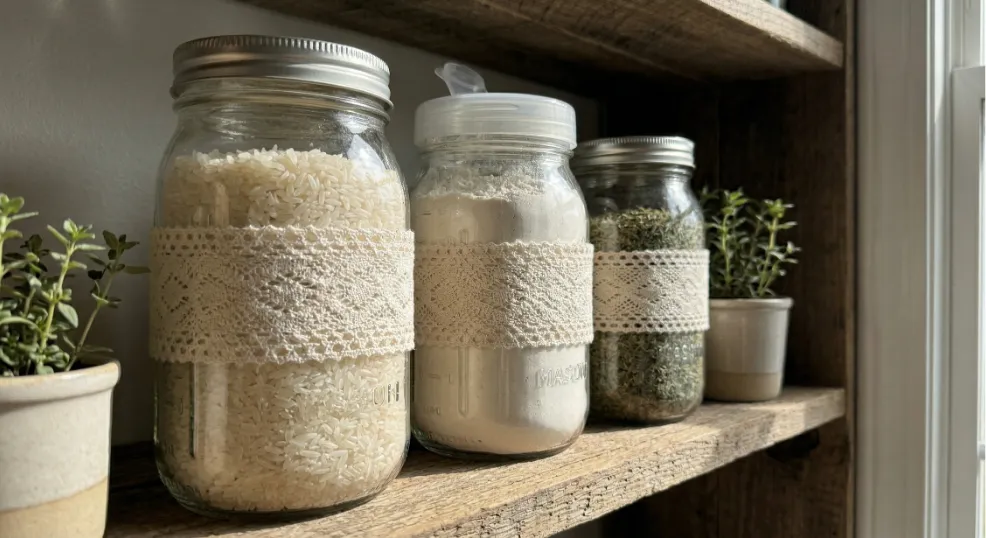
Tired of mismatched plastic containers cluttering your pantry? These DIY lace mason jar pantry canisters pull double duty: they look charming on open shelving and actually function better than store-bought canisters for dry goods. This master guide walks you through every construction step, from picking the right glue to locking down a functional pour lid.
What You’ll Need Before You Start
Gathering your materials upfront saves you mid-project trips to the store. Most of these supplies are available at Michaels, Amazon, or your local hardware store for well under $30 total.
Mason Jars
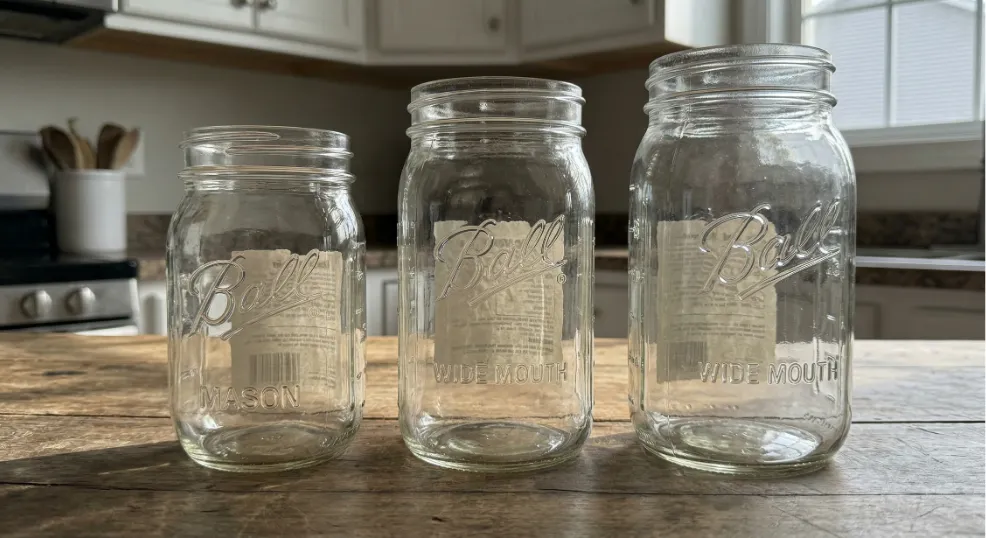
Quart-sized wide-mouth jars are the sweet spot for pantry use. The wide opening makes pouring easy, and the straight sides give lace something flat to grip. Plan on 4 to 6 jars per set; Ball and Kerr brands are the most reliable, running about $2.50 each.
One quick quality check: fill a jar with water, seal it, and flip it upside down. If it leaks, skip that jar. Avoid thin vintage-style jars entirely since the glass can crack under the heat of crafting tools.
Lace Trim
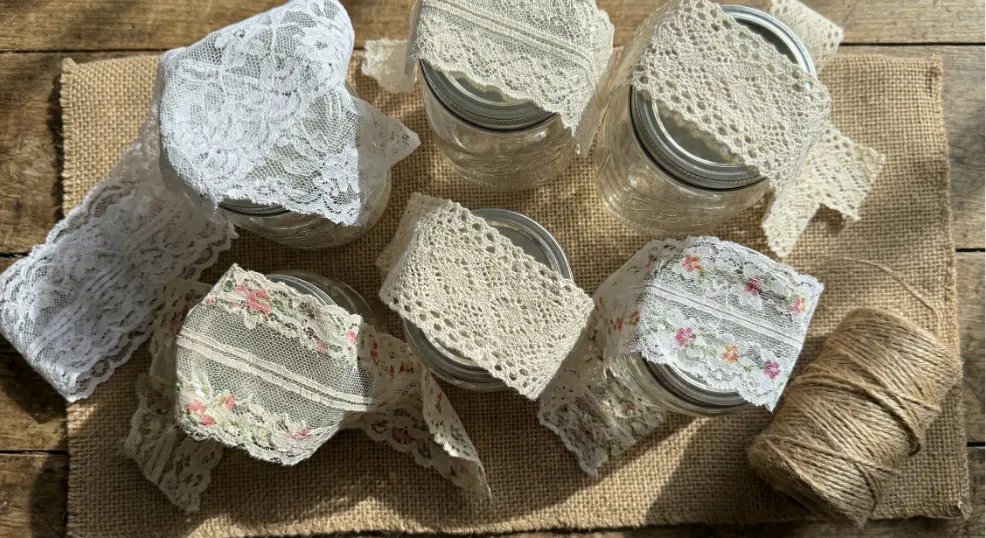
Cotton lace in a 2 to 3 inch width is your best option here. Synthetic lace looks similar on the spool but doesn’t grip adhesive as reliably and can pucker when it dries. Budget about 1 yard per pint jar and slightly more for quarts; a 10-yard spool from Michaels runs $5 to $8 and covers a full set with room to spare.
Pre-wash your lace before gluing. This one step prevents shrinkage after the project is finished, which would cause the lace to pull away from the glass.
Glue and Sealant

Mod Podge is the go-to adhesive for attaching lace to glass. It dries clear, applies smoothly with a brush, and gives you time to reposition the lace if needed. Hot glue moves faster, but it creates blobs that show through thin lace and ruin the finished look.
For the pour lids (covered in the section below), grab a tube of E6000 at about $5. Keep in mind that Mod Podge is not always certified food-safe, so test your specific product and avoid applying it to any surface that will contact food directly.
Step 1: Prepare Your Jar Surfaces
Skipping surface prep is the most common reason lace peels off within weeks. Oils from hands, residue from old labels, and even factory coatings all interfere with adhesion.
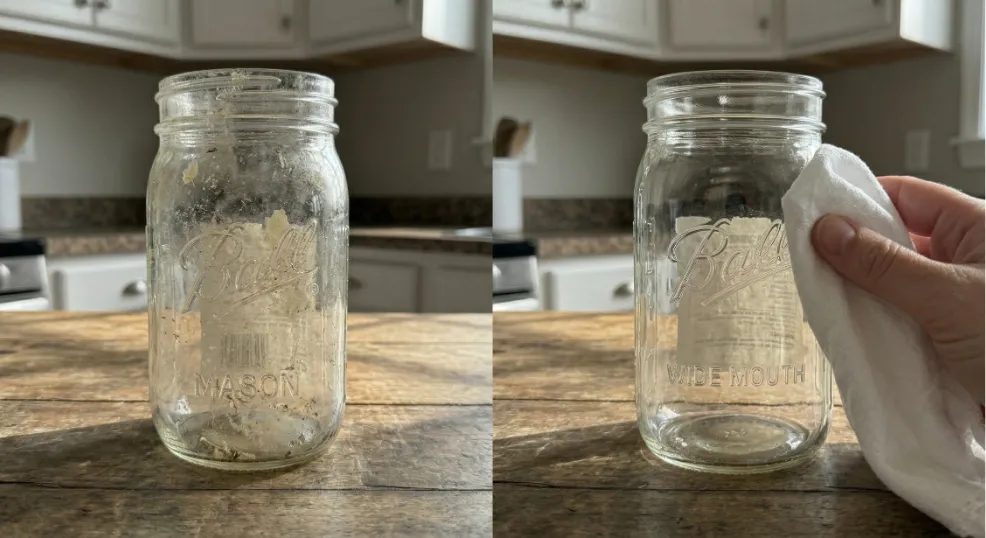
Wash each jar thoroughly with dish soap, then wipe down the outside with rubbing alcohol ($2 a bottle) using a clean cloth or cotton pad. Rubbing alcohol removes up to 99% of label residue and cuts through any grease the soap missed. Let the jars air dry for at least 2 hours before touching the surface again.
Step 2: Measure and Cut Your Lace
Accurate measuring here means seamless coverage with no awkward gaps or excessive overlap on the finished jar.

Wrap your measuring tape around the widest part of the jar and add 1 inch to that measurement. That extra inch gives you a slight overlap at the back seam where the two ends meet. Cut the lace cleanly with sharp fabric scissors; a ragged edge will fray and show through your sealant coat later.
For a quart jar, use a 3-inch wide strip of lace. Pint jars can handle 2-inch lace without looking crowded. If you want to stack two rows of trim, cut both strips before you start gluing so the proportions are consistent across all your jars.
Step 3: Attach the Lace
This is where the project comes together, and the technique matters more than speed. Working slowly produces a seamless result.
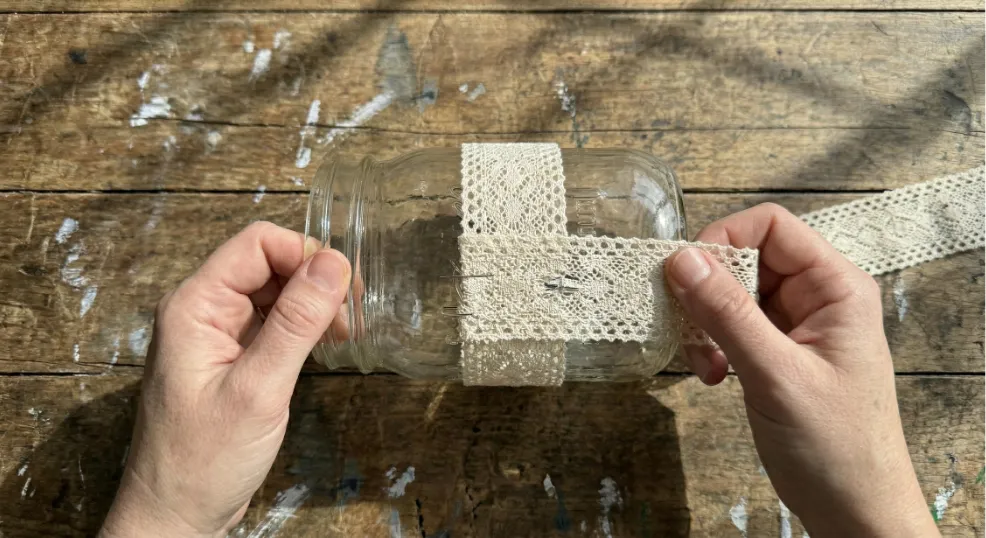
Brush a thin, even layer of Mod Podge onto the back half of the jar. Starting at the back seam, press the lace firmly onto the glass and hold it for 30 seconds. Keep the lace taut as you wrap forward; slack in the lace causes warping and bubbling as it dries. Once you reach the starting point, overlap the end slightly and press it down firmly.
Smooth out any bubbles with your fingertip or a soft tool, working from the center of the lace outward toward the edges. Seal the top and bottom edges of the lace with a little extra Mod Podge brushed directly on the overlap. Allow the jar to sit undisturbed for at least 24 hours before handling it.
Step 4: Install Easy-Pour Lids
A basic mason jar lid works fine for storage, but a pour spout genuinely changes how practical these canisters are for everyday pantry use. No more digging in a bag of flour or tipping a heavy jar over a mixing bowl.
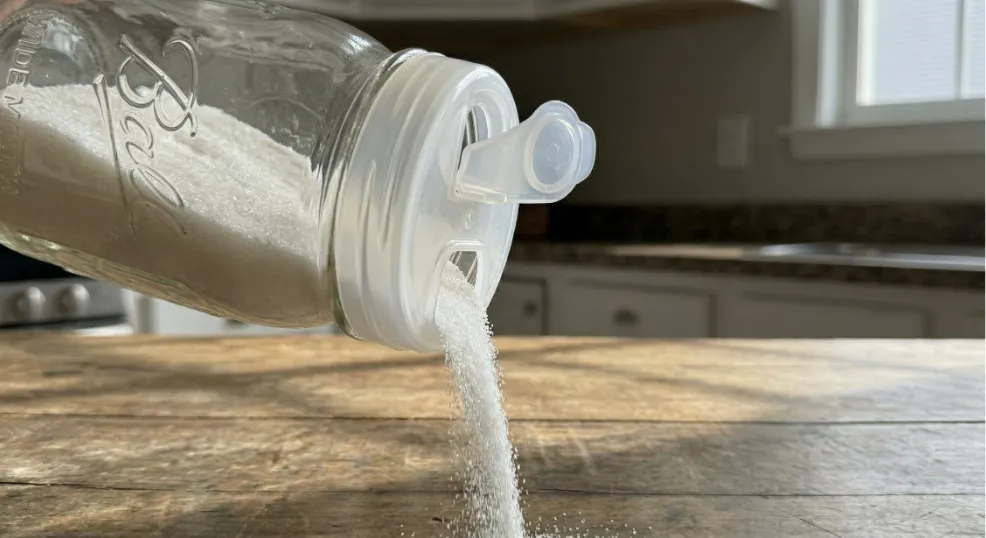
Plastic pour spouts designed for mason jars run about $1.50 per pack on Amazon and are dishwasher-safe. Attach them with a small bead of E6000 around the rim and allow the adhesive to cure fully before using the jar. If you prefer to modify a standard metal lid, drilling a spout hole is an option, though it requires a bit more care and the right drill bit size for your specific spout.
The forum consensus is clear on this one: standard lids trap moisture inside the jar with dry goods like rice and flour. The pour spout solves both the moisture and the mess problems at once.
Step 5: Seal and Finish
Sealing your lace is what separates a craft project from a durable pantry item. An unsealed lace edge fray after one or two wipe-downs in a working kitchen.
Brush a second coat of Mod Podge directly over the entire lace surface, covering all edges thoroughly. Let it dry for 24 hours, then apply an optional spray sealant for extra water resistance. The full cure time is 72 hours, so resist the urge to fill and use the jars right away.
A matte finish is the most popular choice for farmhouse-style pantries because it keeps the lace looking fabric-like rather than plasticky. Adding that extra topcoat extends durability by roughly 50%, making it well worth the wait.
Quick Troubleshooting Tips
Even a clean process has hiccups. Here are the most common issues and how to fix them before they dry permanently.
- Smooth bubbles immediately by pressing from the center outward with a damp fingertip before the Mod Podge sets.
- Re-glue lifting edges within the first hour using a small brush to work fresh Mod Podge underneath the lace.
- Trim fraying ends with small sharp scissors rather than pulling the thread, which worsens the fray.
- Wipe excess glue from the glass surface immediately with a damp cloth since dried Mod Podge is significantly harder to remove cleanly.
Final Thoughts
These DIY lace mason jar pantry canisters are genuinely one of the most practical craft projects you can tackle on a weekend. The total material cost stays well under $30 for a full set, and the result is a pantry setup that looks intentional rather than improvised. Give the sealant its full 72 hours to cure, load them up with your dry goods, and enjoy the upgrade every time you open that pantry door.