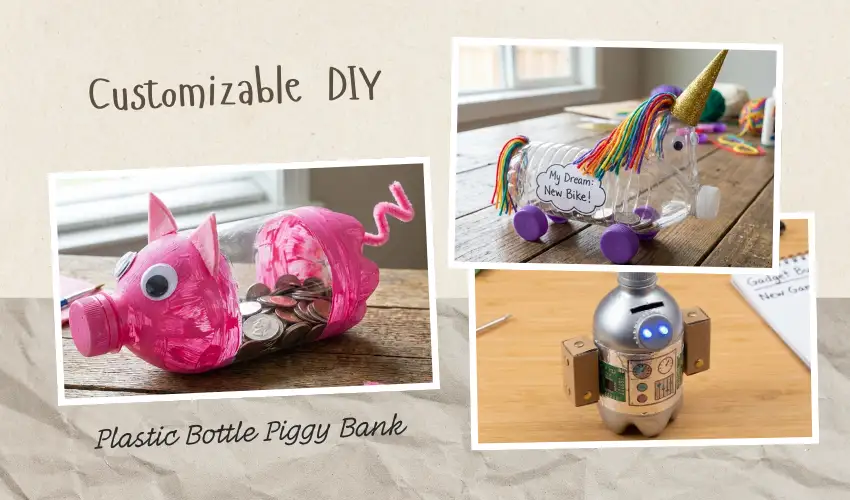
Every year, millions of plastic bottles end up in landfills when they could become something magical in your child’s hands. If you’re a parent searching for a craft that’s truly zero-cost, teaches financial basics, and keeps little ones entertained on a rainy afternoon, you’ve just struck gold. These aren’t your average cut-and-paste projects—each piggy bank doubles as a hands-on money lesson that makes saving feel like an adventure, not a chore.
At a Glance
Difficulty: Beginner-friendly (ages 4-10 with supervision)
Avg. Cost: Under $5 total (likely $0 if you raid your craft drawer)
Perfect For: Eco-conscious parents, homeschoolers, and anyone who wants to turn trash into teachable treasure
Why DIY Piggy Banks from Plastic Bottles Rock for Kids
Before we dive into the designs, let’s talk about why this craft beats anything you’d find on a store shelf. You’re giving your child a tangible way to watch their savings grow while rescuing a bottle from the recycling bin. The tactile experience of decorating their own bank makes them 3x more likely to actually use it, according to child development experts.
Unlike flimsy store-bought versions that crack after a week, these upcycled banks are sturdy enough to survive enthusiastic coin-dropping. You’ll spend less than the cost of a latte while teaching patience, goal-setting, and environmental responsibility in one sitting. Plus, the customization options mean every child gets a bank that reflects their unique personality.
Each design below includes a specific money lesson woven into the craft itself. You’re not just making art—you’re building financial literacy one bottle at a time.
3 Creative Ideas to Try
1. Classic Piggy Design (Easiest for Beginners)
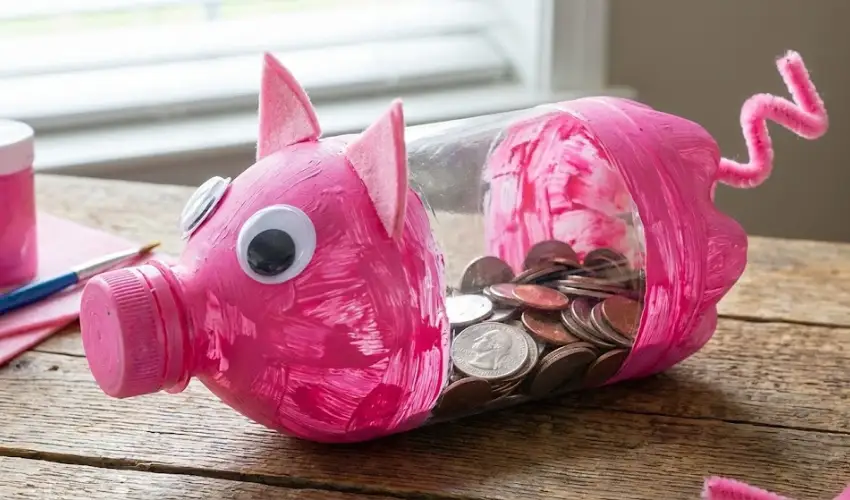
Start with a clean 2-liter bottle and four bottle caps for legs—the transformation takes just 30 minutes. Paint the bottle in classic pink acrylic (or let kids choose their own pig color), then hot-glue the caps to the bottom for stability. Cut a coin slot in the top, add googly eyes and felt triangles for ears, and twist a pink pipe cleaner into a curly tail.
Use a permanent marker to draw measurement lines on the side so kids see their savings climb. The transparent body creates visual excitement every time a coin drops, triggering that reward center in young brains that makes saving addictive in the best way.
Pair this craft with the “Track Your Treasure” lesson: every Sunday, count coins together and mark the new level on the bottle. When it reaches the top line, celebrate with a special outing they helped fund.
2. Magical Unicorn Piggy Bank
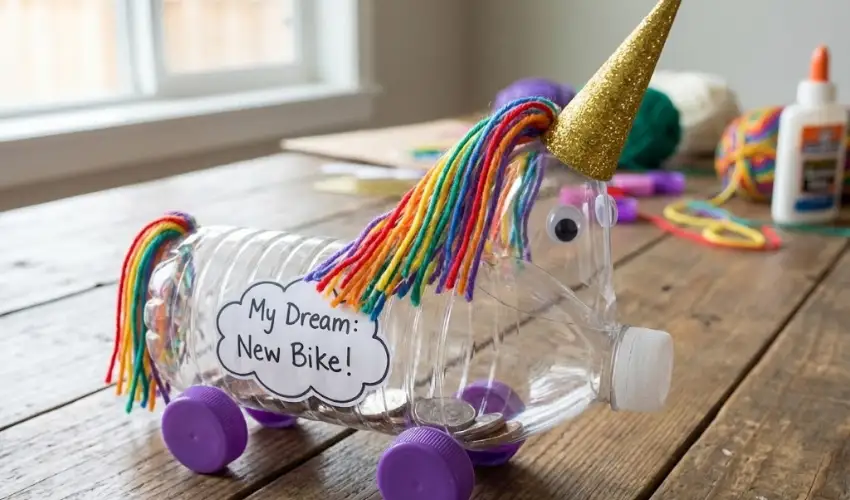
For the child who dreams in rainbows, this design adds whimsy and wonder to the saving ritual. Paint your bottle white or pastel purple, then craft a cone horn from gold cardstock wrapped in glitter glue—the secret is letting it dry completely before attaching. Create a flowing mane using strips of rainbow yarn or colorful tissue paper glued along the back.
Where other unicorn crafts stop at decoration, this version includes goal-setting magic. Write your child’s savings dream (that toy, book, or experience they’re working toward) on a paper cloud and tape it to the unicorn’s side. Every deposit becomes a step closer to making their wish come true, turning abstract saving into concrete progress.
The troubleshooting tip : if glitter glue won’t stick, apply a base coat of white glue first, then sprinkle loose glitter on top for maximum sparkle. This bank teaches the “Dream Fund” lesson—saving becomes meaningful when tied to something they genuinely want.
3. Robot Saver Bot (STEM Angle)
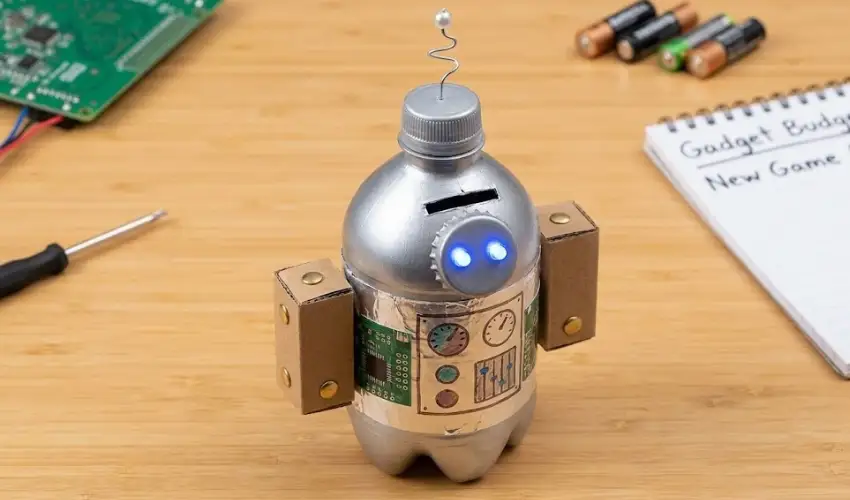
Tech-loving kids will flip for this futuristic twist that sneaks in basic engineering concepts. Spray paint your bottle metallic silver (or wrap it in aluminum foil), then attach small cardboard boxes for arms and a bottle cap face. The game-changer? Add battery-operated LED stick-on lights for glowing eyes that activate when coins drop through a strategically placed slot.
This design outshines basic tutorials by incorporating a “cause and effect” element—kids see immediate feedback when their savings trigger the lights. Use circuit board stickers or draw faux buttons and dials with metallic markers to reinforce the tech aesthetic. The movable arms (attached with brass fasteners) let kids “program” different poses.
The “Gadget Budget” lesson hits home here: calculate how many coins equal their next desired app, game, or gadget accessory. This robot proves saving isn’t boring—it’s the fuel that powers their tech dreams into reality.
Bonus: Customization Tips & Common Fixes
Every bottle size works with these designs—simply scale your decorations accordingly. A 20-ounce bottle becomes a travel-sized bank for car trips, while gallon jugs transform into family savings challenges. Always supervise cutting with younger children, and smooth sharp edges with sandpaper before decorating.
If paint peels, the fix is simple: wipe bottles with rubbing alcohol first to remove residue, then apply a primer coat. For stronger adhesion, use E6000 craft glue instead of hot glue on high-contact areas like legs and horns. If your child wants to access their savings before the bank is full, create a removable bottom by carefully cutting and reattaching with tape—no smashing required.
The beauty of these projects is their mistake-proof nature. Crooked ears become character, uneven paint adds charm, and every “imperfection” makes the bank uniquely theirs.
Final Thoughts
These three piggy banks prove that the best teaching tools are the ones kids create themselves. You’re not just recycling plastic—you’re building memories, confidence, and financial skills that compound over time. Check out our Eco-Friendly Crafts category for more upcycling inspiration, or search ‘kids money crafts’ above to keep the learning going.