Creating a flower out of silk or satin ribbon is one of those classic DIY projects that never goes out of style. Not only are the materials super affordable and easy to find, but the finished product is also incredibly versatile. Whether you want to add a beautiful touch to your gift wrapping, create hair accessories, make a vintage-inspired brooch, or add an elegant flair to your budget-friendly home decor, these handmade ribbon flowers are the perfect solution.
Here is a complete, easy-to-follow guide on how to make a gorgeous ribbon flower right at home.
Materials You Will Need
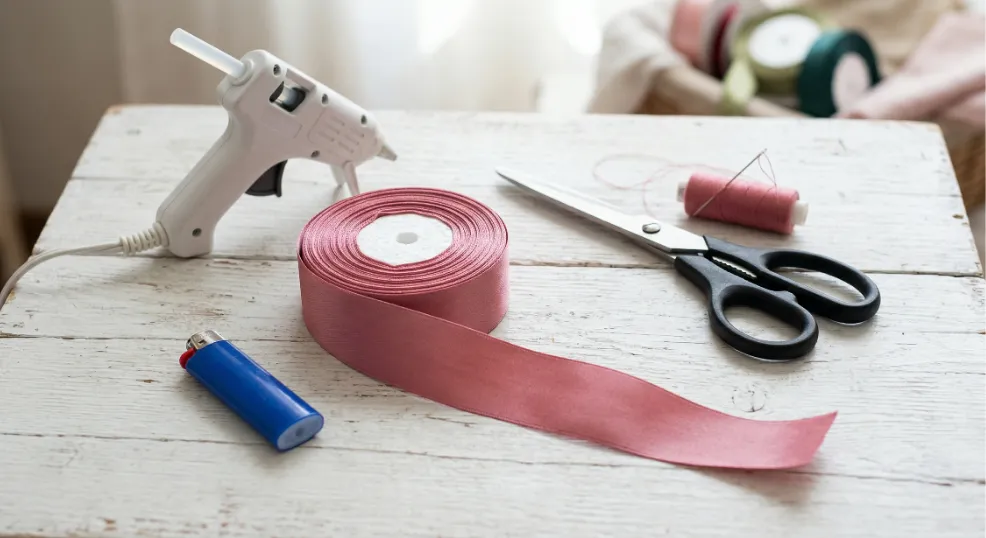
Before we start folding and crafting, make sure you have gathered these basic supplies from your craft stash:
- Silk or satin ribbon (about 1 to 1.5 inches wide, in any color you love)
- Sharp fabric scissors
- Needle and thread (choose a thread color that matches your ribbon)
- Hot glue gun
- A lighter or a candle (for sealing the ribbon edges so they don’t fray)
Step-by-Step Ribbon Flower Instructions
1. Cut and Prep the Ribbon

Cut a piece of ribbon about 12 to 20 inches (30–50 cm) long, depending on how large you want your finished flower to be. A longer ribbon will give you a fuller, more open bloom. Once cut, carefully and quickly run the edges of the ribbon near the flame of a lighter. This will melt the fibers just enough to seal them and prevent any annoying fraying.
2. Create the Center (The Bud)
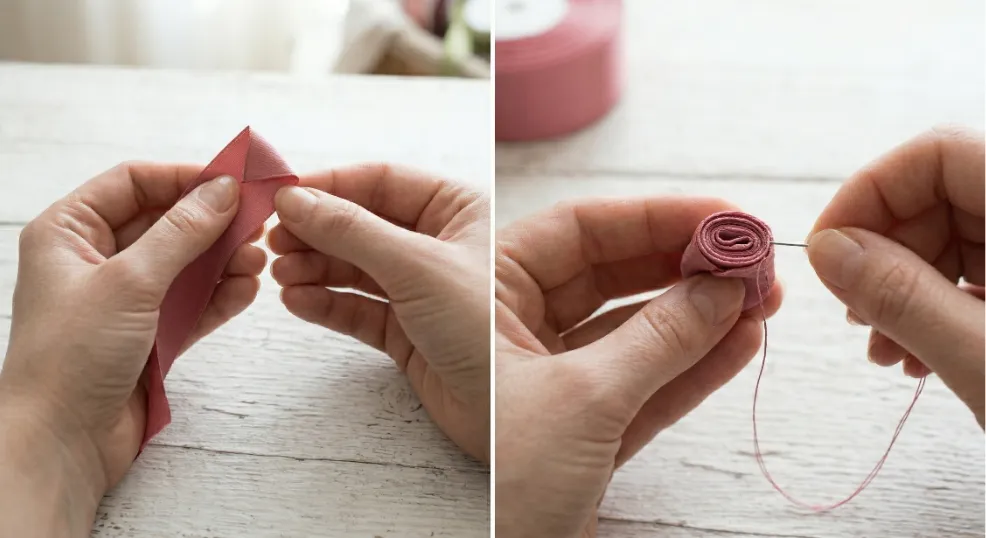
Take one end of your ribbon. Fold the top corner down to create a small triangle. Roll this triangle inward two or three times to form the tight center core—or the bud—of your rose. Use your needle and thread to stitch the bottom of this bud so it stays tightly rolled. If you prefer a no-sew method, a tiny dab of hot glue works perfectly here too.
3. Shape the Petals
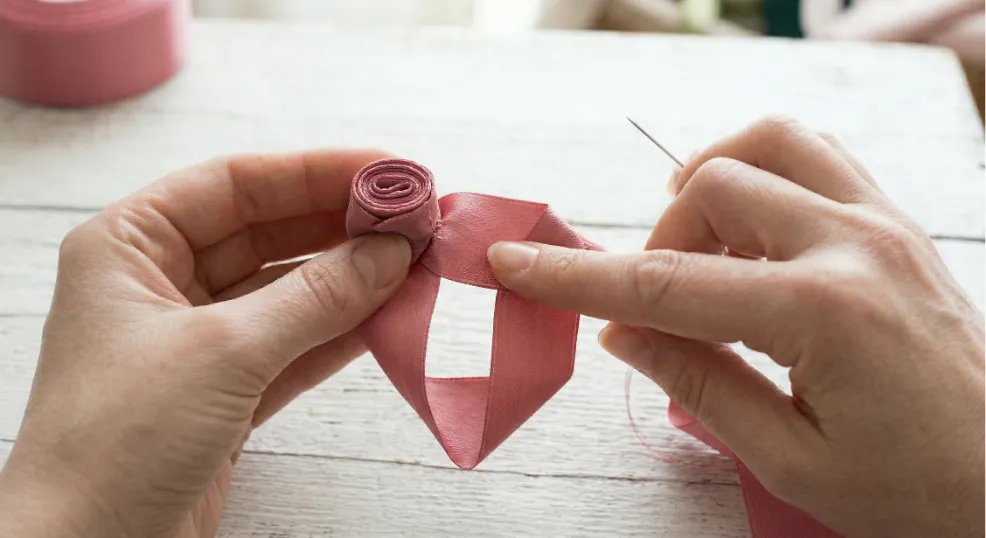
Now for the fun part! Hold the finished bud firmly at the base with one hand. With your other hand, fold the long tail of the ribbon outward (away from the bud) so it forms a 90-degree angle.
Roll the bud across this fold. You have just created your first petal! Secure the base of this petal with a quick stitch or a tiny drop of hot glue.
4. Repeat the Fold and Roll Process
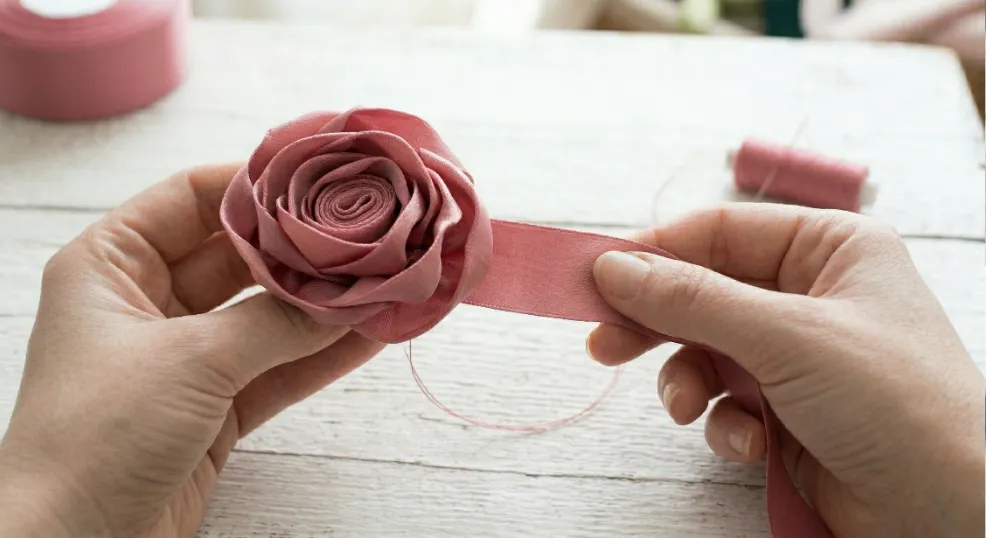
Keep repeating this technique: fold the ribbon outward, and roll the center bud across it. As you complete each round of petals, remember to secure the base with thread or glue. As the flower grows larger, try to wrap the ribbon a little more loosely. This slight looseness will give your rose a beautiful, naturally blooming appearance.
5. The Finishing Touches
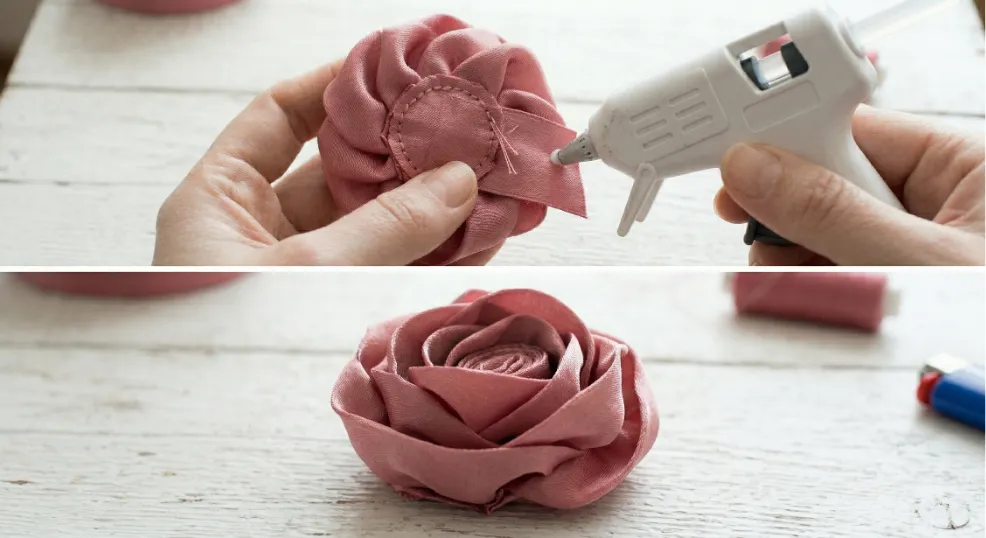
When you reach the end of your ribbon, or when the flower is as big as you want it to be, fold the remaining tail under the base of the flower. Glue or stitch it down securely so the whole structure is locked in place and won’t unravel. Trim off any excess ribbon if necessary.
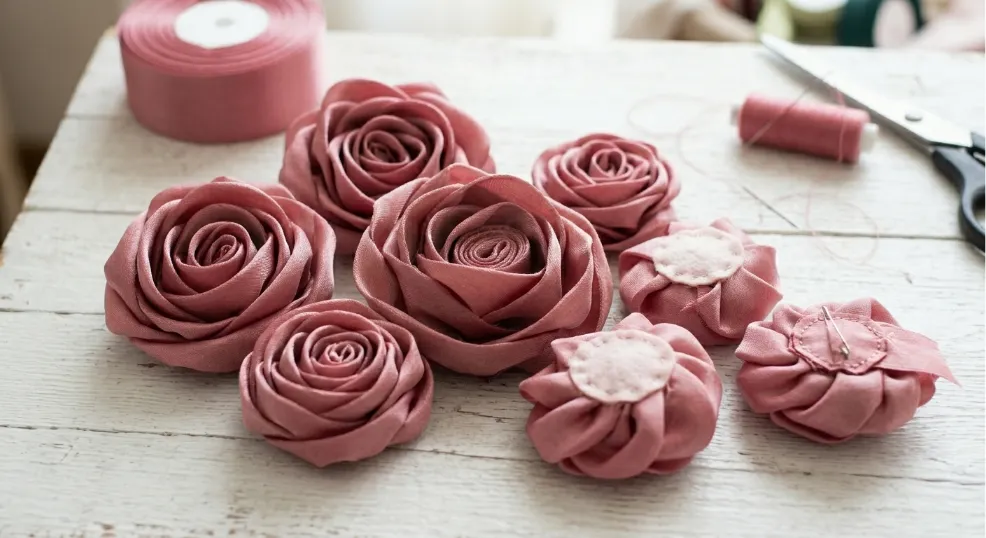
And there you have it! Your stunning DIY silk ribbon flower is complete and ready to be attached to your next creative project.
Looking for more crafty inspiration? If you enjoyed this simple fabric project, don’t forget to check out our ideas for more fun and eco-friendly ways to spruce up your home this weekend!