Learning Valentine crafting techniques for beginners doesn’t require fancy tools or years of experience. You just need the right foundational skills to create clean, polished mini samples that you can scale up later. This guide covers the core hands-on methods (cutting, folding, layering, stitching, and finishing) that form the building blocks for any Valentine project.
Why Master Core Techniques First
Jumping straight into full projects without practicing basic techniques often leads to frustration. Wobbly cuts, wrinkled folds, and messy edges make even simple crafts look amateur. Once you feel confident with these foundational skills, you can easily explore a wider variety of essential starter ideas for DIY Valentine crafts without feeling overwhelmed. Spending 20 minutes on technique drills with scrap materials saves hours of redoing finished pieces
Most beginner mistakes stem from skipping the prep work. A bone folder costs under $3 but transforms sloppy creases into sharp professional lines. Similarly, knowing which paper weight works for folding versus layering prevents material waste and project failures.
Cutting Perfect Paper Hearts
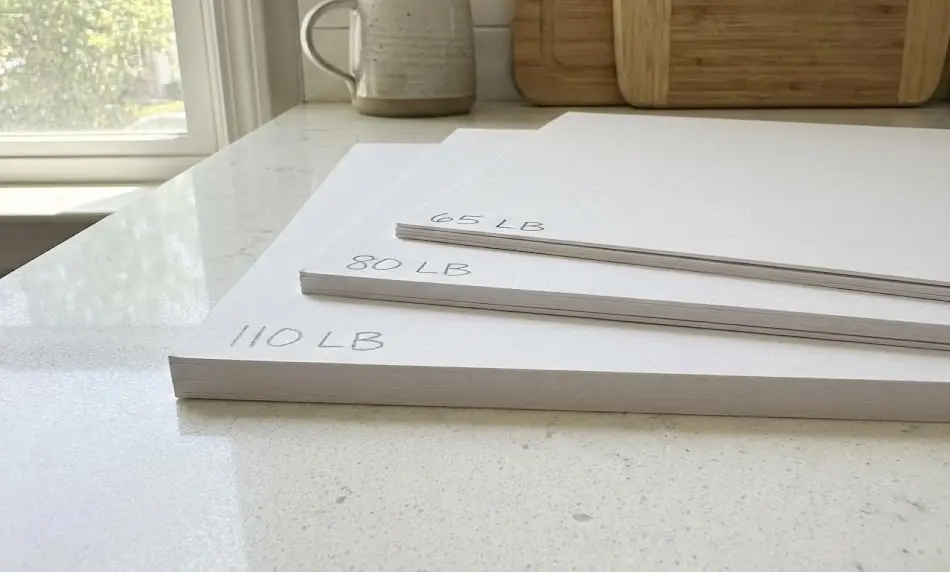
Use cardstock between 80 and 110 lb for the cleanest cuts. Thinner paper tears easily when handled, while thicker cardstock resists folding and dulls blades faster. Standard US craft stores like Michaels stock this weight range in their Valentine’s section.
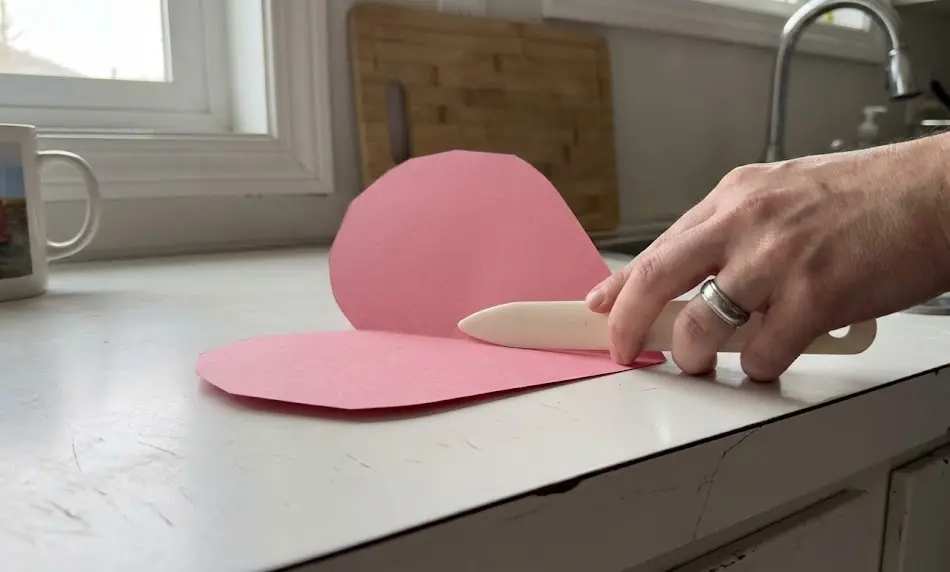
Fold your paper in half before cutting to create symmetrical hearts in one pass. Draw half a heart shape along the folded edge, then cut through both layers simultaneously. This method eliminates lopsided results that happen when cutting freehand shapes.
Blunt kid scissors reduce injury risk by 75% according to CPSC data, making them ideal for curved cuts. Adult craft knives require cutting mats underneath to prevent slips and protect your work surface. Always cut away from your body and keep fingers behind the blade path.
Creating Crisp Folds and Creases
A bone folder or credit card edge creates sharper creases than fingernails alone. Many beginners on r/DIY complain of “wrinkly messes” when they skip this tool, which costs less than a latte. Run the flat edge along your fold line with firm pressure to compress the paper fibers.
For basic origami hearts, start with a 6-inch square of standard printer paper. Fold it in half diagonally to form a triangle, then fold the two bottom corners up to meet the top point. Fold the top flaps down and tuck the points inward to round the top of the heart shape.
Practice each fold three times on scrap paper before using your final material. Muscle memory develops quickly, and your third attempt typically shows 50% fewer wrinkles than your first. Score your fold lines lightly with the bone folder before creasing for even cleaner results.
Simple Layering Techniques
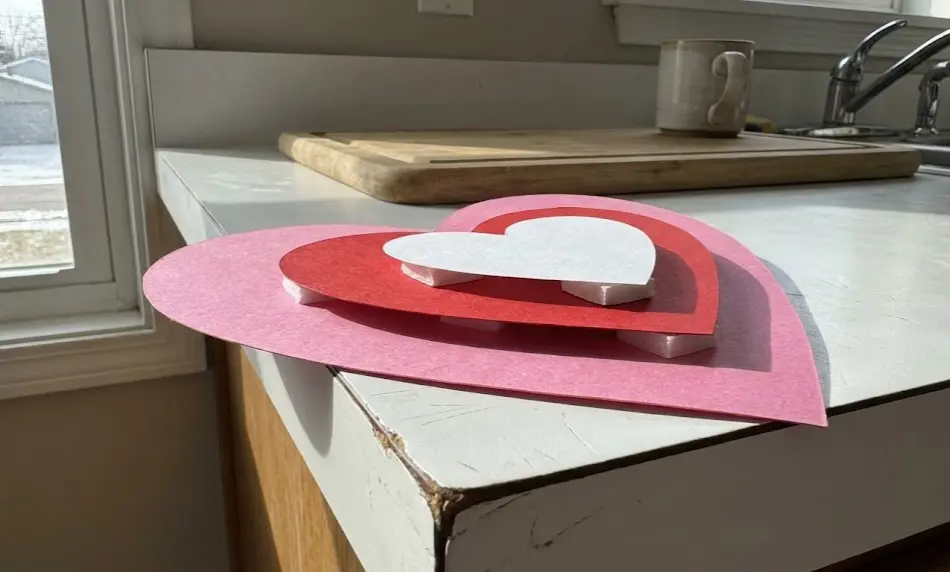
Stack elements from largest to smallest, securing each layer before adding the next. Use small dots of white craft glue at the center and corners rather than coating entire surfaces. Too much adhesive causes warping as it dries and creates visible lumps under thin paper.
Wait 30 seconds between adding layers to let the glue set slightly. Rushing this step causes top pieces to slide around when you press them down. Test your adhesive on scrap materials first, since some glues wrinkle certain papers or fabrics.
For dimensional layering, use foam adhesive squares between elements. Cut them into smaller pieces for delicate work, placing them only where layers need separation. This creates shadow effects without adding bulk that makes finished pieces hard to store or mail.
No-Sew Fabric Heart Methods
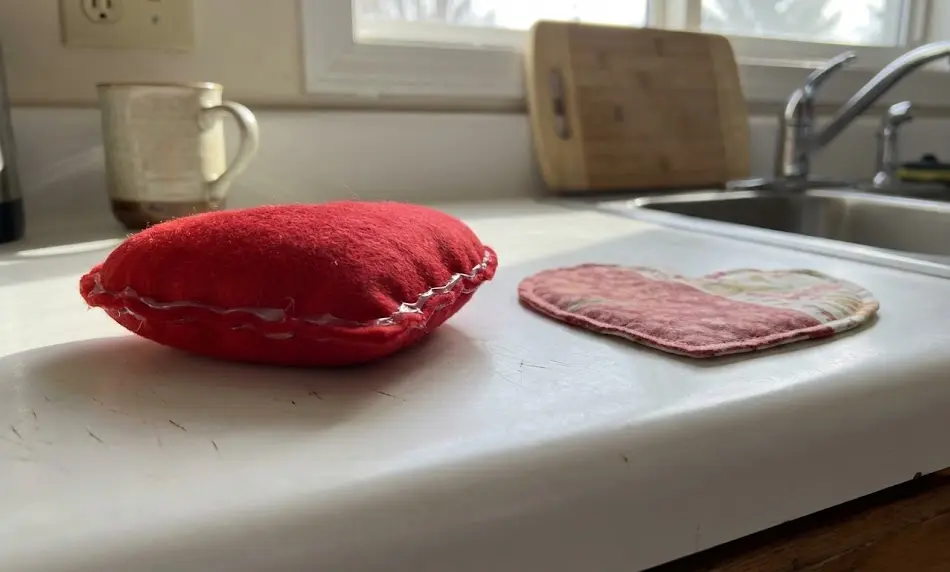
Cut two identical heart shapes from felt or cotton fabric using your paper template as a guide. Apply fabric glue around the edges of one piece, leaving a 1-inch opening at the top. Press the second heart on top and hold for 15 seconds per section.
Stuff small amounts of polyester fiberfill through the opening using a chopstick or pencil eraser. Don’t overstuff, as this distorts the heart shape and stresses the glued seams. Seal the opening with a thin line of glue and clamp with a clothespin until dry.
For flat fabric hearts without stuffing, use fusible webbing (iron-on adhesive). Place the webbing between two fabric layers and press with a medium-heat iron for 10 seconds. Peel away the backing paper while warm, then trim the fused fabric into your desired heart shape.
Basic Hand-Stitching for Decorative Details
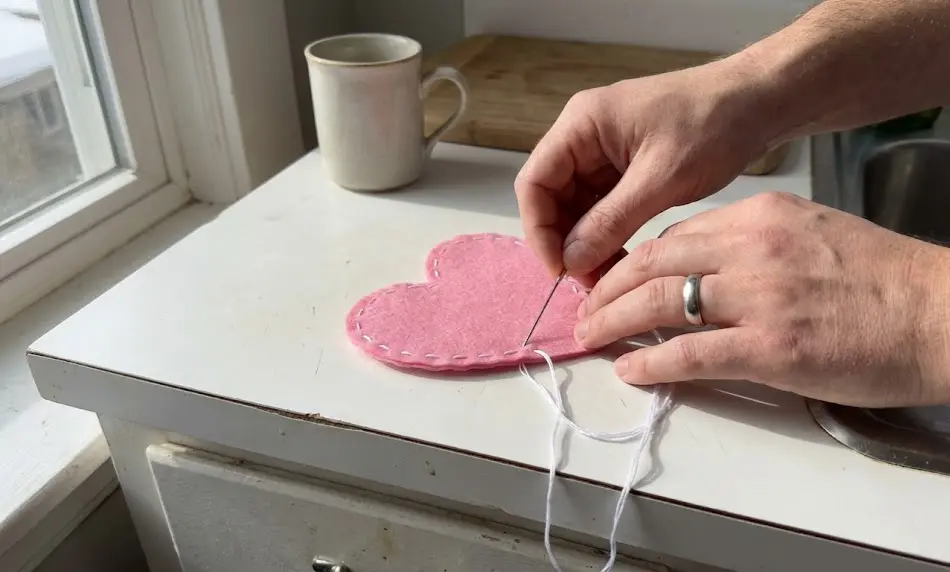
Thread a large-eye needle with 18 inches of embroidery floss (longer tangles easily). Tie a double knot at the end, leaving a 2-inch tail for security. Push the needle up through the back of your fabric so the knot sits hidden against the wrong side.
For simple running stitch, bring the needle down 1/4 inch away, then back up another 1/4 inch forward. Keep your stitches evenly spaced by measuring or using a ruler as a guide. This creates a dashed line effect perfect for heart outlines or attaching layers.
End your stitching by making three small stitches in the same spot on the back side. Trim the thread close to the fabric, leaving just 1/4 inch. This knot method holds better than single knots and doesn’t create visible bumps on the front.
Punching Clean Holes
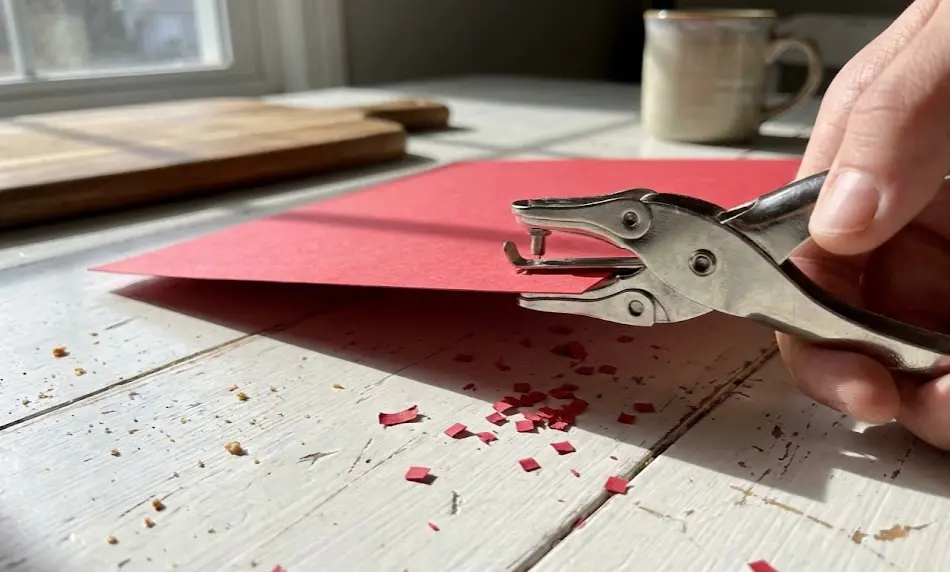
Use a standard hole punch for holes 1/4 inch in diameter, marking placement with a pencil dot first. Position your paper inside the punch jaws so the dot sits centered in the viewing window. Squeeze firmly in one smooth motion rather than pumping repeatedly.
For tiny holes (under 1/8 inch), use a push pin or large needle with cardboard underneath as backing. Pierce straight down rather than at an angle to prevent tearing. These small holes work well for threading thin ribbon or creating lace-like patterns.
Clean out paper chad (the punched circles) from your punch jaws every 10 holes. Built-up chad causes jams and uneven cuts. Many punches have a release button on the bottom, or you can slide a thin wire through the cutting area.
Tying Simple Twine Bows
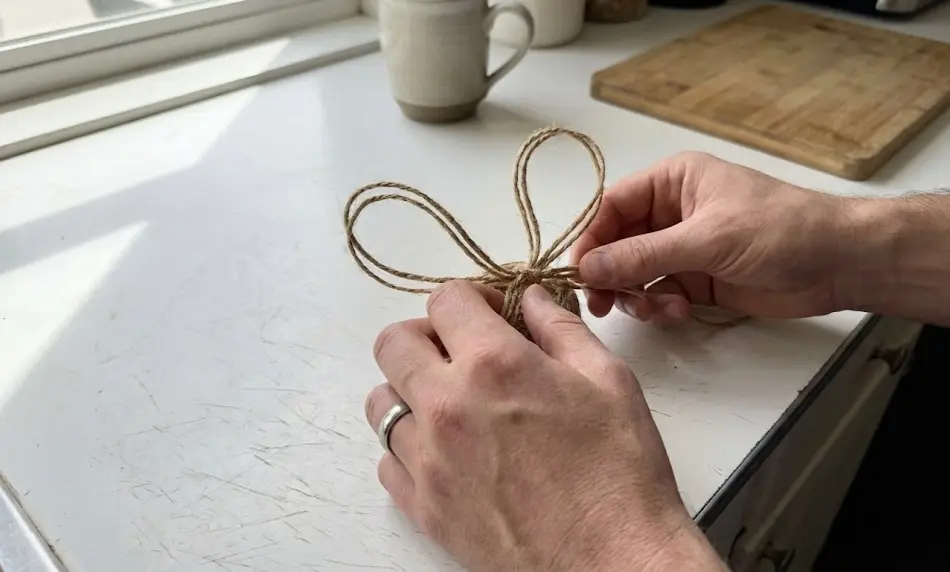
Cut twine 12 inches long for a finished bow roughly 2 inches wide. Form two loops of equal size, crossing them in the center like bunny ears. Wrap one loop around the other and pull both ends tight to create the knot.
Trim the tails at an angle with sharp scissors for a polished look. Pull gently on each loop to adjust the bow size and shape. If one side looks larger, tug the opposite tail to even things out.
Secure bows to projects with hot glue on the center knot only (never on the loops). A tiny dot holds better than covering the entire back. For paper crafts, use double-sided tape instead since hot glue can warp lightweight materials.
Applying Washi Tape Borders
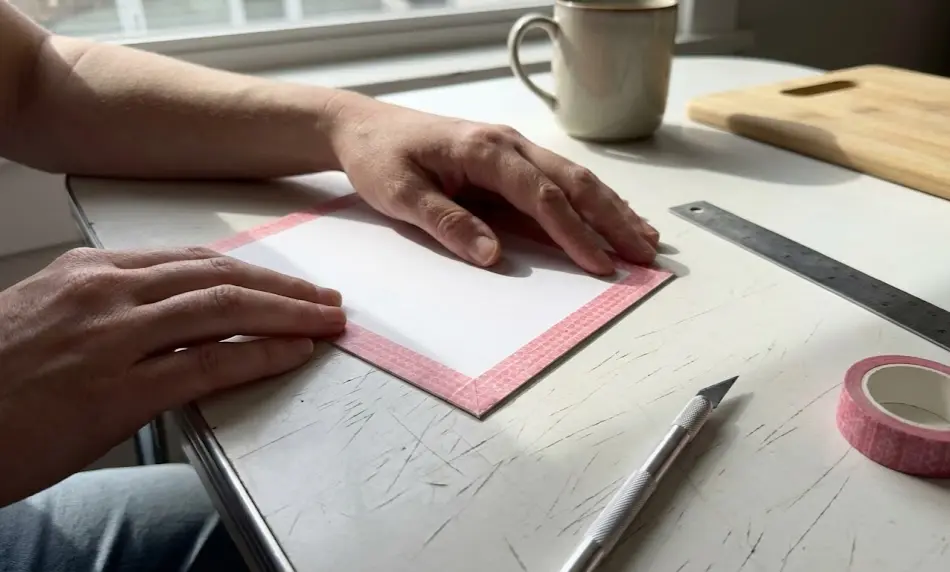
Measure your border area and cut washi tape 1/2 inch longer than needed. This overlap allows you to wrap the ends around edges for a finished look. Align one long edge of the tape with your border line and smooth it down with your finger as you go.
Prevent bubbles by pressing from the center outward rather than dragging your finger along the length. If bubbles form, lift the tape gently and reapply. Washi tape’s low-tack adhesive allows repositioning for about 10 seconds after initial placement.
For corner turns, stop 1/8 inch before the edge and press down. Cut the tape at a 45-degree angle, then start your next strip to create a mitered corner. This technique looks cleaner than wrapping tape around corners, which creates bunched overlaps.
Sealing with Mod Podge
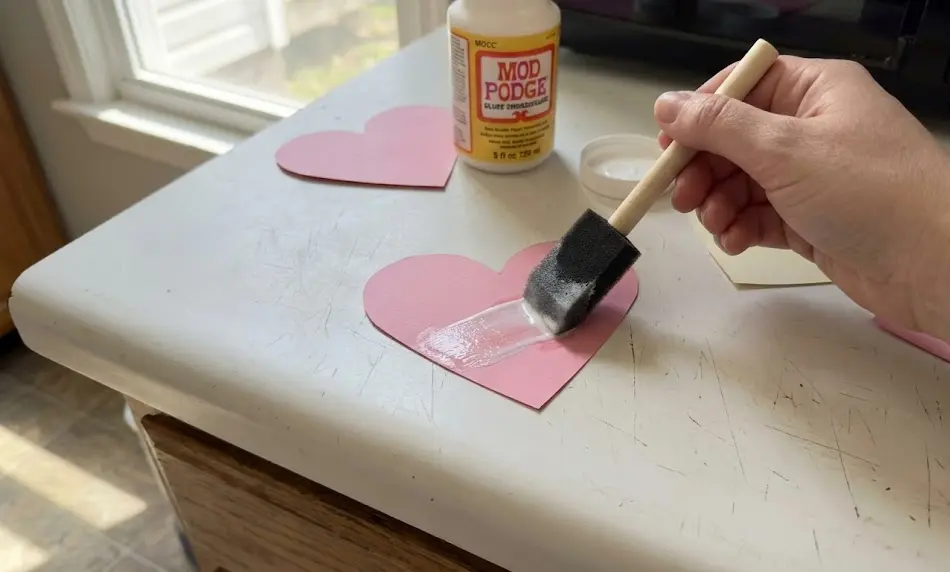
Pour a quarter-size amount of Mod Podge onto a foam plate or palette. Dip your foam brush lightly and wipe off excess on the plate edge. Too much formula creates streaky white residue that takes days to clear.
Apply thin, even coats in one direction (horizontal or vertical, not both). Let each coat dry completely for 24 hours before adding another layer. The formula seals porous surfaces and prevents warping in 90% of humidity-exposed crafts according to product testing.
Work in a well-ventilated space since Mod Podge has a mild chemical smell. Clean your brush immediately after use with warm water and soap. Dried Mod Podge ruins foam brushes permanently, but wet formula washes out in seconds.
Weeding and Detail Work

Use tweezers or a bent fish hook to remove cut paper layers cleanly. Grip close to the base of the piece you’re removing rather than at the edge. Pulling from edges causes tearing and frayed results that r/crafts users call their top frustration.
Work slowly on intricate cuts, removing one small section at a time. Rushing this step ruins 10 minutes of careful cutting in 2 seconds. Keep your base paper flat against your work surface to prevent accidental lifting.
For stubborn pieces stuck to your cutting mat, slide a craft knife tip under the edge and lift gently. Never force stuck paper, which tears the design. A light spray of water on the mat’s adhesive before weeding makes release easier.
Practice Schedule for Skill Building
Dedicate 15 minutes to each technique using scrap materials before starting final projects. Make five practice hearts with progressively smaller sizes to master cutting control. Fold ten origami shapes in a row to build consistent crease habits.
Keep a “technique sampler” sheet where you test each method on a single piece of cardstock. This reference shows how different materials react to your tools and adhesives. Date each sample so you can track improvement over weeks.
Set up a small scrap bin near your workspace for guilt-free practice. Mistakes on cheap construction paper cost pennies compared to ruining specialty cardstock. Most techniques become automatic after 20 repetitions, making practice time a smart investment.