Tired of craft lists that lump toddlers and tweens together? These 25 tin can projects are sorted by age and skill, so you’ll never hand scissors to a preschooler again. Each idea transforms recycled cans into learning moments—from sound exploration for littles to magnetism experiments for big kids. Perfect for budget-conscious parents and teachers who want mess ratings, time estimates, and real educational value in every project.
At a Glance
Difficulty: Beginner to Intermediate (age-scaled)
Avg. Cost: $2–$8 per project
Perfect For: Parents seeking structured, safe crafts; teachers needing STEM-aligned activities for mixed-age classrooms
25 Creative Ideas to Try
1. Tin Can Shaker (Ages 3-5)

Fill a sanded can with dried beans or rice, seal the top with duct tape, and let little ones decorate with non-toxic finger paints. This project teaches cause-and-effect as kids discover how different fillings create unique sounds.
The beauty here is zero sharp tools and maximum sensory play. Spending just 15 minutes on prep means toddlers get a safe instrument that builds rhythm awareness without the $200 music class.
Seal it tight and store in a craft bin for rainy-day entertainment that doubles as a science lesson.
2. Painted Tin Can Stamps
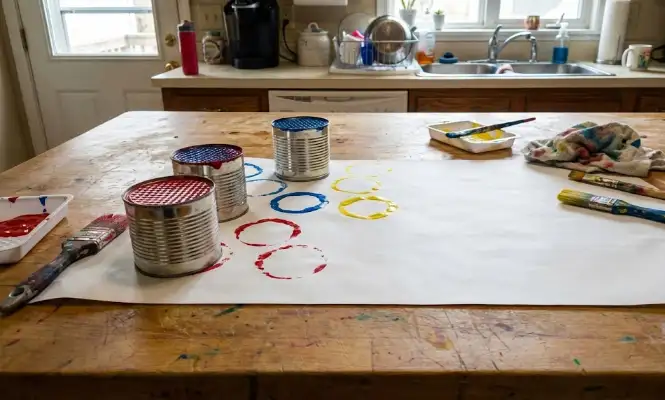
Tape textured materials like bubble wrap or corrugated cardboard to the bottom of a can, dip in washable paint, and stamp onto paper. Preschoolers learn color theory when overlapping red and blue creates purple.
This beats store-bought stamps because kids design the texture themselves using household scraps. The 10-minute setup yields endless pattern combinations that strengthen fine motor skills.
Hang the finished prints as a gallery wall or bind them into a homemade art book.
3. Tin Can Drum
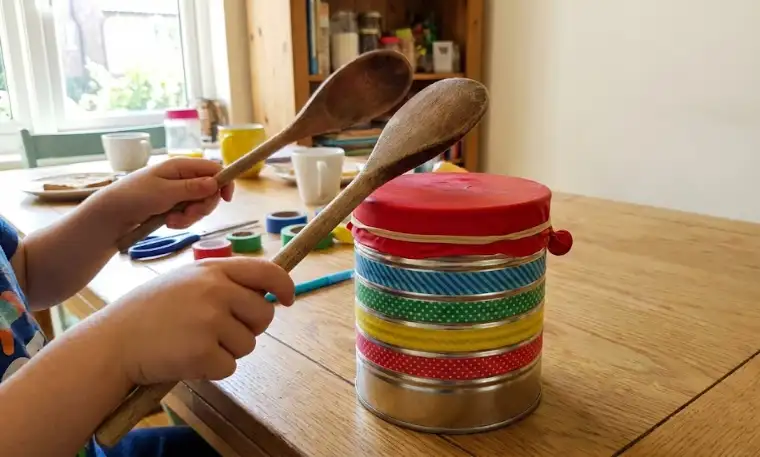
Stretch a balloon over the open end of a cleaned can and secure with rubber bands to create a drum head. Kids use wooden spoons to tap out rhythms, exploring pitch and volume based on striking force.
The taut balloon introduces basic physics concepts while costing less than $3 in materials. Unlike plastic drums that crack, this version survives toddler enthusiasm and teaches instrument-making.
Form a kitchen band with multiple drums in different sizes for a full percussion ensemble.
4. Sensory Discovery Cans
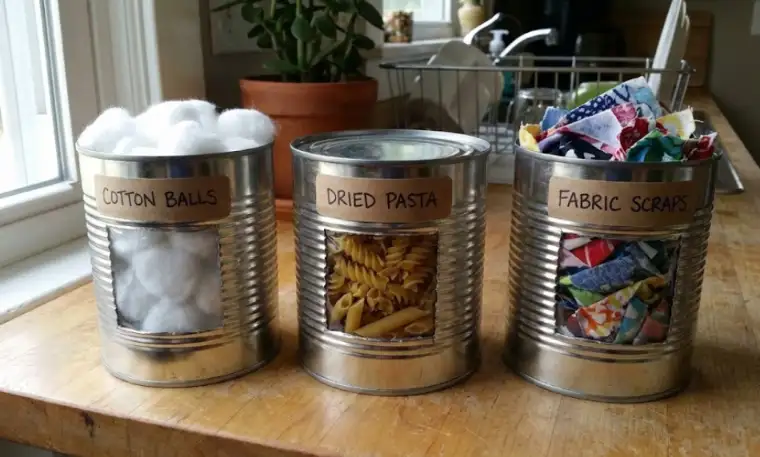
Cut a small viewing window into the side of a can (adults only), fill with textured items like feathers or pom-poms, and seal with clear packing tape. Toddlers shake and observe the contents through the window, building visual tracking skills.
This self-contained sensory bottle eliminates choking hazards while delivering the Montessori-style exploration parents pay for in specialty toys. Five cans with different fillings create a complete tactile learning set.
Rotate contents seasonally—pine cones in winter, shells in summer—to refresh interest without new purchases.
5. Nature Collection Cans
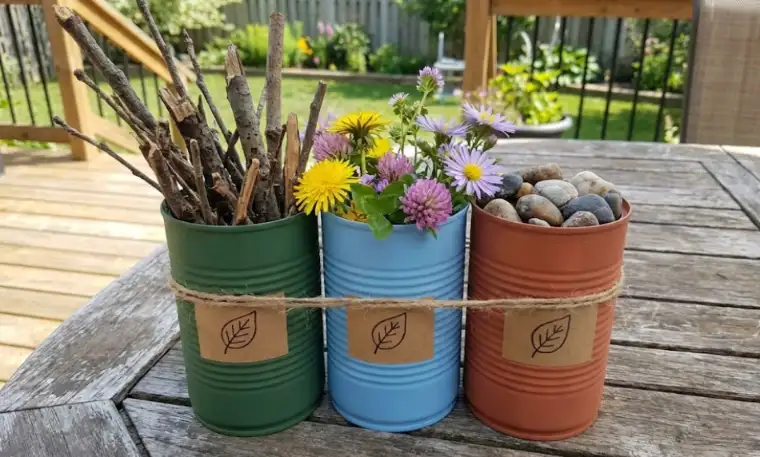
Punch two holes near the rim, thread jute twine for a handle, and send kids on a nature walk to collect treasures. Sorting leaves versus rocks into labeled cans teaches classification skills and sparks biology conversations.
The portable design means learning continues beyond the backyard. Spending 20 minutes decorating cans with nature-themed acrylic paint creates a reusable field kit that lasts years.
Display collections on a nature table to encourage observation and drawing practice.
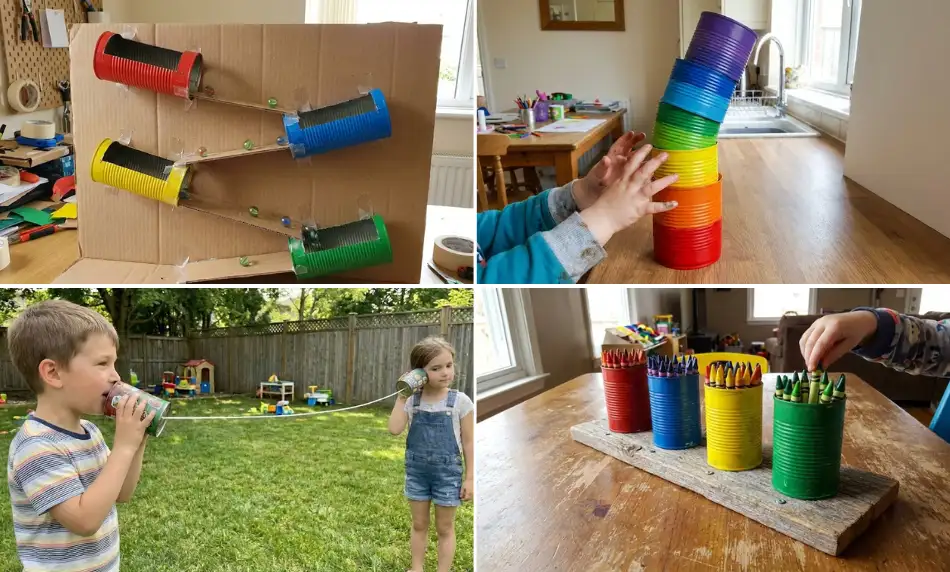
6. Rainbow Stacking Tower (Ages 3-5)

Pro Tip: Apply a coat of metal primer before the colored acrylics; this prevents the paint from chipping off the metal surface during the repetitive stacking and tumbling.
Paint cans in red-orange-yellow-green-blue-purple sequence and let kids stack by size. This simple activity reinforces seriation (ordering by dimension) and color spectrum recognition through hands-on play.
The weight of metal cans provides satisfying crashes when the tower falls, unlike lightweight plastic that frustrates toddlers. Each rebuild strengthens spatial reasoning and perseverance.
Add number stickers to each can for bonus counting practice during cleanup.
7. Owl Pencil Holder (Ages 6-8)
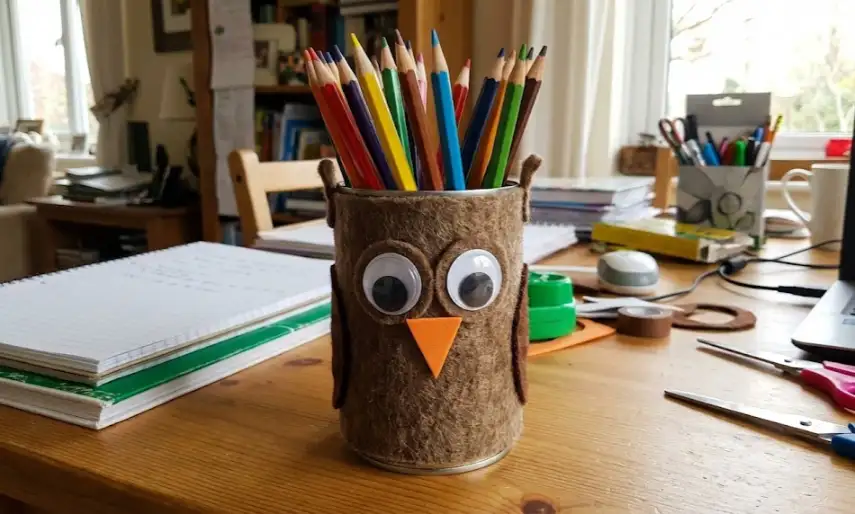
Wrap a can in felt fabric secured with craft glue, add foam feather cutouts and googly eyes, and attach a felt beak. This beginner’s upholstery project teaches measurement as kids cut felt to exact can circumference.
The structured design introduces pattern following while allowing creative color choices for personalization. Unlike paper-covered versions that peel, felt withstands daily desk use throughout the school year.
Make an entire woodland collection—fox, raccoon, bear—to organize supplies by subject.
8. Tin Can Bowling Game
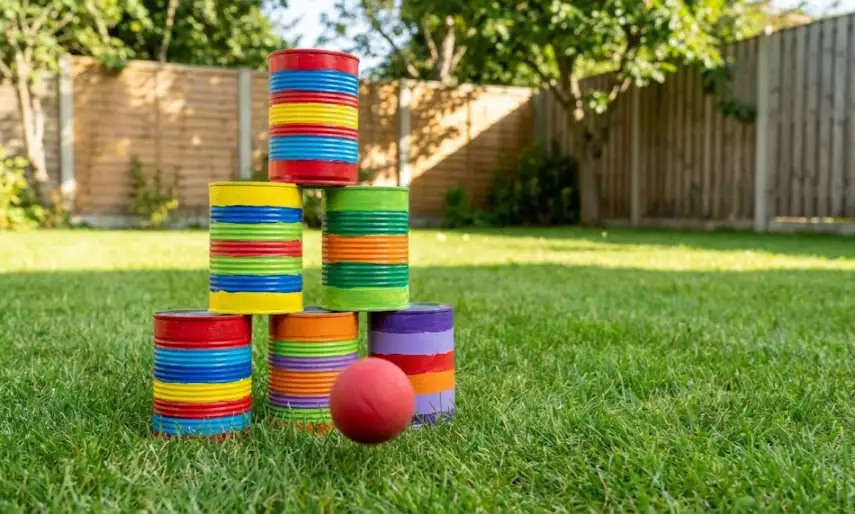
Paint numbers on six cans, arrange in a triangle, and roll a tennis ball to knock them down. Kids practice addition by totaling fallen can numbers and explore physics concepts like momentum and force.
This backyard game beats plastic bowling sets that crack after one summer. The reusable design adapts to math drills by changing number combinations or switching to multiplication facts.
Host a tournament with friends, tracking scores on a chalkboard for real-world data practice.
9. Flower Vase Decor
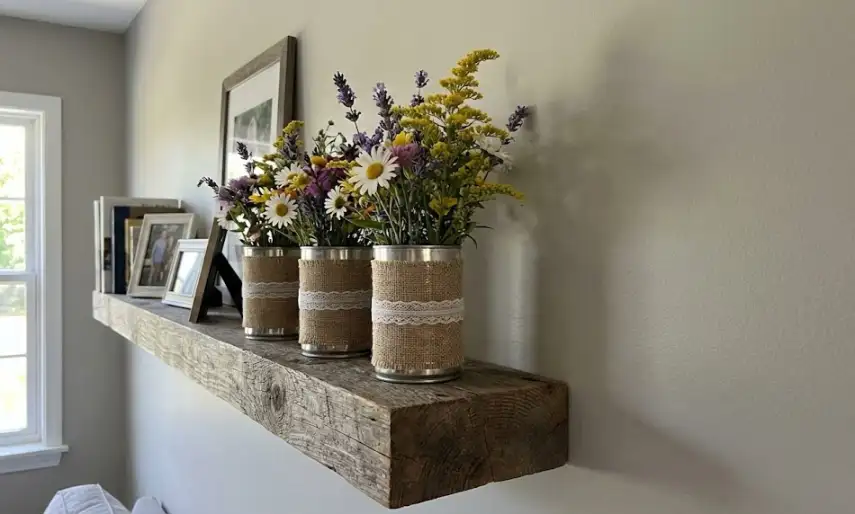
Adhesion Advice: Use a low-temp hot glue gun to secure the lace; liquid craft glue often seeps through the porous burlap fibers, leaving unsightly dark wet spots on the fabric.
Layer burlap fabric around the can, tie with lace ribbon, and fill with fresh-cut garden flowers. This project merges art with botany as kids learn stem care and flower identification.
The natural materials create a farmhouse aesthetic that belongs on Pinterest, while teaching design principles like texture contrast. Spending $5 on trim yields vases worthy of gifting to teachers.
Group three vases at varying heights for a professional centerpiece arrangement.
10. Robot Parts Organizer
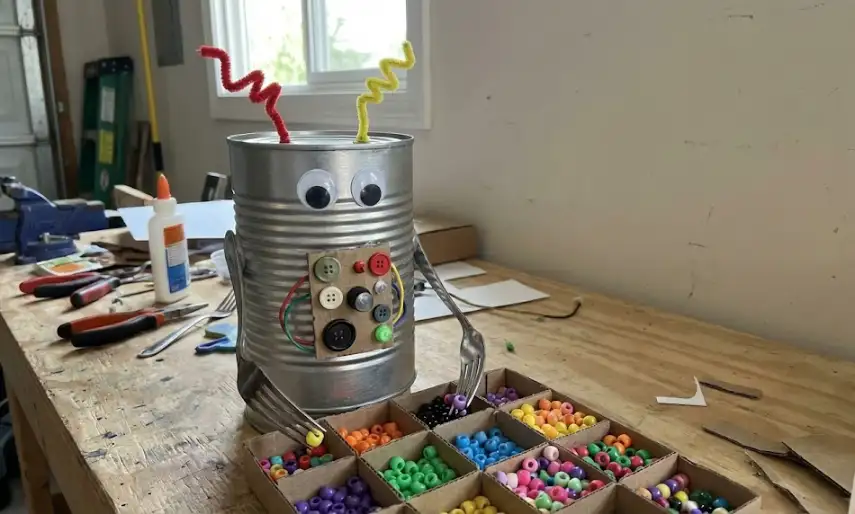
Safety Check: Ensure the fork tines are bent inward or dulled with a file to prevent accidental scratches while kids are reaching for supplies.
Transform cans into robots with metallic spray paint, pipe cleaner antennas, and button details. Use them to sort craft supplies like beads by color, making cleanup a STEM-themed game.
The playful design motivates reluctant organizers while introducing engineering vocabulary—gears, circuits, sensors. Unlike cardboard organizers that collapse, metal cans withstand daily sorting abuse.
Label each robot with supply types using chalkboard paint for flexible reorganizing.
11. Wind Chime Garden
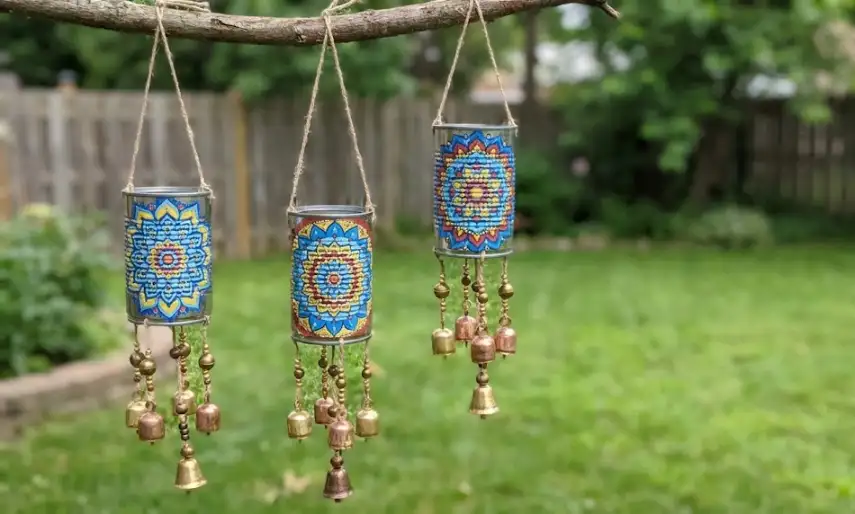
Drill holes in can bottoms (adult task), paint with weather-resistant acrylics, and string with bells or washers. Hanging at different heights creates a melodic composition that teaches pitch relationships.
The outdoor installation combines art and meteorology as kids observe wind patterns affecting sound. This permanent garden feature costs less than commercial chimes while offering customization store versions lack.
Record the sounds on different weather days to create a nature soundtrack collection.
12. Tin Can Telephone
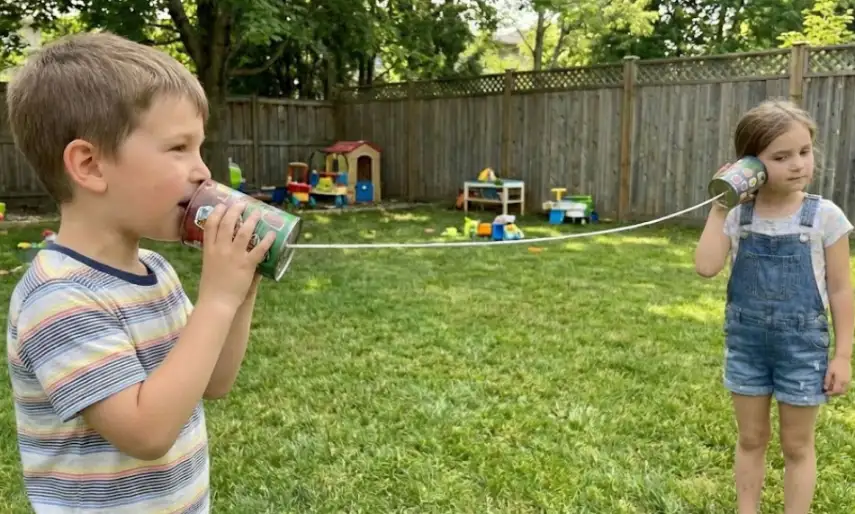
Puncture can bottoms, thread waxed string through and knot inside, then stretch tight between two people. Speaking into one can transmits vibrations that demonstrate sound wave mechanics in action.
This classic experiment beats diagrams by letting kids feel the string vibrate. Adjusting string tension or length introduces variable testing and scientific method thinking.
Challenge kids to whisper messages or test maximum distance before sound quality fails.
13. Marble Run Chute
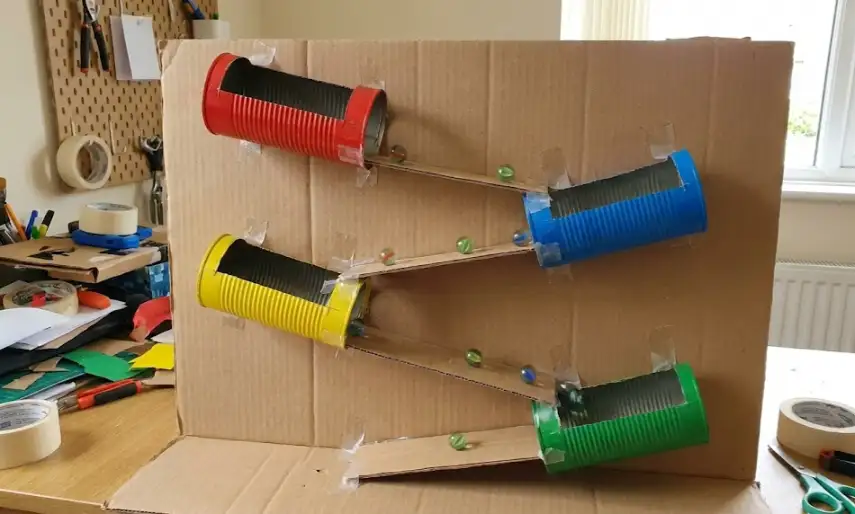
Cut cans lengthwise (adult step), sand edges smooth, and mount to cardboard at angles using hot glue. Marbles race through the chutes, teaching gravity and acceleration through trial-and-error angle adjustments.
The metal surface creates satisfying clinking sounds that reward each successful run. Building this permanent fixture costs $6 but delivers engineering challenges comparable to $50 marble run kits.
Expand the design by adding funnels or cardboard tubes for a room-spanning course.
14. Crayon Holder Caddy (Ages 6-8)

Mount four cans to a wooden plank base using screws, paint in rainbow colors, and sort crayons by shade. This portable caddy teaches color theory and keeps supplies accessible during art sessions.
The elevated design prevents tip-overs that scatter crayons across floors. Unlike plastic caddies that crack, this version survives being lugged between rooms for years.
Add chalkboard labels to each can for switching between seasons of craft supplies.
15. Tin Can Lantern (Ages 9-12)
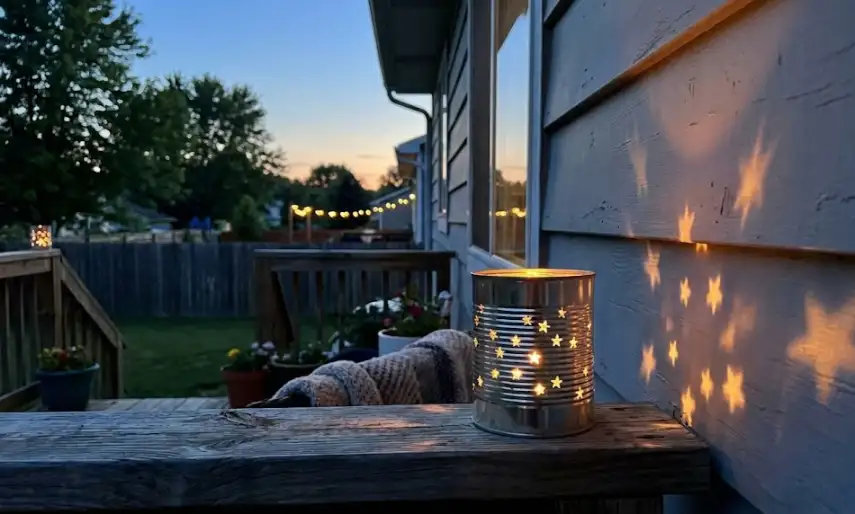
Fill a can with water and freeze overnight, then use hammer and nail to punch decorative patterns while ice prevents denting. Insert a battery-powered tea light to cast shadows that explain light refraction.
This supervised metalwork project introduces tool safety and planning as kids sketch patterns before hammering. The permanent lantern works for camping trips or patio ambiance.
Experiment with different hole sizes to see how light beam width changes.
16. Magnetic Tin Can Organizer
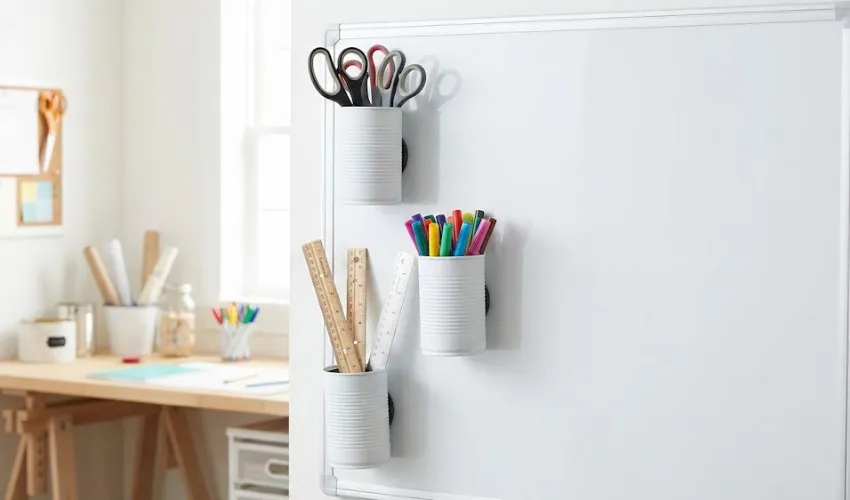
Glue strong magnets to can backs and attach to metal surfaces like filing cabinets. This space-saving organizer teaches magnetism principles while solving small-space storage woes.
The vertical arrangement maximizes wall space that typically goes unused. Spending $8 on magnets creates a modular system that rearranges as needs change.
Label cans with student names for individual supply bins in shared classrooms.
17. Herb Planter Tower
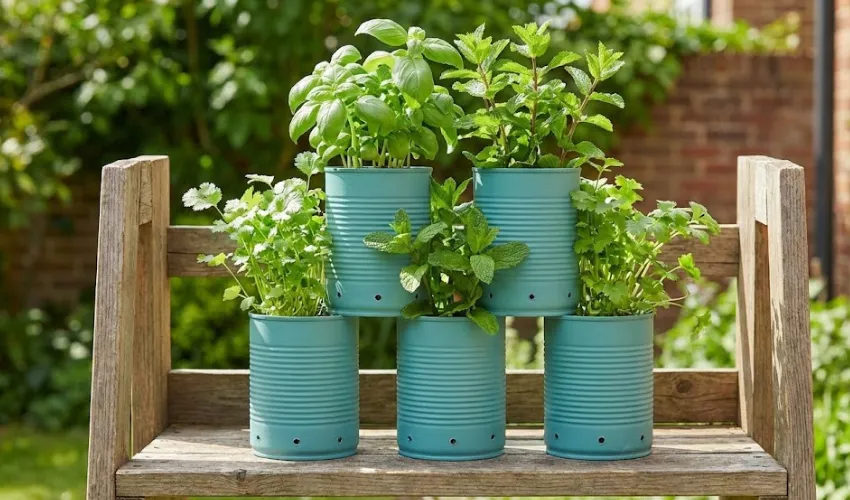
Drill drainage holes in bottoms, fill with potting soil and herb seedlings, then stack in a pyramid. Kids learn plant biology by tracking growth rates and harvesting leaves for cooking.
The vertical design suits apartment balconies where ground space is scarce. Unlike plastic pots that fade, painted metal cans develop a weathered patina that adds character.
Research which herbs need more sunlight and arrange the tower accordingly.
18. Constellation Night Light

Research a constellation like Orion or Ursa Major, mark star positions on a can, and puncture with varied hole sizes for brightness levels. The projected pattern teaches astronomy and spatial mapping.
This DIY planetarium costs less than $5 while sparking conversations about mythology and navigation. Kids learn star names and patterns visible in their actual night sky.
Create a full zodiac collection and rotate monthly to match visible constellations.
19. Tin Can Stilts
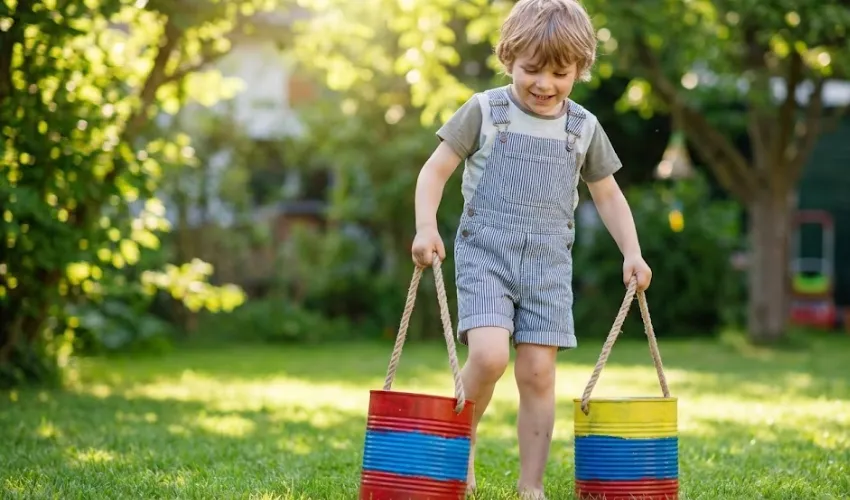
Puncture two holes near the top of large cans, thread thick rope through for handles, and step up for circus-style walking. This backyard challenge builds balance and core strength through playful movement.
The adjustable rope length accommodates growing kids without replacing equipment. Unlike plastic stilts that snap under weight, metal cans support up to 100 pounds safely.
Set up obstacle courses or race against friends to increase difficulty levels.
20. Desk Drawer Dividers
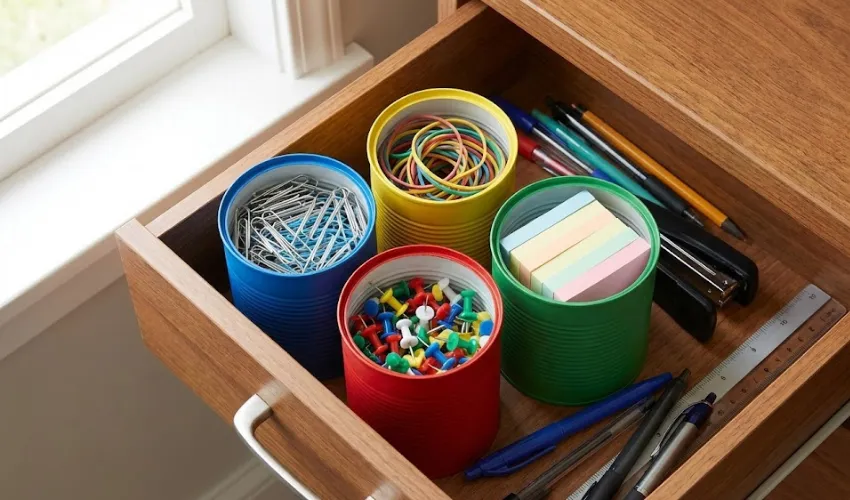
Cut cans to drawer height, paint to match decor, and wedge between supplies to create compartments. This practical solution teaches spatial reasoning as kids measure and plan efficient layouts.
The custom sizing beats store dividers that never fit perfectly. Spending 30 minutes on this project yields permanent organization that simplifies homework routines.
Add felt to can bottoms to prevent scratching drawer surfaces.
21. Coin Counting Bank

Cut a slot in a plastic lid, secure to can top, and label with savings goals. Kids practice skip counting and addition while building financial literacy through physical coin sorting.
The opaque design prevents constant counting that derails saving habits. Unlike clear jars, this bank creates anticipation for the reveal when goals are met.
Decorate with pictures of the target purchase to visualize motivation.
22. Snowman Stacking Game (Ages 9-12)
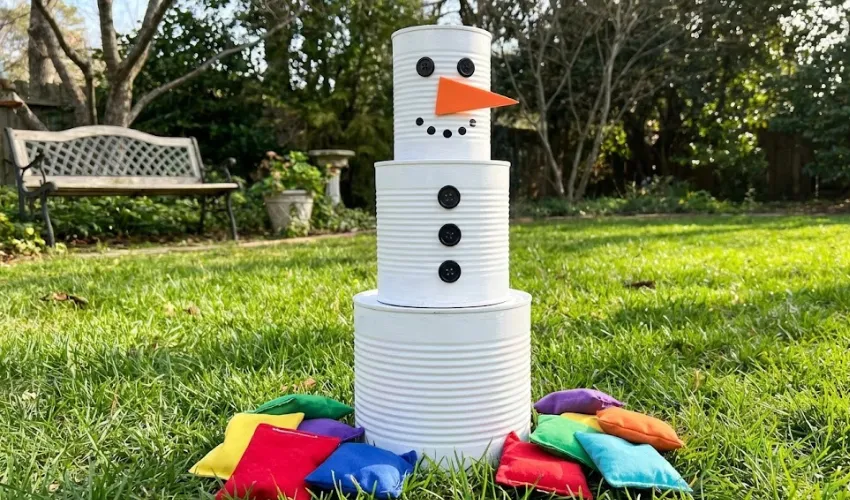
Paint cans white, add facial features, and stack as targets for bean bag tossing. Each knocked section earns points, teaching probability and scoring strategies through competitive play.
The seasonal theme extends craft relevance beyond one use. Unlike cardboard targets that crumble when wet, metal cans survive outdoor winter parties.
Create Halloween or spring versions by changing decorations and paint colors.
23. Jellyfish Wind Sock

Paint the can in ocean blues and purples, attach ribbon or tissue paper strips to the bottom, and hang outdoors. The flowing tentacles demonstrate air movement and wind direction changes throughout the day.
This marine biology craft connects to lessons about ocean creatures while adding whimsical decor to play spaces. The durable construction withstands summer storms better than paper windsocks.
Research real jellyfish species and replicate their color patterns for educational accuracy.
24. Time Capsule Container
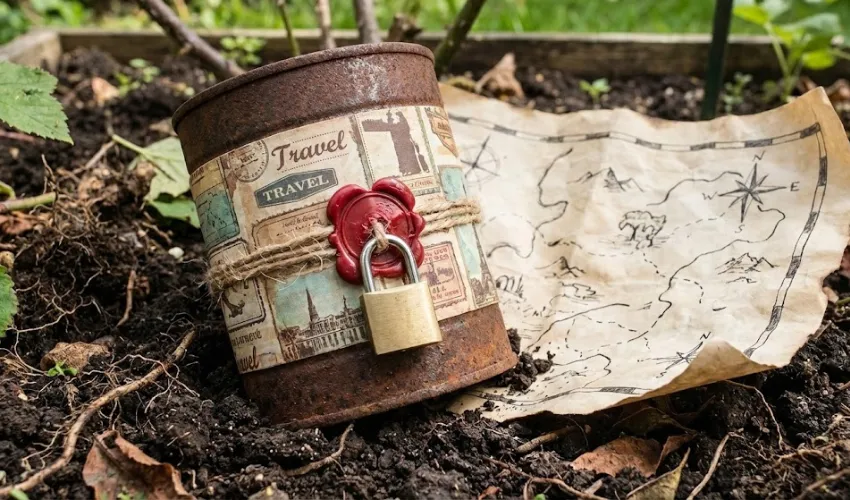
Decorate a can with archival scrapbook paper, fill with letters, photos, and small toys, then seal with wax. Burying or storing the capsule teaches personal history documentation and anticipation of future discovery.
The weatherproof metal protects contents better than cardboard boxes that deteriorate. Opening the capsule after one or five years creates powerful reflection on growth and change.
Add a letter to future self asking specific questions to prompt deeper thinking.
25. Mini Greenhouse Starter
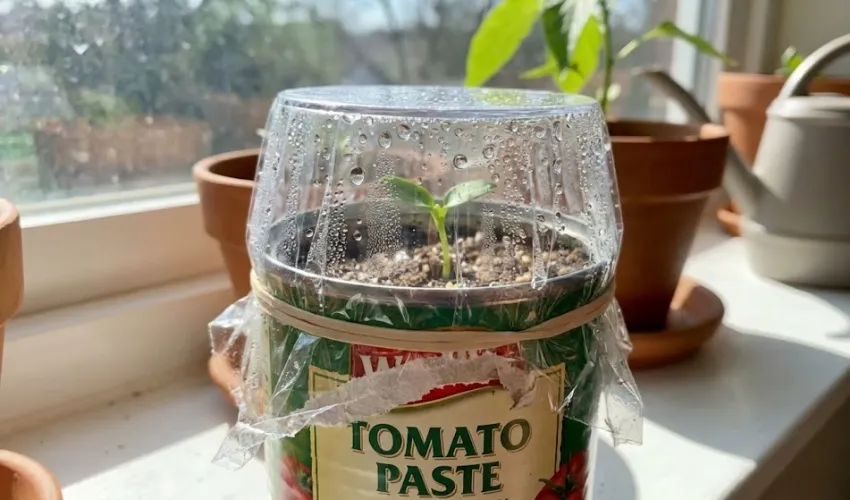
Fill a can with seed-starting soil, plant seeds, and cover the opening with clear plastic secured by rubber band. The trapped moisture creates a miniature greenhouse effect demonstrating condensation cycles.
This botany experiment costs nearly nothing while teaching germination requirements—light, water, warmth. Kids observe daily progress and transplant seedlings when roots emerge from drainage holes.
Grow fast-sprouting seeds like beans or sunflowers for quick gratification and sustained interest.
Final Thoughts
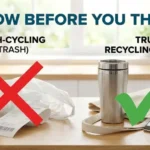
These age-sorted projects prove tin cans aren’t trash—they’re teaching tools hiding in your recycling bin. Every shaker, lantern, and planter builds skills while keeping materials out of landfills.
Check out our Upcycled Crafts collection for more budget-friendly inspiration, or search ‘recycled crafts for kids’ above to find your next project.