Looking for mantel styling formulas that look professionally designed without draining your holiday budget? You are in the exact right place. These 20 styling concepts rely on the greenery, stockings, and vintage shelf pieces you likely already have tucked away in storage. Grab your tape measure and let’s build a beautiful focal point.
Start With Garland Proportions
The garland sets the foundation for your entire fireplace display. Before you buy anything new or dig into your storage bins, you need to understand your spatial limits. A few quick measurements will save you from a droopy or skimpy holiday setup.
1. Use the 1.5 to 2 Times Rule
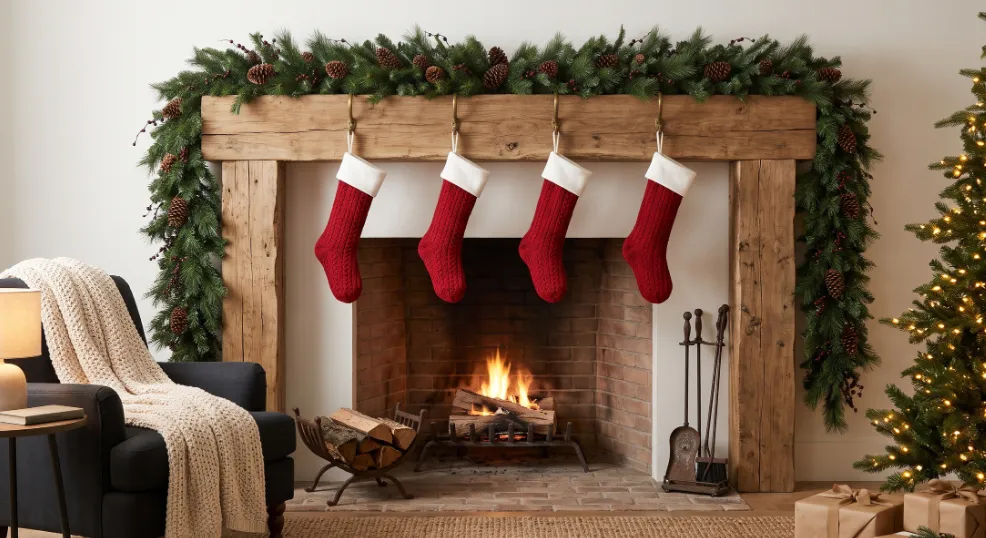
Measure your mantel width and multiply that number by 1.5 to 2. This simple formula gives you a practical starting length for your base greenery. A typical 6 to 9 foot (1.8 to 2.7 meters) mantel needs roughly 9 to 18 linear feet of garland to look proportional.
2. Join Two Strands
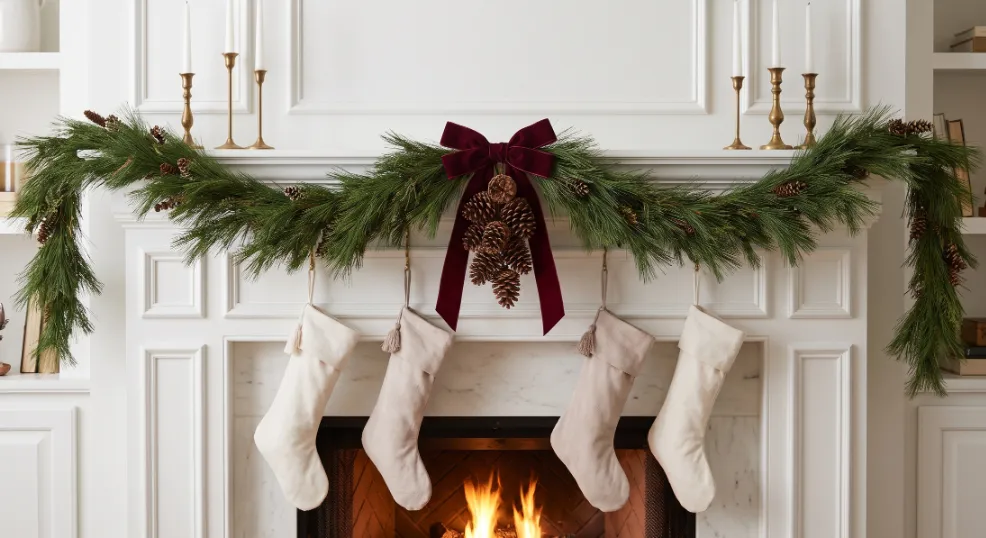
Most budget-friendly artificial garlands come in much shorter lengths. Connect two thrifted or basic strands together using green zip ties to reach your desired footage. You can easily hide the joint behind a velvet bow or a cluster of foraged pinecones so the seam completely disappears.
3. Try a Swag and Trail
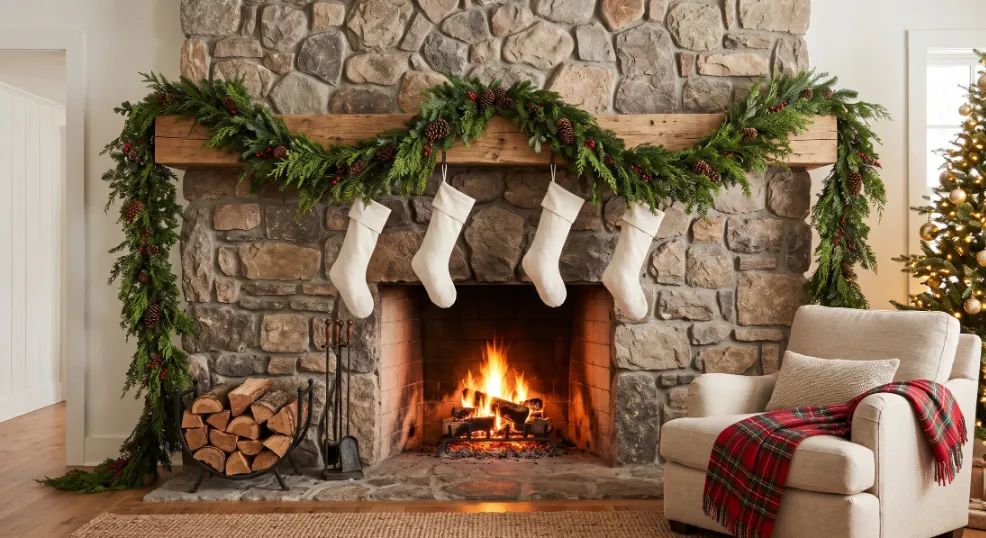
Let your greenery dip in gentle swags across the front of the fireplace. Add extra length so the ends can fall past the sides of the mantel toward the floor. This soft drape makes your ceiling feel taller and gives the room a grand, finished aesthetic.
4. Slim Down for a Shallow Mantel
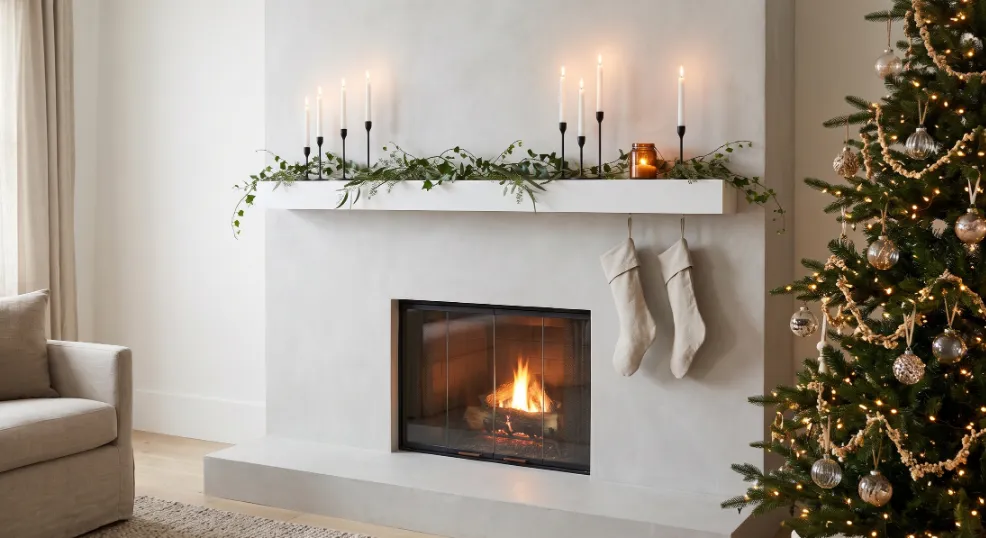
Depth matters just as much as length when you are planning your layout. A mantel under about 7 inches (17.7 cm) deep generally needs a slimmer, more delicate vine. If the greenery overhangs the front by more than a couple of inches, it looks clumsy and crowds your decorative shelf pieces.
5. Make Garland Look Fuller
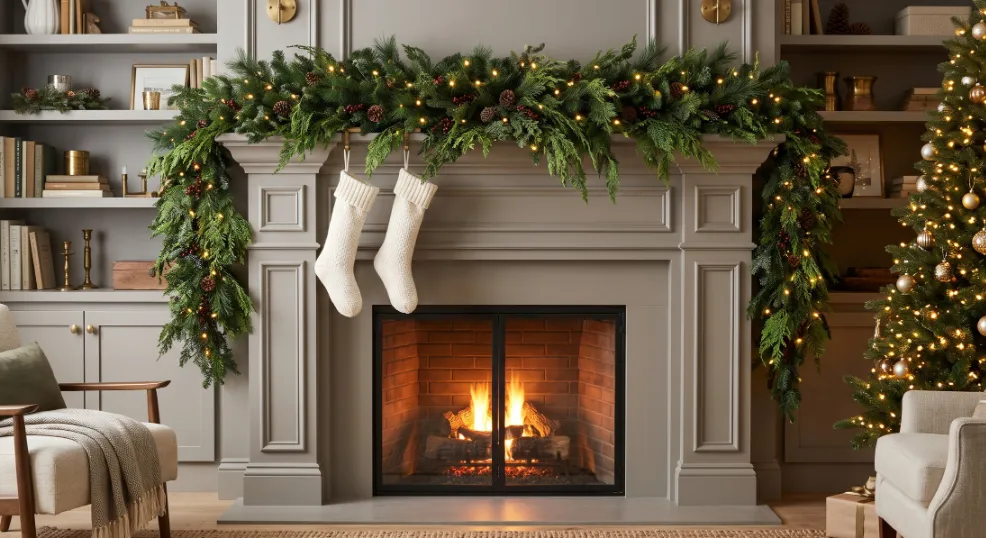
Thin artificial greenery is a common complaint, but it is an incredibly easy DIY fix. Fluff every individual branch outward and tuck in real, eco-friendly cedar clippings from your yard where the strand looks sparse. Layering a second, cheaper strand on top is another budget-friendly way to add serious body.
Plan Stockings Before Anything Else
Stockings are the one piece of decor that has to hold actual weight, so they deserve a structural plan. Decide where they will hang first, then build the rest of your delicate items around them.
6. Pick Stocking Positions First
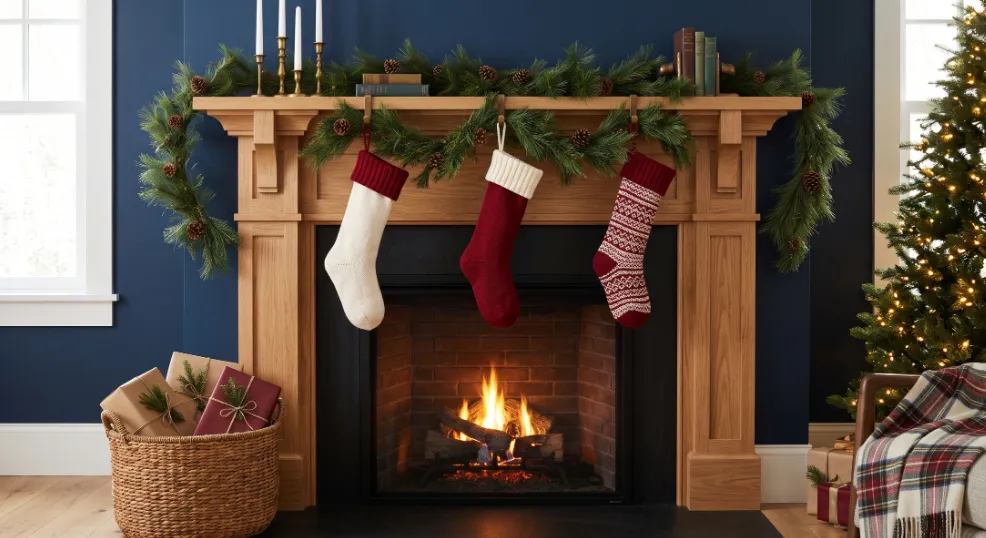
Stylists recommend choosing your stocking spots before you finalize your greenery layout. Mark each position, place your hooks, and then build the branches around them. This workflow keeps your stockings from fighting with the garland for prime real estate.
7. Create a Stocking Rhythm
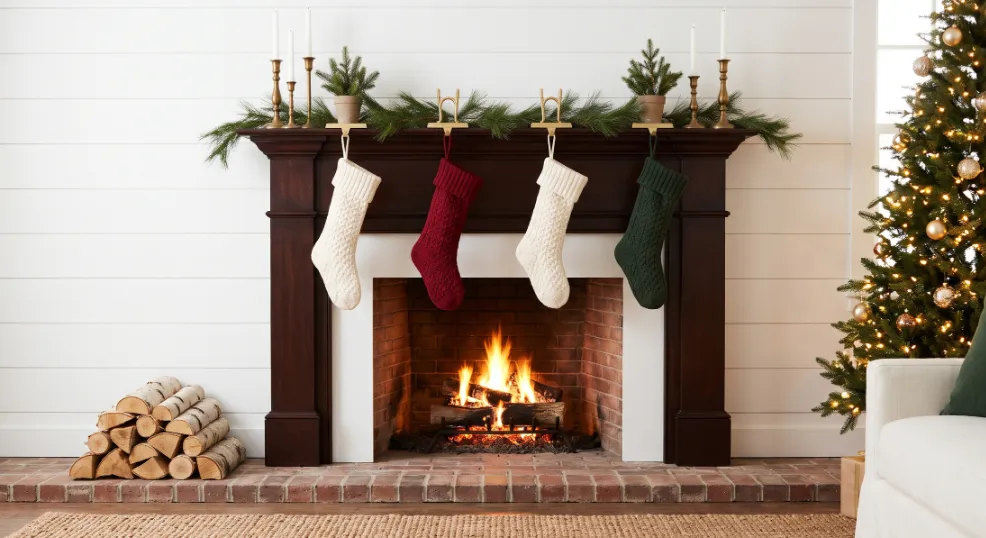
Space your stockings evenly so your eye moves along the fireplace at a steady, calming beat. Odd gaps or bunched groupings can look like a careless mistake. Step back frequently and check the spacing from across the room to ensure it looks balanced.
8. Match the Holder to the Load
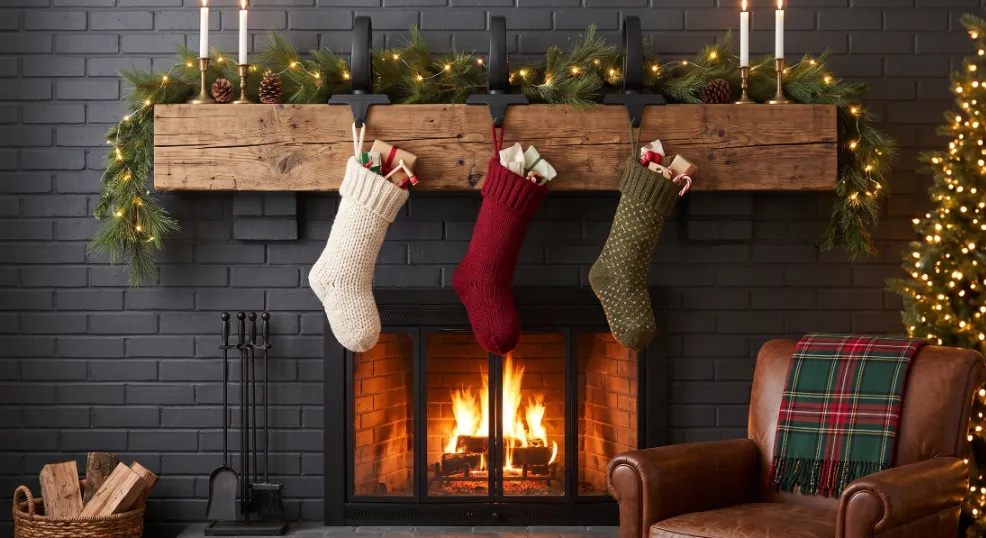
Filled stockings will weigh significantly more than delicate decorative holders were built to carry. Choose heavy-duty hooks rated for the actual weight you plan to hang. This structural integrity matters most on the night those fabrics actually get stuffed with heavy gifts.
9. Anchor Heavy Garland Securely
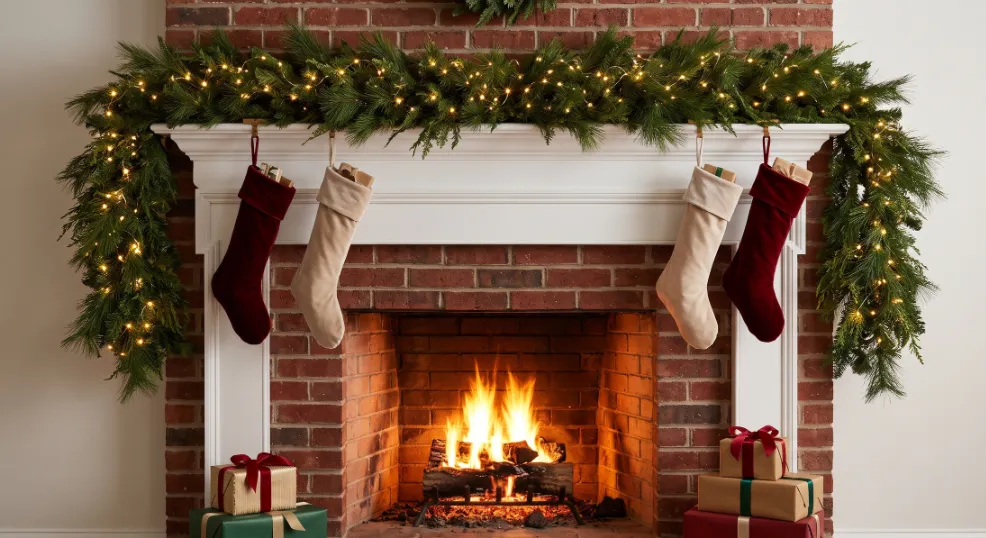
Adhesive hooks often fail on textured brick, stone, or heavily loaded surfaces. Choosing heavier rated hooks, cleaning surfaces with rubbing alcohol, and following proper Christmas decoration safety tips will keep your heavy greenery from crashing down. Many seasoned DIYers also use a spring-loaded tension rod hidden under the mantel lip for damage-free hanging.
Layer Heights and Groupings
Flat, single-level mantels end up looking like sterile store shelves. Layering adds visual depth and makes the display feel like it was curated over many years.
10. Build Three Height Layers
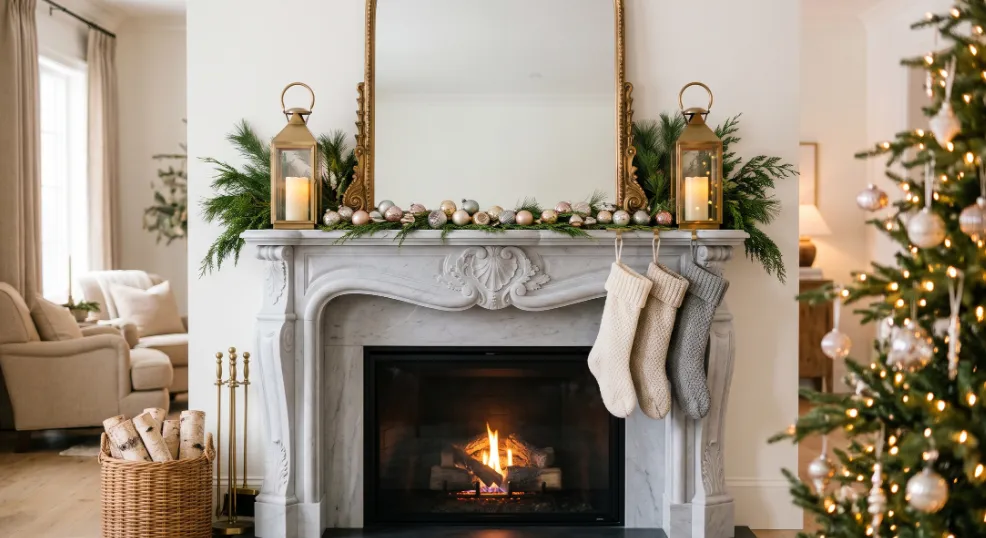
Aim for tall, medium, and low pieces across your display space. Think of a leaning thrifted mirror at the back, brass lanterns in the middle, and small upcycled ornaments up front. Distinct heights keep the eye moving naturally across the design.
11. Group in Odd Numbers
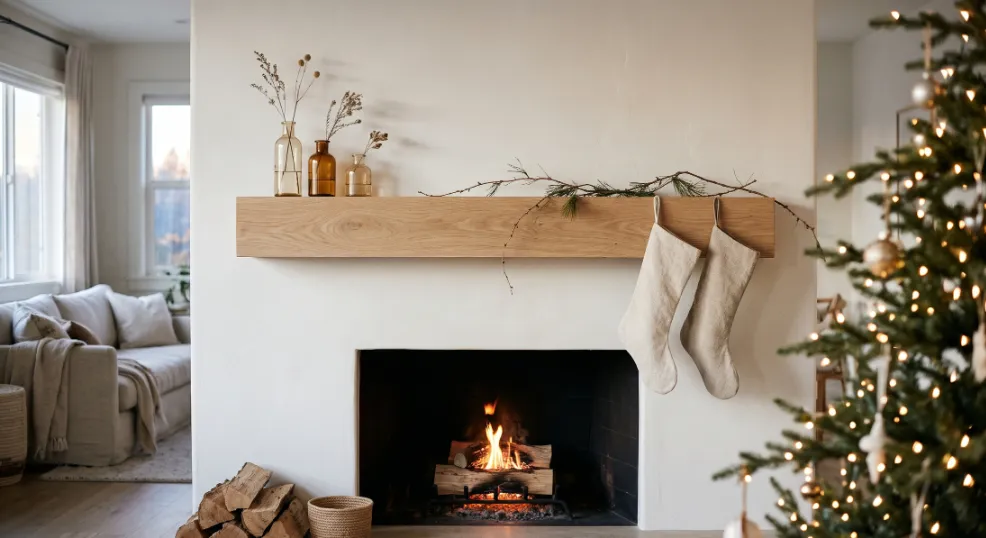
Clusters of three or five items feel much more organic than perfectly matched pairs. Try grouping three small glass vases of different heights together. Odd groupings look relaxed and collected instead of stiff and manufactured.
12. Anchor a Focal Point
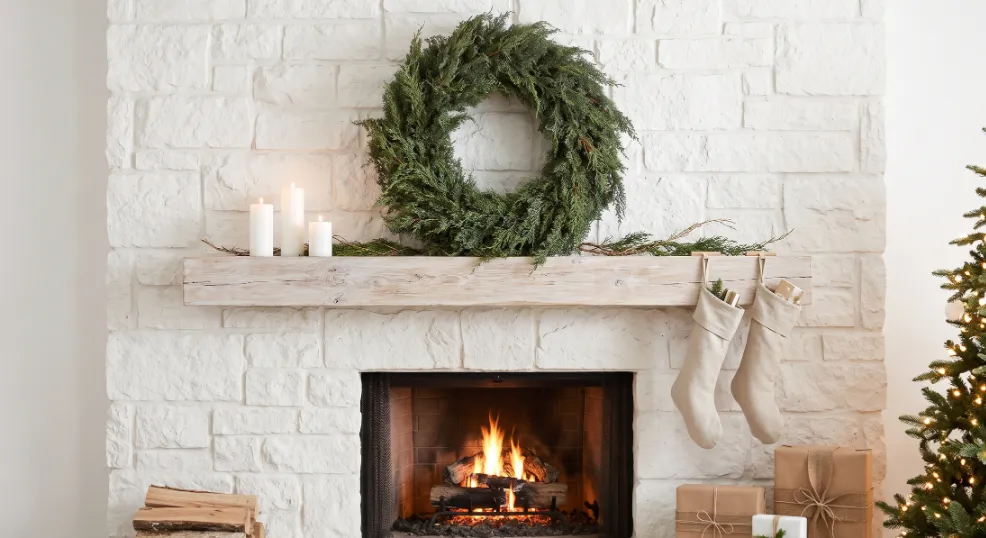
Choose one specific spot where you want your guests’ eyes to land first. A bold upcycled wreath, a large vintage mirror, or a statement wooden centerpiece works beautifully. Build the rest of your smaller accents around this main anchor.
13. Leave Open Negative Space
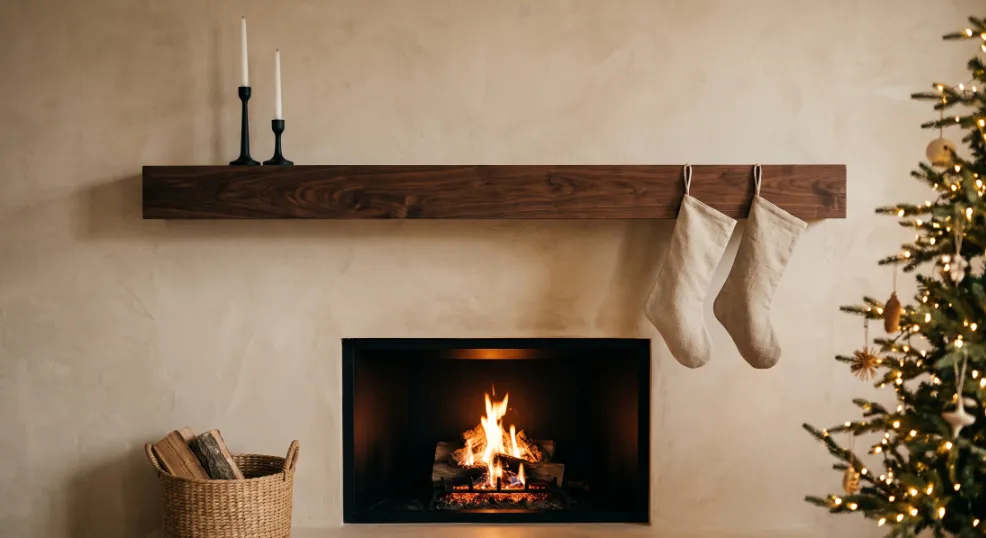
You absolutely do not need to fill every single inch of your shelf. Leaving a few strategic gaps lets your favorite pieces stand out and breathe. Best of all, utilizing negative space is the absolute cheapest decorating idea on this list.
14. Style a Mantel Centerpiece
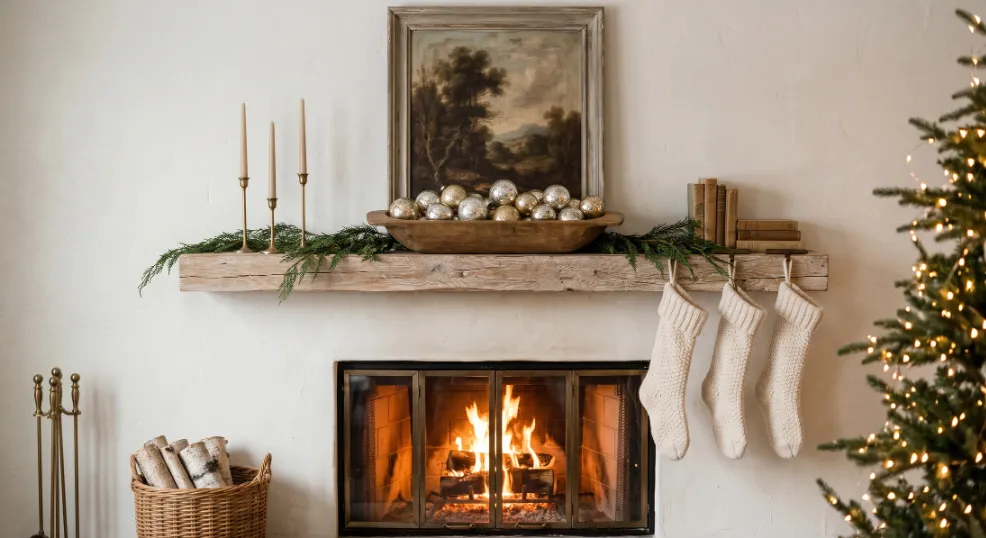
Pick one low centerpiece that echoes your main focal point, like a wooden dough bowl filled with extra ornaments. Keep this arrangement lower than your tallest background piece so your height layers still read clearly. Centerpieces work best when they stay simple and use materials you already own.
Choose Symmetry on Purpose
Symmetry is a styling choice, not a mandatory holiday rule. Decide which aesthetic fits your specific living room architecture, then commit to the bit.
15. Go Centered and Balanced
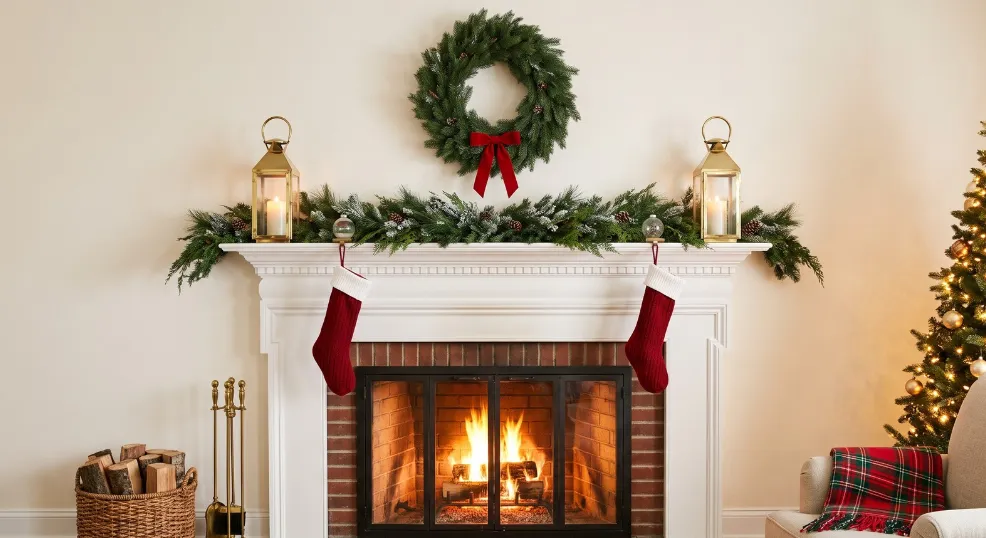
A perfectly centered layout beautifully suits traditional, formal living spaces. Mirror the left and right sides with matching stockings, twin lanterns, and a central wreath. This mirrored approach looks incredibly calm, polished, and timeless.
16. Shift the Tallest Element Off Center
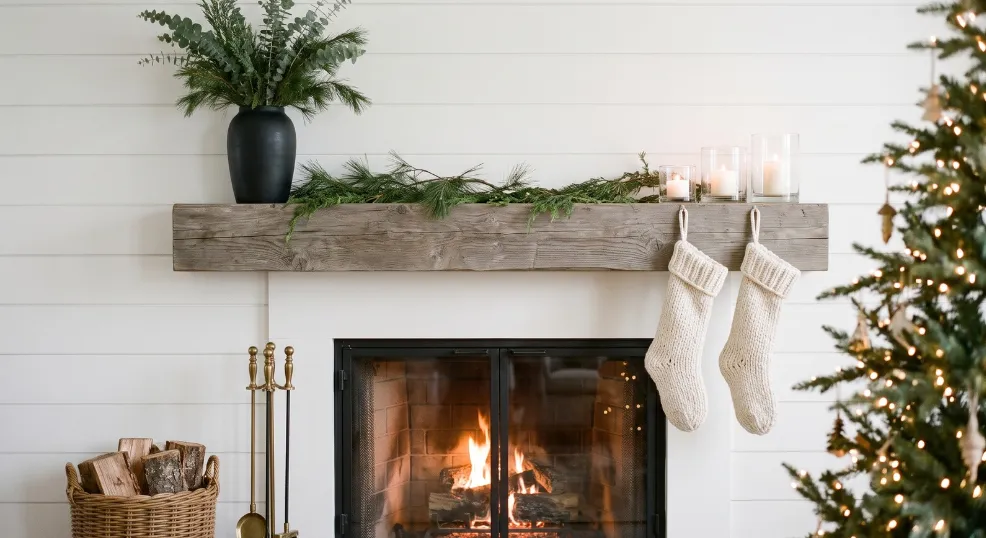
Placing your tallest piece off-center prevents that stiff, catalog-display feeling. Place a tall vintage candlestick holder or a high branch arrangement to one side of the shelf. Balance that visual weight by clustering several smaller, chunkier items on the opposite end.
17. Let the Garland Tail Run Longer
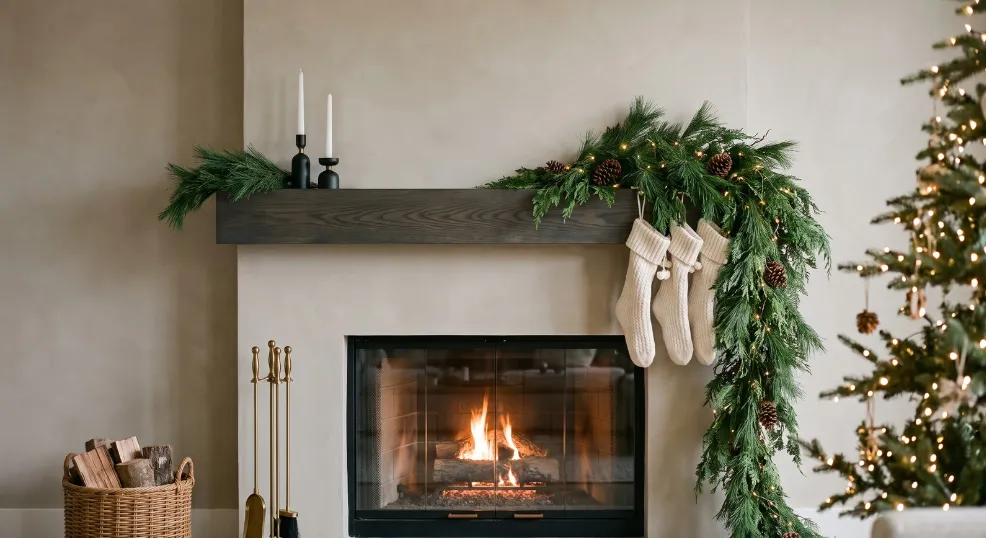
Extend your greenery a bit longer on one side so it trails dramatically down past the edge. This deliberate asymmetry feels relaxed, organic, and a little bit moody. It is also a brilliant way to use up extra footage that you would otherwise have to trim off.
Coordinate the Mantel With the Room
A fireplace that matches your surrounding room looks highly intentional and professionally styled. You do not need to buy a whole new palette of ornaments to achieve this cohesion.
Read Next: Christmas Decor Ideas
18. Repeat Two or Three Existing Colors
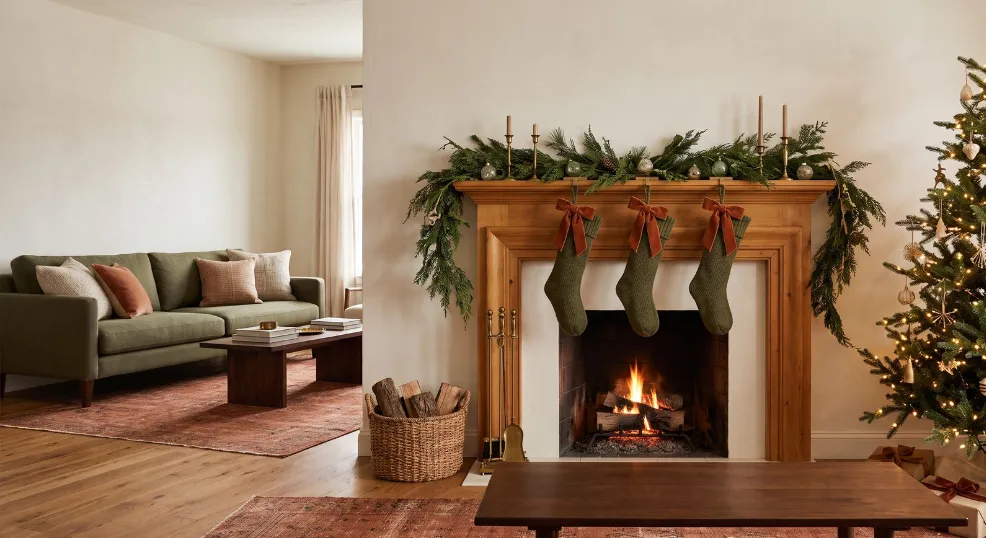
Look closely at your everyday sofa, area rug, and window curtains. Pick two or three colors already living in the room and repeat them in your holiday ribbon or stockings. This strategy is far cheaper and more sustainable than buying a brand new trendy color scheme every year.
19. Echo Textures You Already Own
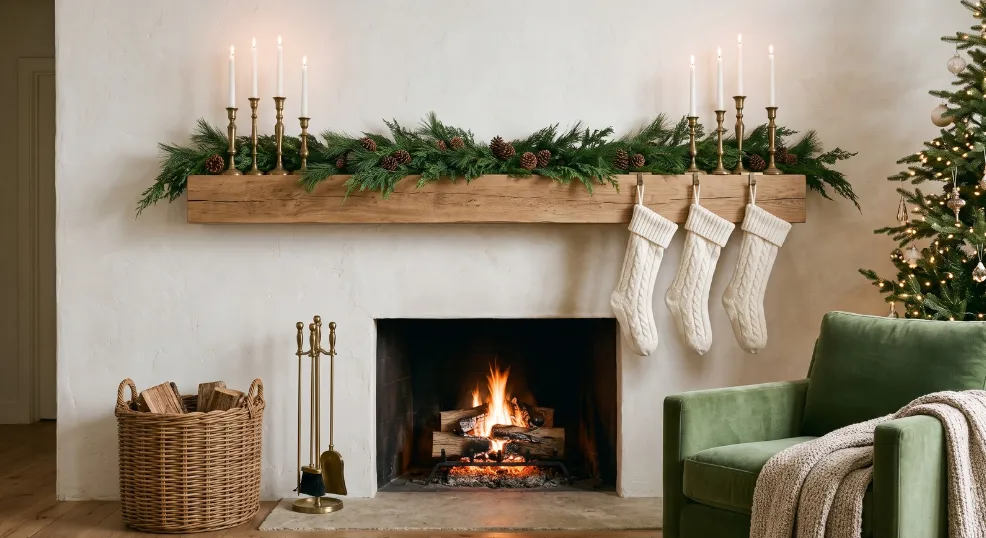
Fresh greenery, aged brass, soft velvet, and raw wood all play incredibly well together. If you already have brass lamps or a woven wood basket nearby, bring those same materials up to the shelf. Mixing familiar, everyday textures makes the holiday decor feel like a natural extension of the room.
20. Extend the Look to Adjacent Shelves
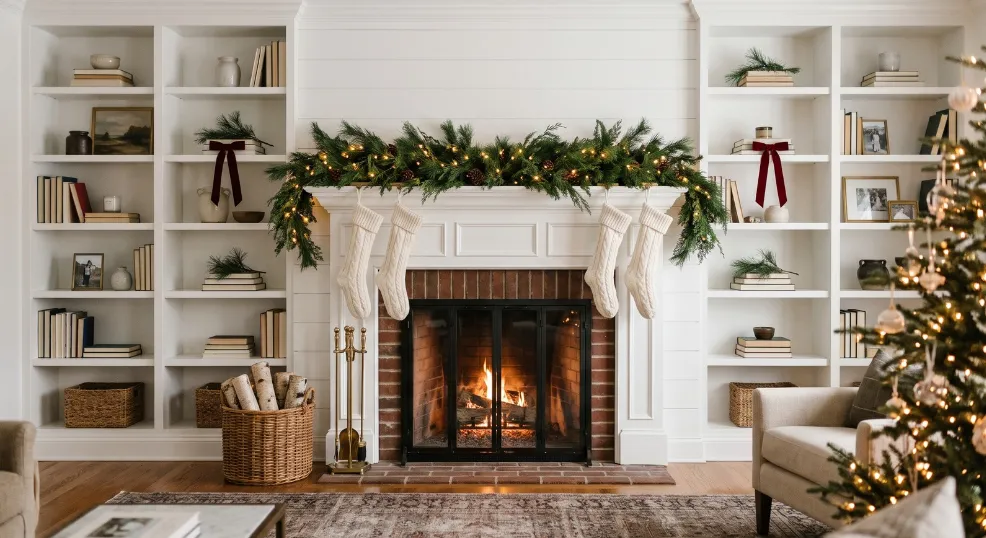
If your fireplace features built-in bookcases beside it, carry one or two elements over to those shelves. Repeat a specific ribbon color or drop a small sprig of matching pine onto the books so the whole wall feels connected. Keep these side shelves much lighter than the main fireplace so your primary display still commands attention.
A Quick Note on Fire Safety
Real flames and dried greenery require plenty of physical space between them. The NFPA reports that candles started 49% of home decoration fires in recent Decembers, making safety a top priority. Switching to high-quality LED flameless candles is a smart, eco-friendly swap that gives you the exact same cozy glow without the stress.
Wrap Up Your Holiday Styling
You now have 20 reliable formulas to style a gorgeous fireplace without blowing your budget on new inventory. Start by securing your base greenery, lock in your stocking placement, and layer your vintage finds by height. Step back, turn on your twinkle lights, and enjoy the cozy atmosphere you just built from scratch.