
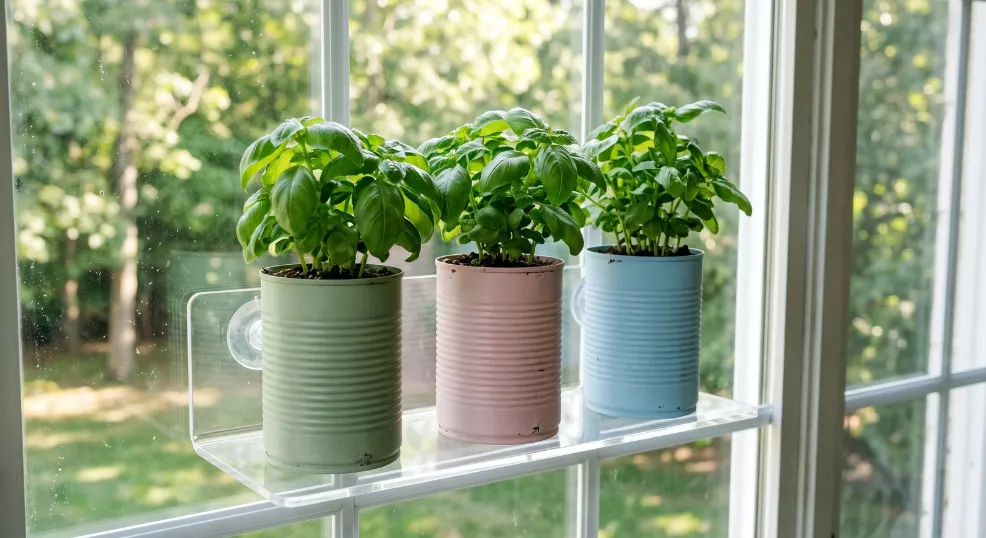
Snipping vibrant, aromatic basil leaves directly from your kitchen sill beats buying sad, wilted $5 supermarket bunches every time. You take control of what you eat, save money over time, and eliminate packaging waste and transportation emissions. Whether you are a total beginner or recovering from past plant failures, creating a thriving indoor green oasis is completely within your reach.
Sourcing Free and Cheap Basil Plants
You do not need to spend a dime to start your indoor herb garden. US supermarkets waste 6.2 billion pounds of fresh vegetables annually, and living basil pots are often dumped after just 2-3 days on shelves. Because these pots contain 10-15 individual plants crammed together, root competition chokes them quickly, leading stores to toss perfectly healthy roots.
Grocery Store Rescue Tactics
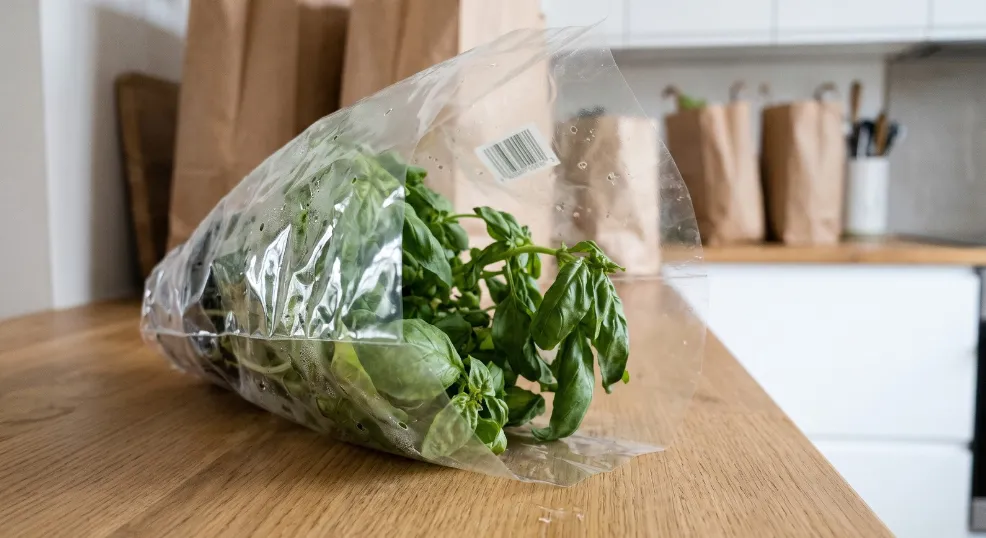
Walk into the produce section about an hour before closing and politely ask the manager if they have any wilted basil headed for the trash. Employees will often hand over these throwaway packs for free, giving you the first pick of viable stems before they hit the dumpster. Alternatively, check parking lot cart corrals and landscaping islands 30 minutes after closing to rescue abandoned pots.
Dumpster and Library Swaps
Retrieving discarded plants from accessible store dumpsters is legal in most US jurisdictions if you ask permission first to avoid trespassing charges. Retailers frequently dump entire flats of healthy potted herbs due to minor cosmetic flaws or store overstock policies. You can also visit local public library seed swaps in spring and fall, where year-round tables let you trade tomato seeds for basil cuttings.
Community Trading
Neighborhood Facebook groups or Nextdoor are perfect for trading cuttings with local home gardeners. Neighbors often grow expensive varieties like Italian large-leaf or Thai basil, and their homegrown plants are already acclimated to your local climate. You might even score entire divided plants just by offering 20 minutes of weeding help in their garden.
The 7-Day Water Propagation Method
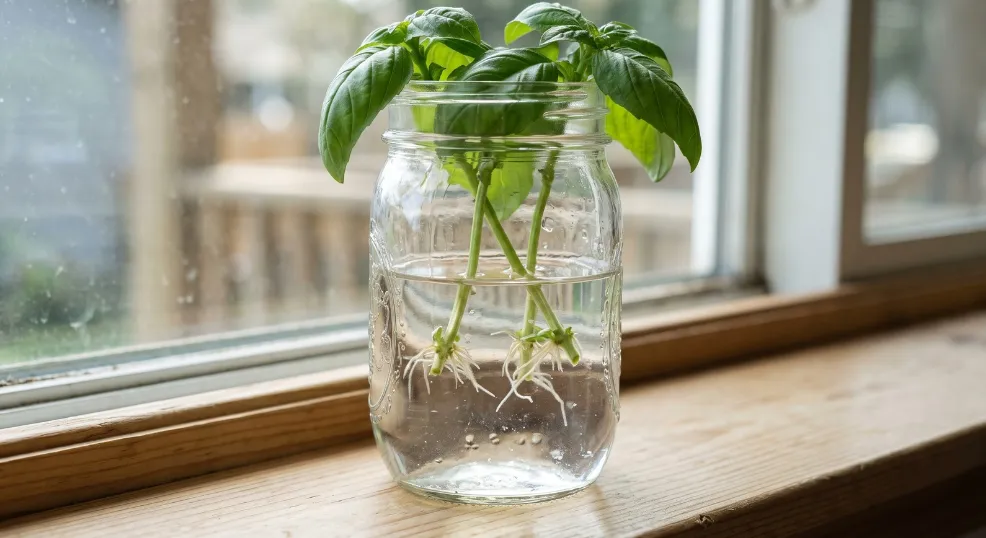
That wilted grocery store pack can easily become three thriving plants using a zero-waste water rooting jar setup. Basil nodes release natural auxins that trigger root growth in plain water, requiring no synthetic rooting powders.
Preparing Your Cuttings
Select stems with at least four leaf sets, prioritizing younger outer stems that root 30% faster. Cut the stem at a 45-degree angle about 3-6 inches (7.6-15.2 cm) below a node, using scissors wiped with rubbing alcohol. Gently scrape a 1/2-inch (1.2 cm) layer of outer skin off the base to expose the cambium layer, and strip all lower leaves so they do not rot underwater.
Setting Up the Rooting Jar
Fill a clear mason jar halfway with filtered water or rainwater, ensuring at least two nodes are submerged. Tap water chlorine will stunt root development, so let it sit uncovered for 24 hours before use if you lack a filter. Place the jar in indirect light, like a north-facing sill, keeping temperatures consistently around 70-75°F (21-24°C).
Preventing Slime and Rooting Failures
Change the water every 2-3 days and rinse the stems under cool water to prevent the anaerobic bacteria that causes slime. If the water gets cloudy, scrape the stem base again and add one drop of 3% hydrogen peroxide per cup of water. You can also soak fresh willow twigs in water for 24 hours to extract natural rooting hormones, boosting root speed by 40%.
Transplanting to Soil
Root primordia appear around day 5-7, and you should transplant them when roots hit 2-3 inches (5-7.6 cm) long. Waiting three weeks or more causes roots to adapt exclusively to water, making the transition shock to soil severe. Mix 70% coconut coir with 30% perlite, fill your pot halfway, let the roots dangle freely, and gently pour the damp coir around them to prevent breaking the brittle water-grown roots.
Everyday Indoor Basil Care
Getting the environment right is crucial once your basil is potted. Genovese basil is forgiving and produces big leaves, Greek basil stays compact for small spaces, and Thai basil offers a spicy, licorice-like kick.
Soil and Container Selection
Basil demands well-draining soil to prevent soggy roots that invite fungal disease. Mix 60% high-quality potting soil, 30% perlite or vermiculite, and 10% compost, or buy an organic mix like Espoma Organic Seed Starter. Plant single herbs in a container at least 6-8 inches (15.2-20.3 cm) in diameter with non-negotiable drainage holes.
Light and Watering Needs
Basil requires 6-8 hours of bright light daily, which you can provide using full-spectrum LED grow lights positioned 6-12 inches (15.2-30.4 cm) above the plants for 12-16 hours. Water every 2-3 days in summer and 4-5 days in winter, checking that the top inch (2.5 cm) of soil is completely dry before soaking. Always dump excess water from the saucer to prevent devastating root rot.
Pruning, Fertilizing, and Harvesting
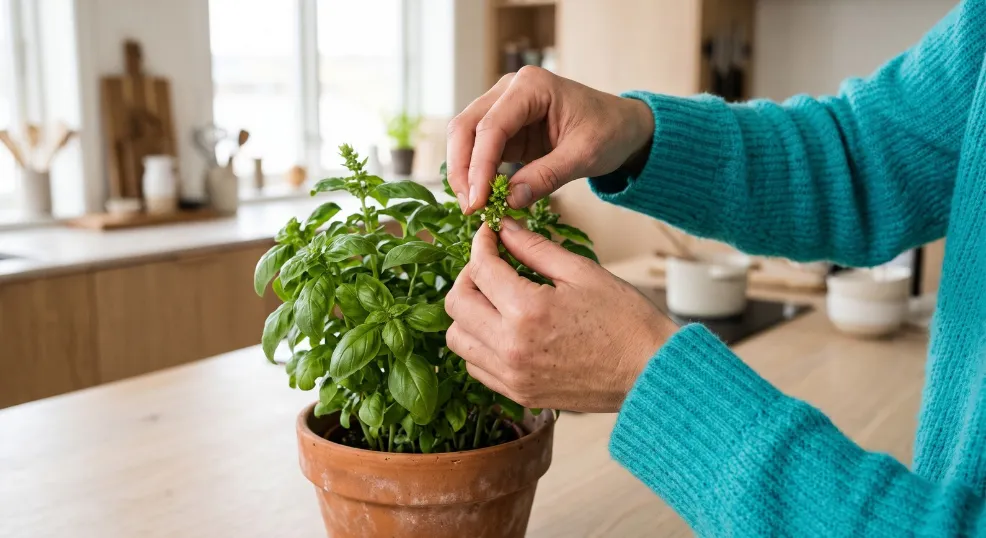
Feed your plants every 2-3 weeks with a gentle, half-strength organic liquid fertilizer to avoid burning the roots or diminishing the leaf flavor. Begin harvesting when your plant reaches 6 inches (15.2 cm) tall and has 6-8 leaves. Use clean pruning shears to cut just above a leaf node where two leaves meet the stem, forcing the plant to branch out into two new stems. Never take more than one-third of the plant at once, and always pinch off flower buds immediately to prevent bitter leaves.
Hydroponic Upgrades
If you want a soil-free indoor garden, automated systems like the AeroGarden Bounty Elite or Click & Grow Smart Garden 3 handle light and nutrients automatically. You can also build a zero-waste hydroponic setup by keeping cuttings in water permanently and adding quarter-strength liquid fertilizer every 10 days.
Surviving Winter: Eco-Friendly Troubleshooting
Winter conditions introduce dry air, weak sun, and drafty windows that easily shock tropical basil. Nighttime temperature dips below 50°F (10°C) will permanently blacken and kill your plant leaves.
Fixing Leggy Growth
When basil stretches toward weak winter light, the gaps between leaf nodes expand and the plant becomes weak. Build a DIY grow light by positioning a 5000-6500K daylight LED desk lamp 12 inches (30.4 cm) above the plant on a $5 outlet timer set for 12 hours. Tape recycled aluminum foil inside a cardboard box frame behind the pot to reflect light onto the lower leaves and boost growth.
Curing Yellow Leaves and Overwatering
Winter air slows soil evaporation, so roots sit in moisture twice as long and begin to rot. Use a $3 moisture meter in the bottom third of the root zone, and only water when it reads completely dry. Adding extra perlite to your soil mix improves root airflow and stops those lower leaves from turning yellow.
Boosting Humidity
Furnaces drop indoor humidity below 30%, causing basil leaf edges to brown and curl. Fill a shallow baking pan with dollar-store craft stones, add water just below the pebble tops, and rest your pot on the stones. As the heater runs, water evaporates upward around the leaves, boosting local humidity by 10-15% without waterlogging the roots.
Managing Cold Drafts and Pests
Move pots 6 inches (15.2 cm) away from exterior glass at night to raise the local temperature. Use a candle flame to check for drafts, sealing any flickering gaps with rolled towels or heavy weatherstripping. If aphids or spider mites appear, spray the leaves with a mix of 1 tablespoon cold-pressed neem oil, 1 teaspoon castile soap, and 1 quart (0.94 liters) of warm water.
Styling Your Windowsill Garden on a Budget
You can easily transform a sunny south-facing sill into a styled masterpiece without spending $200 on matching planters. Tiered arrangements fit 4-6 varieties in a 2-foot (60.9 cm) span and improve crucial airflow, cutting indoor disease risk by 30%.
Modern Metal and Acrylic Displays
Wood shelves easily warp from kitchen humidity, so use clear acrylic stepped risers to create transparent visual layers that maximize natural window light. Alternatively, install a narrow tension rod 3-4 inches (7.6-10.1 cm) above your sill in rental units. You can hang lightweight pots using matte black S-hooks for a sleek floating garden effect.
Boho Macrame T-Shirt Hangers
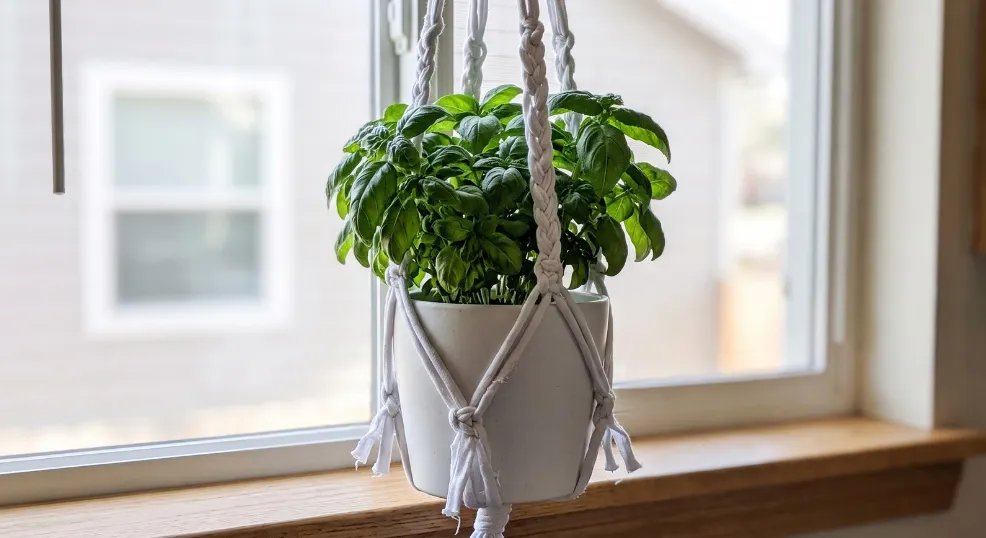
Cut an old 100% cotton XL t-shirt into 1-inch (2.5 cm) strips, stretch them into yarn, and braid them to create zero-cost macrame plant hangers. Use keychain rings for top loops and stagger the hangers vertically by 6-8 inches (15.2-20.3 cm). This creates a cascading boho texture that perfectly captures varying angles of sunlight throughout the day.
Upcycled Cans and Farmhouse Ladders
Punch drainage holes into empty tin cans, spray paint them in matte metallics, and add peel-stick chalkboard labels to easily identify your varieties. Group these cans in odd numbers to mimic professional magazine styling and balance the windowsill visually. You can also lean a $5 thrifted wooden step stool against the window frame to create a rustic, space-saving vertical display.
Seasonal Touches and Pot Selection
Terracotta pots naturally wick away excess moisture and cost just a few dollars at your local hardware store. Protect your sills by placing clear plastic saucers under every pot, and stick removable adhesive furniture pads underneath to prevent scratching. Wrap pots in twine with pinecones for winter, or drape battery-operated fairy lights behind acrylic shelves for magical evening ambiance.
A customized, thriving indoor basil garden requires nothing more than upcycled materials, a bit of strategic snipping, and consistent care. You are now equipped to rescue grocery store stems, beat winter drafts, and harvest fresh herbs all year round without blowing your budget. Keep pinching those flowers, change your propagation water religiously, and enjoy the beautiful, delicious results right on your windowsill.

