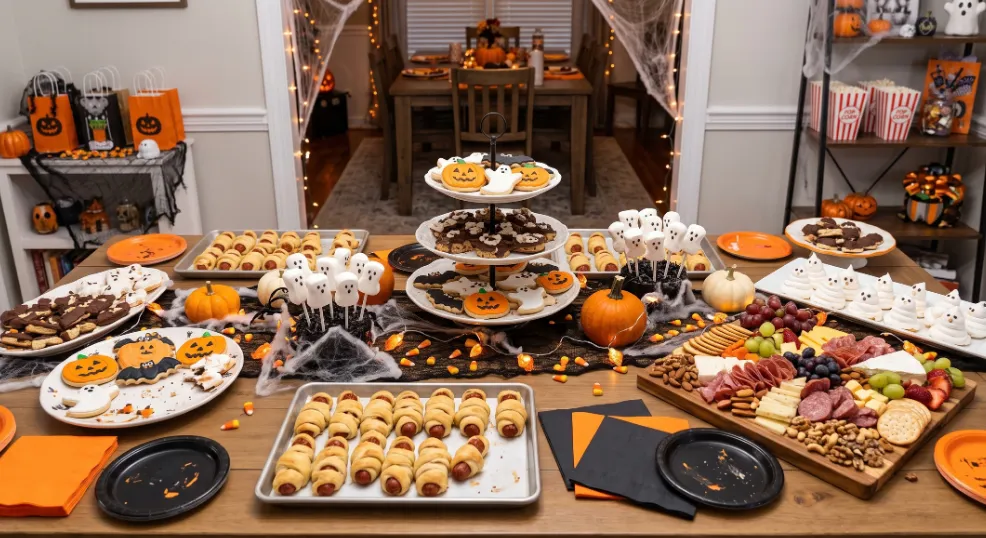
Hosting a memorable Halloween gathering does not require a massive budget or stressful days spent in the kitchen. You just need a few candy eyes, some pantry basics, and a little DIY confidence to turn everyday snacks into a haunted masterpiece. Your guests will definitely want to photograph this spread before they take a single bite.
To complete the immersive vibe, pair your menu with some easy DIY Halloween decorations for a spooky atmosphere that extends beyond the table. Here are ten easy, budget-friendly ideas to build your most festive food display yet.
1. Spooky Spider Cookie Platter
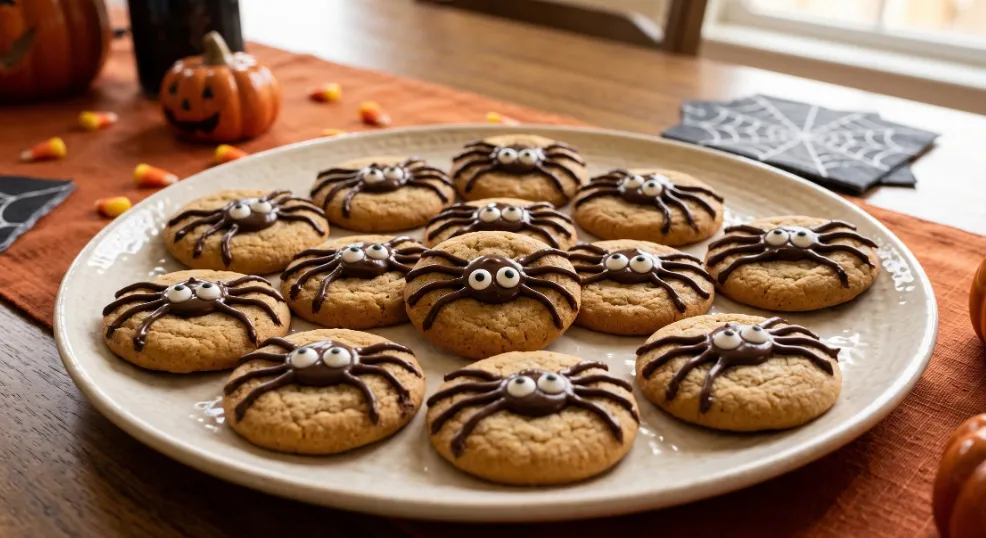
This creepy-cute dessert works beautifully because the pale cookie base makes the dark chocolate spider legs pop instantly. I always recommend using a thrifted cream-colored platter to give the display an elegant yet eerie foundation. You can easily feed a crowd for under $5 using homemade sugar cookies.
Piping the Spiders
Arrange your round cookies close together on your serving dish so they look like a crawling swarm. Pipe thin chocolate legs out from each cookie’s edge, stretching them about 1.5 inches (3.8 cm) long. Press on candy eyes while the chocolate is still soft to secure them firmly in place.2. Mummy-Wrapped Appetizer Tray
2. Mummy-Wrapped Appetizer Tray
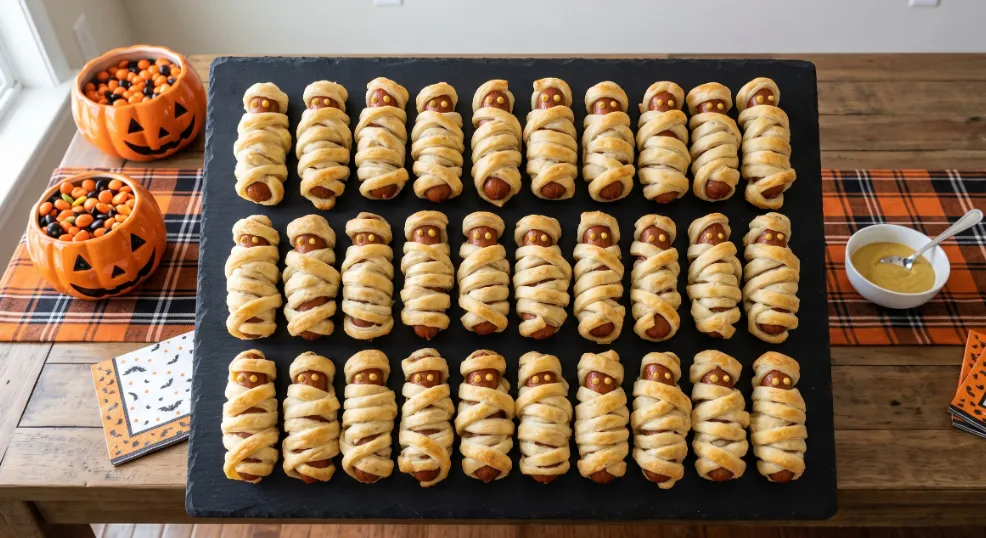
Wrapping snacks in dough strips instantly reads as Halloween without requiring extra styling props on your table. You can use standard hot dogs, tofu pups, or stuffed jalapeños to cater to different dietary needs. A single can of crescent dough stretches incredibly far, making this a highly economical appetizer.
Baking the Mummies
Slice thin strips of dough and wind them loosely around your savory bites. Leave a tiny 0.5-inch (1.2 cm) gap near the top so you have room to add the faces later. Bake until golden brown, then dot on eyes using a toothpick dipped in mustard or a thick sauce.
3. Ghost Dessert Bites
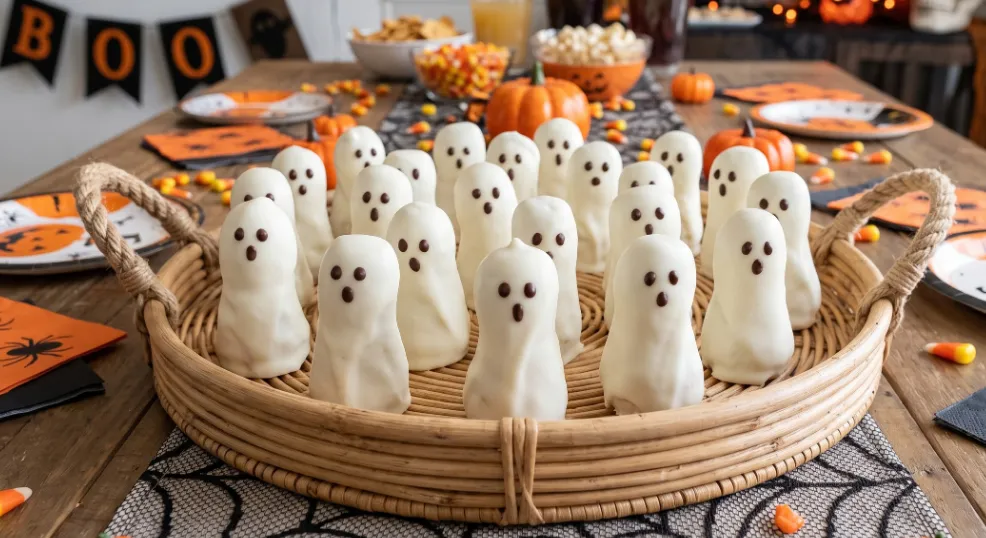
White treats standing upright create instant height and drama on a dessert table without needing expensive cake stands. Dipping cake pops, large strawberries, or marshmallow squares into white chocolate coating gives you a sleek ghost shape. Letting them set upright in a reusable foam block ensures they dry perfectly smooth.
Creating Ghostly Faces
Add two tiny dark chocolate dots for eyes once the white coating begins to firm up. I suggest clustering them together on a woven or eco-friendly bamboo tray. This arrangement makes them look like a friendly ghost gathering right on your food station.
4. Halloween Charcuterie Board
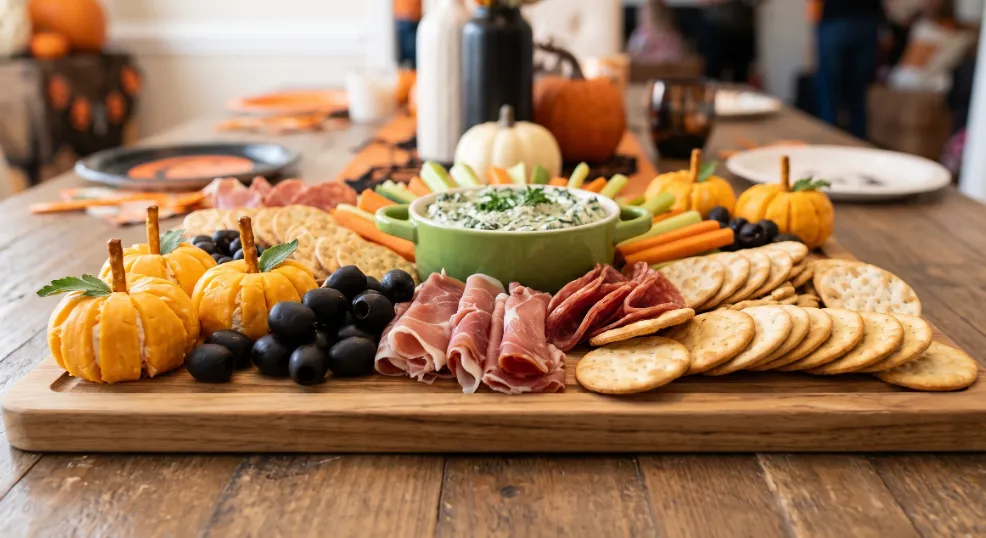
Grouping food by color and shape turns a basic snack spread into a bold centerpiece that looks professionally styled. You can easily upcycle a large wooden cutting board you already own to serve as the rustic base. Sticking to seasonal colors like orange, black, and dark red keeps the aesthetic cohesive and intentional.
Assembling the Board
Slice cheddar cheese into small pumpkin shapes using a paring knife or a mini 2-inch (5 cm) cookie cutter. Fan out cured meats, crackers, and vegetables in separate color-blocked sections around a central dip bowl. Finish by pressing edible eyes onto dark olives for scattered pops of whimsy.
5. Eyeball Pizza Bites
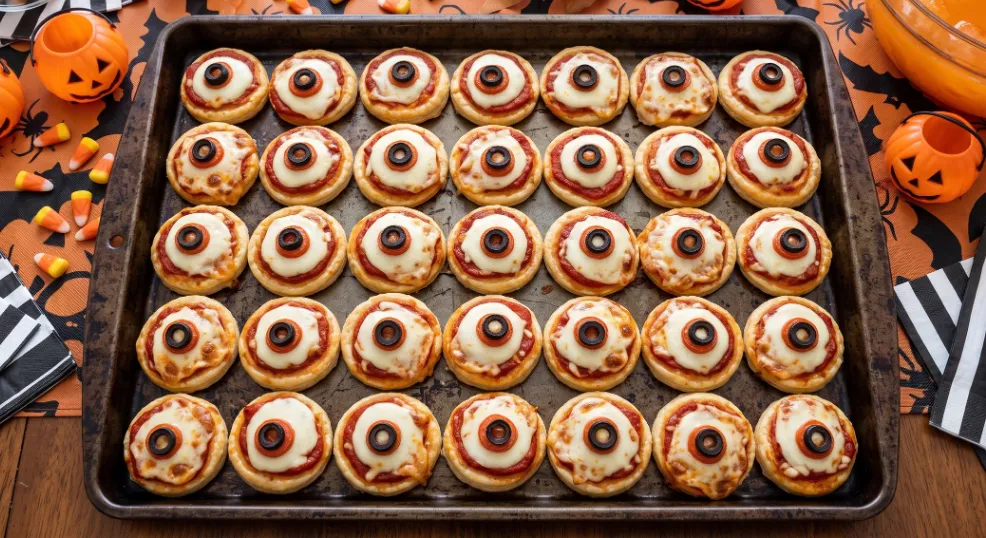
Round mini pizzas naturally mimic eyeballs once you swap the toppings, requiring almost no extra table styling. Buying premade dough or using English muffins keeps your overall ingredient cost extremely low. These are perfect for satisfying larger appetites before your guests dive into the sugary treats.
Styling the Eyeballs
Top your mini pizza crusts with a round slice of mozzarella to act as the white of the eye. Press a smaller circle of tomato in the center, then top it with a single black olive slice for the pupil. Bake until bubbly and arrange them in repeating rows on a dark baking sheet.
6. Pumpkin-Shaped Snack Cups
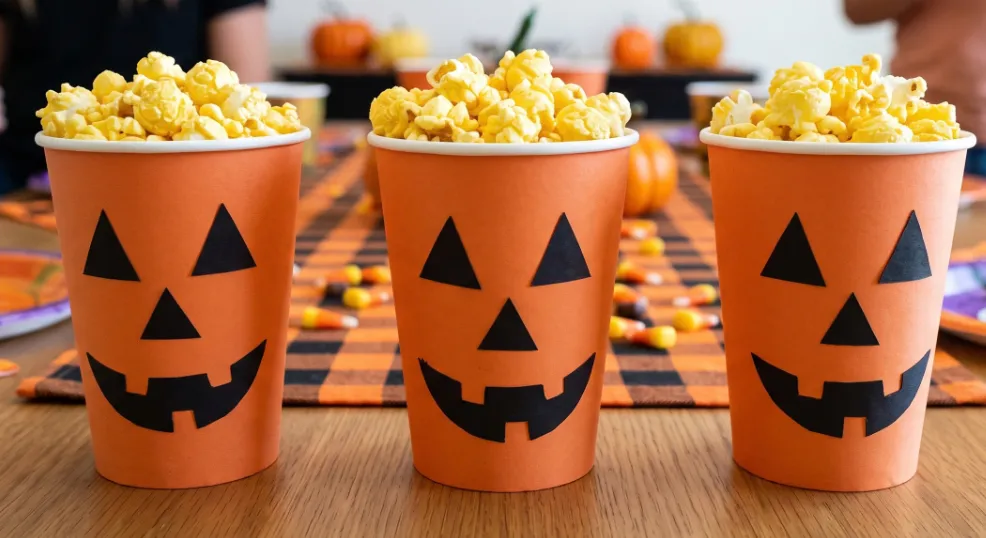
Individual snack cups keep your table tidy while doubling as festive, low-cost decor. You can upcycle standard paper cups left over from previous parties to save money and reduce household waste. This grab-and-go method ensures your main display stays beautiful and hygienic all night long.
Crafting the Cups
Paint or wrap small cups in orange craft paper, then cut out simple black triangle shapes for the jack-o’-lantern faces. Glue the faces onto the cups and let them dry completely before handling them. Fill each cup with 1 cup (240 ml) of popcorn or pretzels so guests can mingle easily.
7. Monster Sandwich Stack
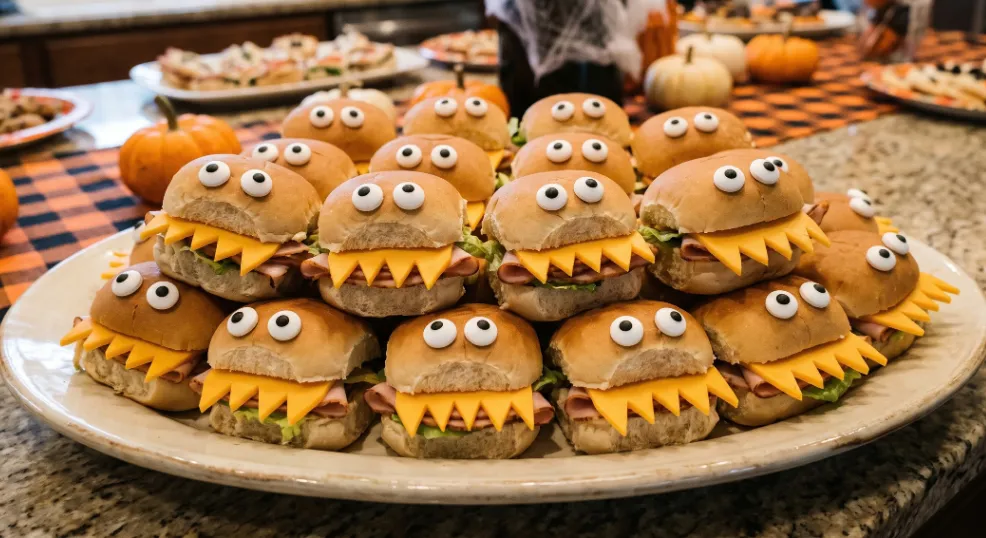
Turning simple sandwiches into monsters costs nothing extra since you are just rearranging ingredients you already have on hand. This is a fantastic way to serve a hearty main course without breaking your party budget. You can use standard lunch meat, sliced cheese, or colorful plant-based alternatives.
Building the Monsters
Cut your sandwiches into small 3-inch (7.6 cm) squares or triangles for easy grabbing. Press candy eyes onto the top layer using a tiny dab of mayonnaise as edible glue. Tuck small triangle-cut cheese pieces along one edge to look like zigzag monster teeth.
8. Creepy-Cute Fruit Skewers
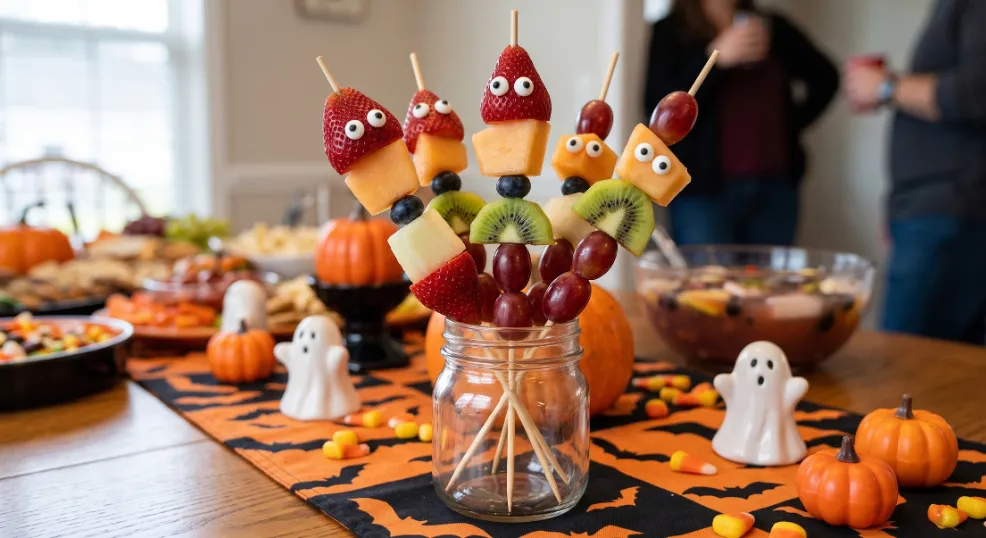
Fresh fruit keeps your spooky spread feeling bright and balanced next to all the heavy chocolate and candy. Sourcing seasonal autumn fruits from your local farmer’s market is a great way to support local growers. It also adds natural, vibrant colors to your overall table palette.
Skewering the Fruit
Thread green grapes, orange melon balls, and blackberries onto short wooden skewers in alternating colors. Press a candy eye onto one piece of fruit per skewer for a quick Halloween touch. Stand the finished skewers upright in a hollowed-out pumpkin for an easy, zero-waste display.
9. Haunted Dip Bowl
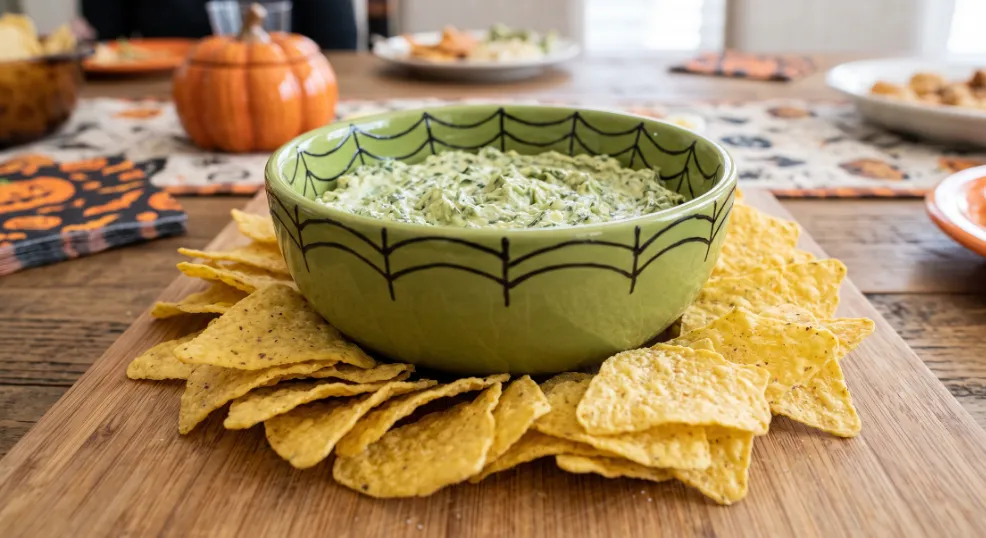
A single decorated bowl can anchor your entire snack table without requiring any additional plastic props. Repurposing a wide ceramic bowl you already own keeps this simple project completely free. Filling it with green guacamole or vibrant red salsa adds an instant creepy factor.
Decorating the Bowl
Draw or pipe a simple spiderweb pattern around the rim using black icing or a food-safe marker. Fill the center to the brim so the web design frames the colorful dip perfectly. Surround the bowl with tortilla chips arranged in a radiating sunburst pattern for massive visual impact.
10. Black-and-Orange Dessert Bar
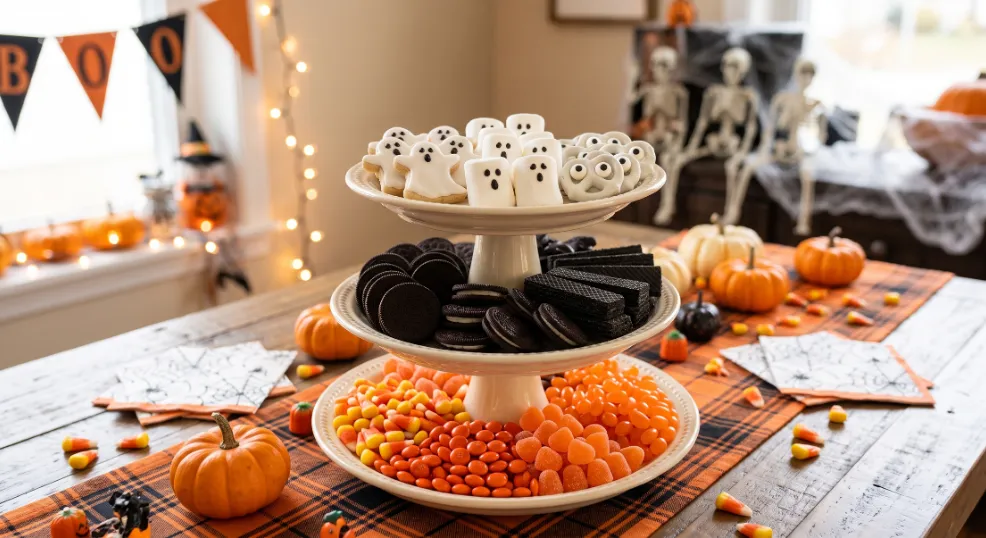
Sorting desserts strictly by color creates a bold, coordinated look that photographs beautifully. This technique works perfectly even if you are using mismatched thrifted plates and serving trays. It makes a budget-friendly assortment of store-bought cookies look incredibly high-end.
Organizing by Color
Group orange candies, dark chocolate cookies, and white ghost treats into separate, distinct color zones. Stack plates on sturdy inverted bowls to add varying heights across the dessert bar. Fill any small gaps with loose candy so every layer looks intentionally lush and full.
Wrapping Up Your Haunted Setup
From spooky spider cookies to a fully haunted dip bowl, this food lookbook proves you can build a show-stopping spread entirely from scratch. You can easily achieve that classic pumpkin orange, black, and cream white palette using pantry staples and a little imagination. The whole table comes together beautifully without creating unnecessary waste or costing a fortune.
It is time to gather your supplies, preheat the oven, and start crafting your ultimate spooky feast. Your friends and family will be blown away by the effort and creativity you put into every single bite.