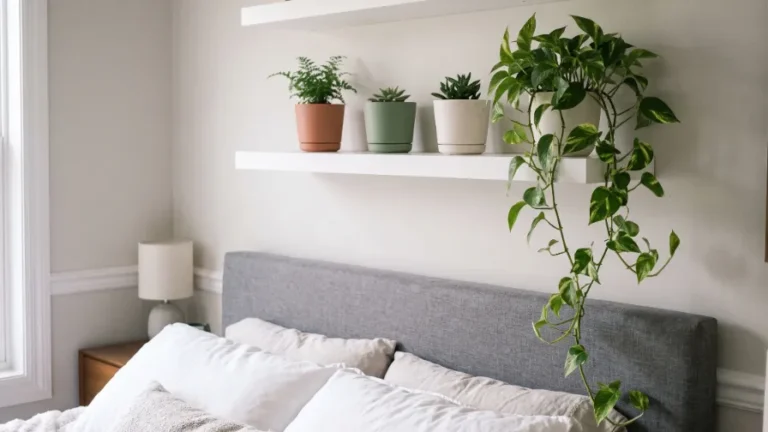
You brought those beautiful green additions home, and now they live exactly where you sleep. A healthy bedroom jungle—especially when filled with low-light bedroom plants that thrive in cozy spaces—brings life to your space, but dead leaves and fungus gnats quickly ruin the relaxing vibe. This bedroom plant care guide gives you a repeatable 15-minute monthly audit to keep your greenery thriving without eating up your entire weekend.
You do not need expensive moisture meters or fancy commercial leaf shine. Grab a pencil, a wooden kitchen skewer, an old t-shirt, and a free chunk of your Saturday morning. We are going to use items you already have around the house.
Your 15-Minute Monthly Routine at a Glance
Think of this simple checklist as a four-part loop you repeat once every single month. Sticking to this rhythm keeps small, manageable problems from turning into dead plants. It also saves you money on constant replacements.
Here is the entire system you will follow:
- Inspect leaves, stems, and topsoil for sneaky pests
- Water correctly based on soil feeling, never the calendar
- Prune dead growth and clean away dusty mineral crusts
- Adjust placement for the changing season and your HVAC system
Each part takes about four minutes of hands-on time per room. Grab your supplies, and move to your first plant. And if you are looking to expand your collection without adding to your workload, these easy-care bedroom plants are the perfect hassle-free additions to your newly maintained space.
Step 1: Inspect Your Plants
Start with your eyes before you ever touch your watering can. Spotting trouble early is the absolute cheapest fix there is for a homeowner. An old magnifying glass from a thrift store works wonders for this step.
Turn the leaves over, check exactly where the stems meet the soil, and look closely at the soil surface. Two specific pests show up most often in American bedrooms, and they actually love opposite conditions.
Spider Mites (Warm, Dry Air)
Spider mites thrive in the warm, dry indoor conditions common during winter heating months. Look for very fine webbing between stems and leaves, plus tiny speckled or dull patches on the leaf surfaces.
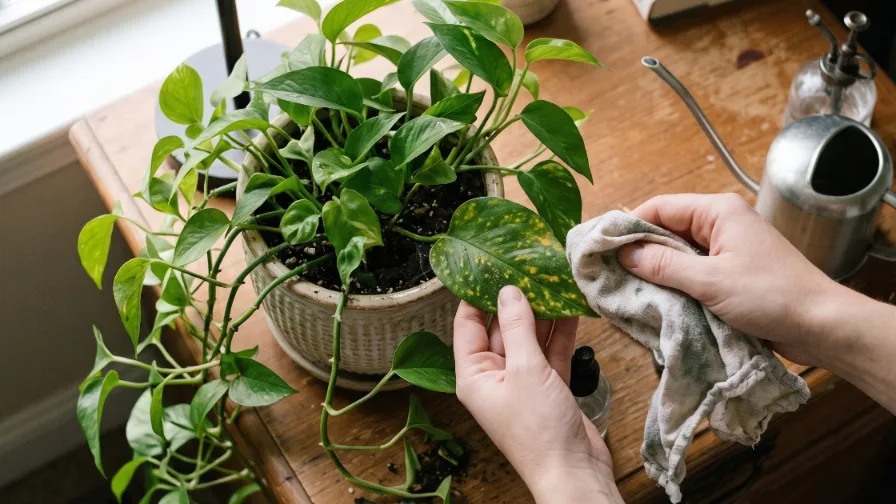
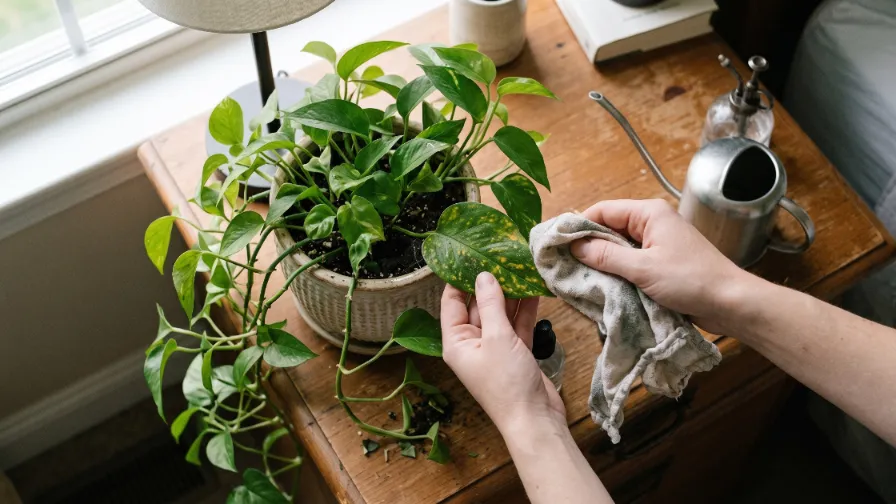
If you spot them, your indoor air is probably much too dry. Wipe the leaves down with a damp microfiber cloth and a single drop of eco-friendly dish soap to instantly knock down their numbers. Then, jump ahead to the humidity step below.
Fungus Gnats (Wet Soil)
Fungus gnats are heavily encouraged by potting soil that stays constantly wet. You will see tiny dark flies hovering near the pot or crawling frantically on the soil surface.
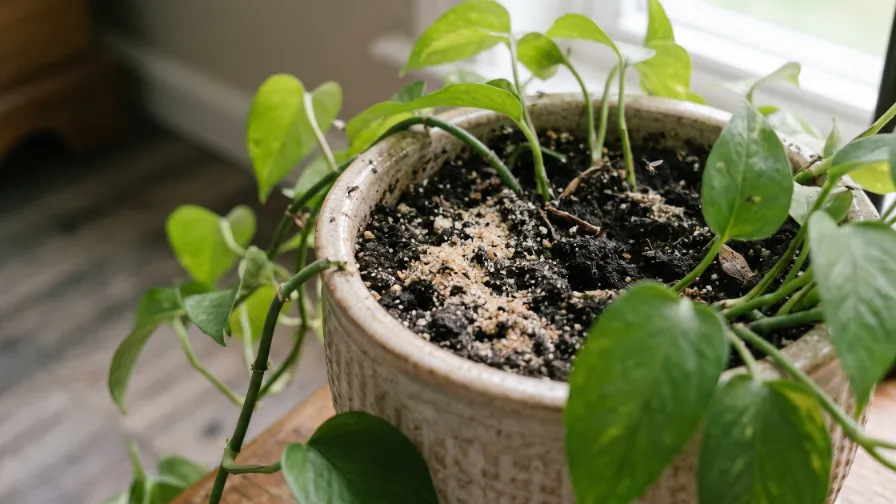
That activity tells you the soil is holding way too much moisture. Your watering and drainage checks in Step 2 are the ultimate fix. As a budget hack, sprinkle a 1/2 inch (1.2 cm) layer of playground sand over the topsoil to stop them from laying eggs.
Step 2: Water Correctly
A fixed watering schedule sounds tidy on paper, but your plants do not read calendars. Soil checks beat guessing every single time and prevent messy floor spills.
This core step has three quick moves you must master.
Test the Soil First
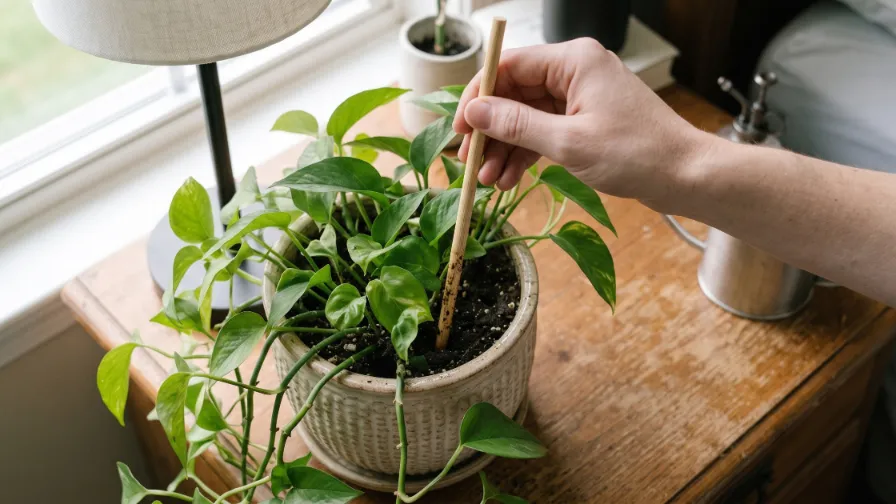
Push a finger about 2 inches (5 cm) into the soil to check moisture before you ever pour water. If you do not want to get your hands dirty, grab a standard wooden bamboo skewer from the kitchen. Push the skewer into the dirt; if it comes out dark and damp, wait and check again in a few days.
Lift the Pot and Empty the Saucer
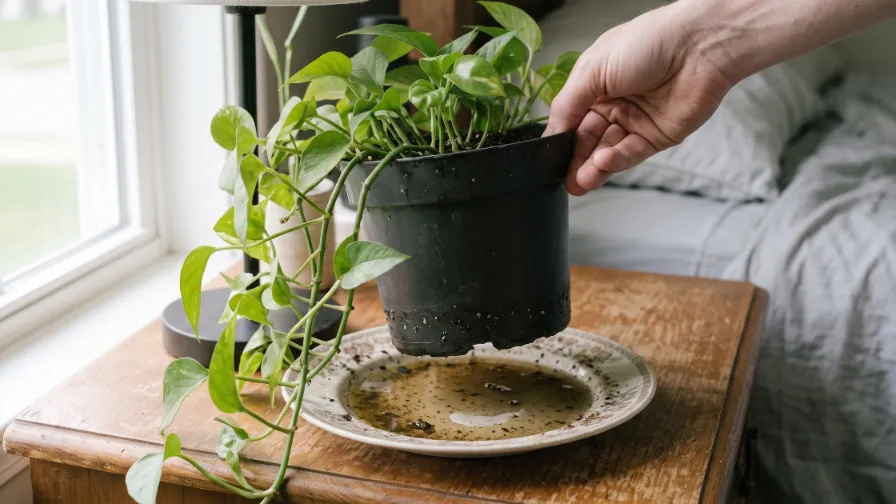
Water sitting stagnant in decorative pots and saucers is one of the most common DIY houseplant mistakes. Once a month, physically lift the plastic grow pot out of its decorative cover and confirm the bottom drainage holes are completely clear.
Let the pot drain in the sink, then empty any standing water from the saucer after 10 to 20 minutes. Upcycled vintage plates from thrift stores make excellent, cheap saucers that protect your bedroom furniture.
Adjust Watering by Season
Most standard houseplants need significantly less frequent watering in the winter because their growth slows down. Keep checking the soil with your skewer rather than following a rigid weekly checklist.
In the spring and summer, growth picks up and the soil usually dries much faster. Your physical moisture test will tell you exactly when to step up the watering frequency.
Step 3: Prune and Clean
Pruning is the fast, highly satisfying part of this routine. It redirects the plant’s energy away from dying foliage and straight into healthy new growth.
Pinch off yellow or brown leaves, or snip them using scissors wiped down with a little rubbing alcohol. Wipe dusty leaves gently with an old, damp cotton t-shirt to help the plant absorb more sunlight.
Check for Fertilizer Salt Crust
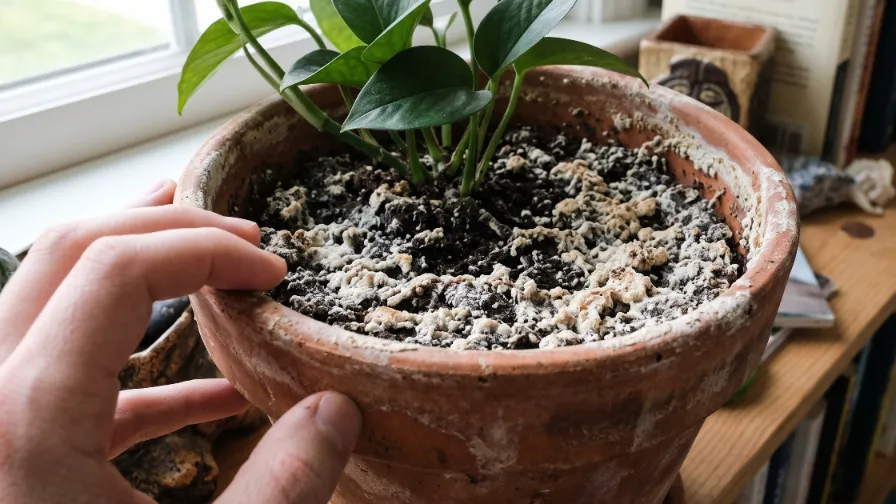
Ever see your leaf tips turn crispy brown for absolutely no clear reason? Check the soil surface and the rim of your terracotta pots for a hard white crust.
That crust is a harsh mineral buildup from synthetic fertilizers or hard municipal tap water. During the active growing season, flush the soil heavily with collected rainwater or filtered water, letting it drain fully in the bathtub.
Step 4: Adjust for Season and HVAC
Your home heating and cooling system dramatically changes the air your plants breathe. Winter is the biggest hurdle for indoor greenery.
A quick monthly look at your pot placement and local humidity can save you a lot of frustrating trouble.
Watch Your Humidity
Many tropical houseplants prefer roughly 40 to 60% relative humidity to thrive. Winter indoor air in centrally heated American homes can easily fall below 20%.
A small bedroom humidifier helps immensely, and so does grouping your plants closely together. You can also build a cheap DIY humidity tray by filling a baking sheet with river rocks and adding a half inch (1.2 cm) of water.
Check Vents and Heaters
Look at exactly where each plant sits compared to your HVAC floor or ceiling vents. Move any plant that sits in a direct airflow path so its delicate leaves are not blasted with dry air every time the system kicks on.
Do this visual check every single season, since your heating and cooling habits change throughout the year.
Your Printable Monthly Checklist
Copy this brief list onto a sticky note and tape it inside your bedroom closet door. You can also save it directly to your phone notes.
- Inspect leaf undersides and topsoil for fine webbing or flying gnats
- Test soil moisture with your finger or a wooden skewer before watering
- Lift pots, check drainage holes, and empty saucers after 10 to 20 minutes
- Remove dead leaves with clean snips and wipe dust with an old t-shirt
- Look for white salt crust and flush with filtered water during the growing season
- Check room humidity and move all plants safely away from blowing vents
Conclusion
Keeping a bedroom jungle alive does not require a botany degree or an expensive weekend overhaul. By committing to this simple 15-minute monthly audit, you take the absolute guesswork out of indoor plant care.
You now have a foolproof system to catch sneaky pests early, water only when necessary, and adapt to changing indoor climates. Before you grab your watering can for your next cycle, make sure you aren’t accidentally encouraging fungal growth by reading our guide to stopping bedroom plant mold with professional watering strategies.
Grab your wooden skewer, check those drainage saucers, and give your greenery the quick tune-up it deserves today.