Last December, I found a holiday card from my grandmother tucked inside a cookbook. It was just a lopsided green paper triangle, a few gold buttons, and a message in wobbly pen. Twelve years later, I still cannot bring myself to throw it out.
That is the quiet magic of homemade Christmas cards. Nobody keeps the generic store-bought ones with the printed signatures. They keep the ones that hold tangible evidence of someone’s time and effort.
You absolutely do not need to be inherently crafty to pull this off. You just need some basic cardstock, the right adhesive, and about ten minutes per card. This guide walks you through exactly how to make handmade greetings step by step, completely stress-free.
Building Your Basic Card-Making Kit
Before you clear off your kitchen table, you need to gather a few reliable supplies. Having the right tools prevents common frustrations like warped paper and messy edges.
The Essential Paper and Tools
Your base material dictates how professional the final card feels. Always look for cardstock labeled 65 lb to 80 lb cover weight. Standard printer paper is too flimsy and will immediately curl the moment you apply ink or glue to it.
A standard US letter sheet measuring 8.5 x 11 inches folds perfectly into two A2 cards. An A2 card is exactly 4.25 x 5.5 inches, which fits snugly into the most common envelopes available at any office supply store. Running a bone folder or the smooth back of a butter knife down the fold will give you a beautifully crisp edge.
Choosing the Right Adhesive
You also need a reliable adhesive for assembling your designs. Double-sided tape or a high-quality dry adhesive runner is vastly superior to liquid school glue for paper-to-paper contact.
Liquid glue adds moisture to the paper, causing unsightly bumps and wrinkles as it dries. Save the liquid craft glue for attaching heavier 3D embellishments like buttons or thick twine.
10 Stress-Free Handmade Christmas Card Designs
These designs are ranked from incredibly simple to slightly more involved. You can easily adapt any of these concepts using materials you already have lying around the house.
1. The 5-Minute Washi-Tape Tree
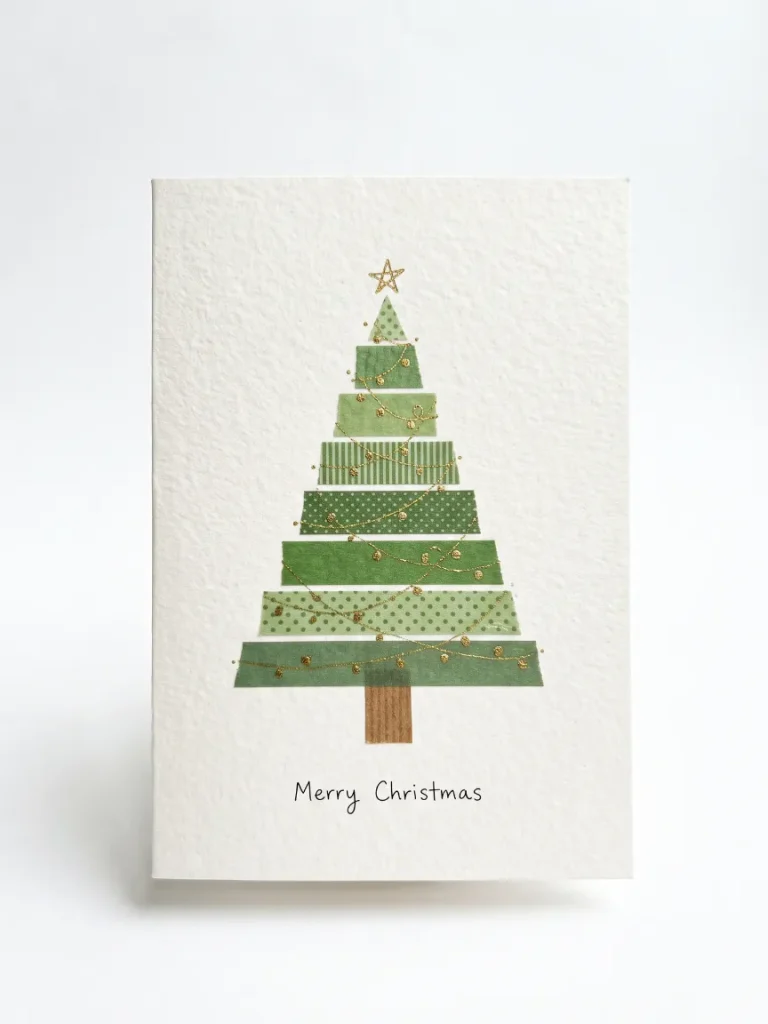
This design is a lifesaver when you realize it is mid-December and your mailbox is still empty. It requires zero artistic ability and looks incredibly modern.
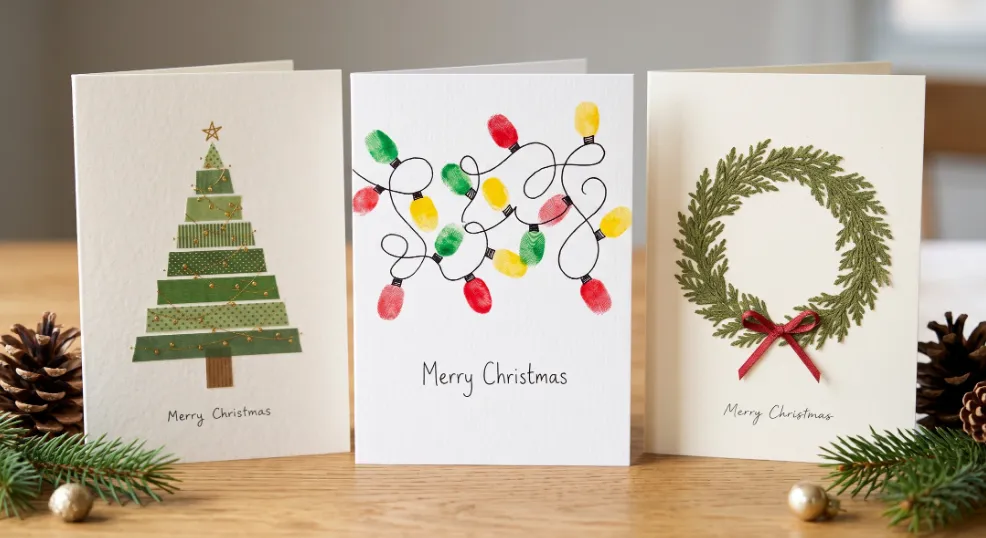
Lay short strips of green washi tape in a horizontal stack right on the front cover. Start with a tiny half-inch strip at the top and gradually use longer strips as you move down to form a triangle.
Add a tiny vertical brown strip at the bottom for a trunk. You can finish it off by dotting the tape with a metallic gel pen to mimic a tangled string of lights.
2. Stamped Snowflakes on Dark Paper
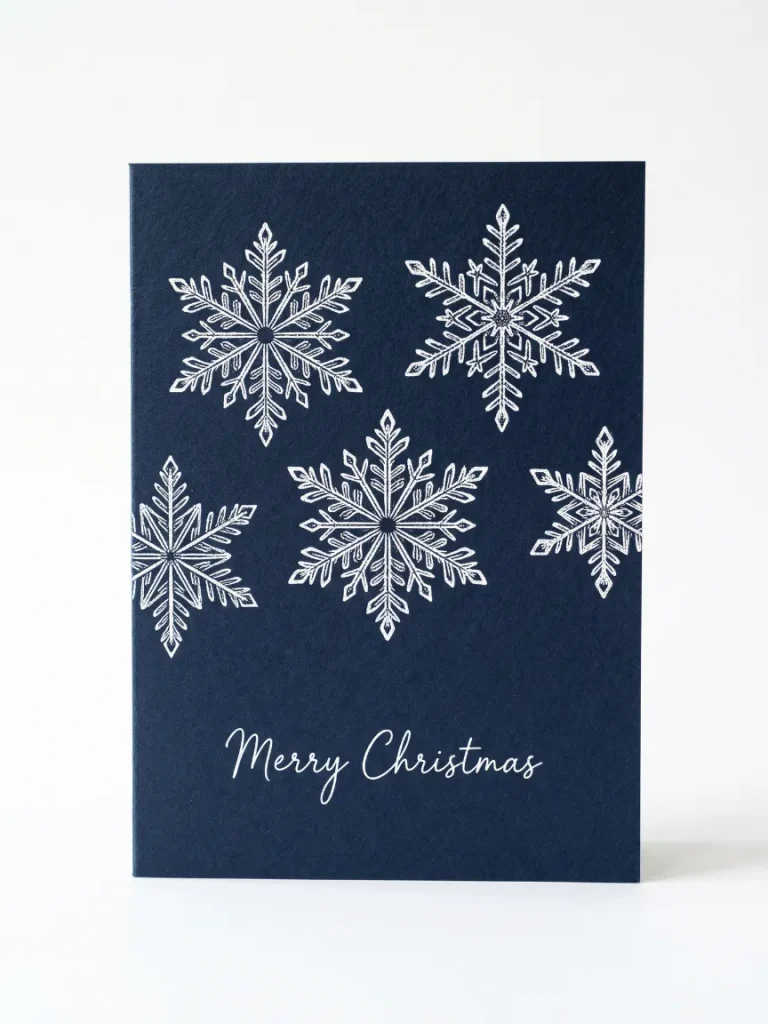
This method is brilliant if you need to churn out a large batch of cards in a single afternoon. Navy blue cardstock paired with opaque white ink always looks highly sophisticated and expensive.
Press your rubber snowflake stamp firmly into a white pigment ink pad. Pigment ink sits on top of the paper rather than soaking in like dye ink, ensuring the white stays bright against the dark background.
Stamp three to five snowflakes at various angles and heights across the card front. Let the ink dry completely for at least twenty minutes before stacking the cards so the designs do not smudge.
3. Vintage Button Ornaments
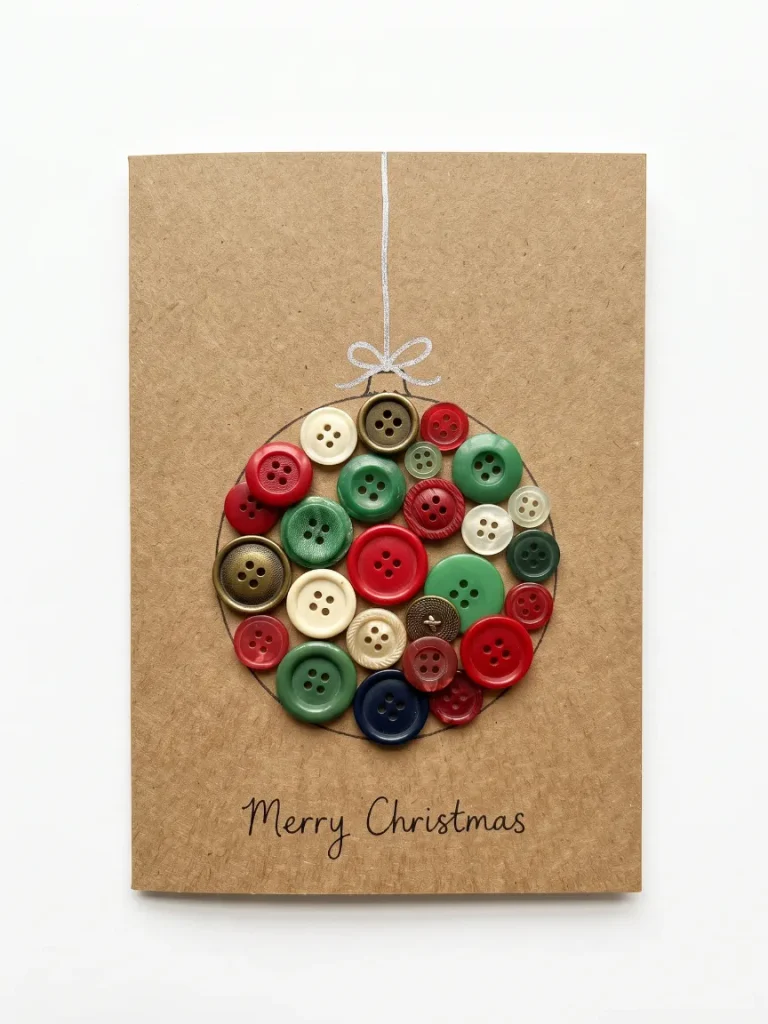
This is a fantastic way to empty out that random jar of spare buttons you have been saving for years. It adds beautiful texture and a nostalgic, vintage feel to your holiday greetings.
Lightly sketch the outline of a large round ornament using a pencil on a kraft paper card base. Apply small dots of strong liquid craft glue along the inside of your pencil line.
Firmly press buttons of varying sizes and colors onto the glue dots until the ornament shape is entirely filled out. Allow the heavy buttons to dry flat overnight, then draw a silver line extending to the top of the card to act as the ornament string.
4. Scrappy Paper-Strip Tree
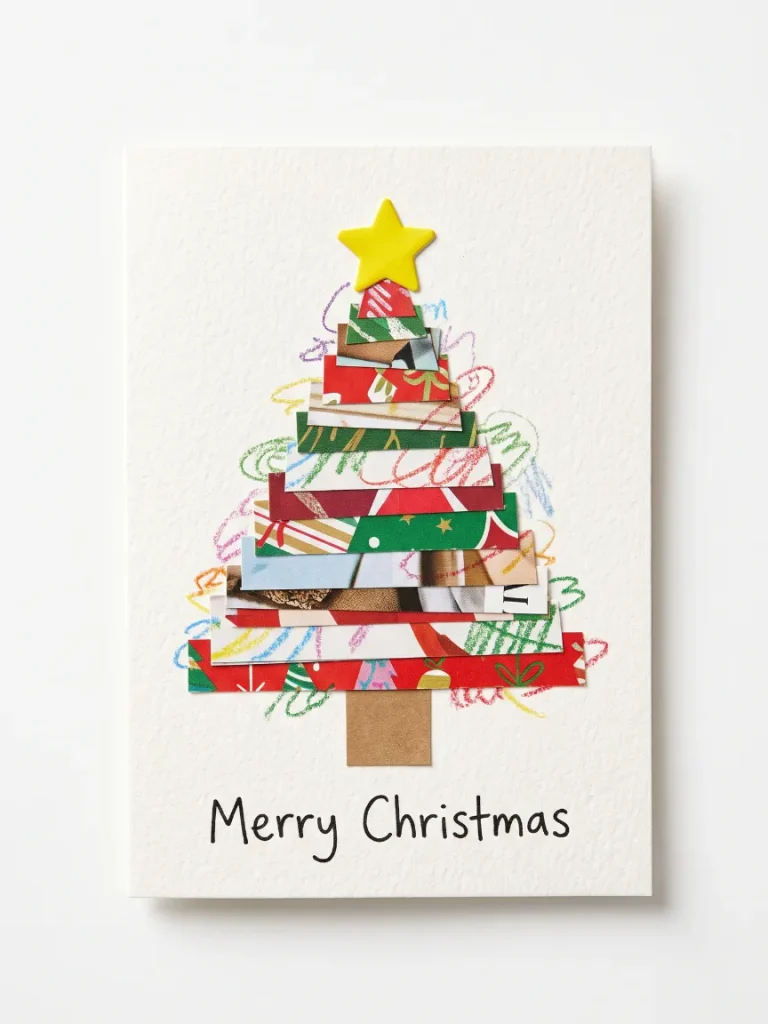
If you have kids who want to help, this is the perfect low-mess project. You can use old wrapping paper, magazine pages, or even paint chips from the hardware store.
Cut your scrap paper into horizontal strips ranging from one inch to four inches long. Glue them directly onto the card front in a stack, placing the longest strip at the bottom.
Let your kids use crayons or star stickers to decorate the abstract trees. It gives them a huge sense of pride with almost zero cleanup required for you.
5. Mess-Free Fingerprint Lights
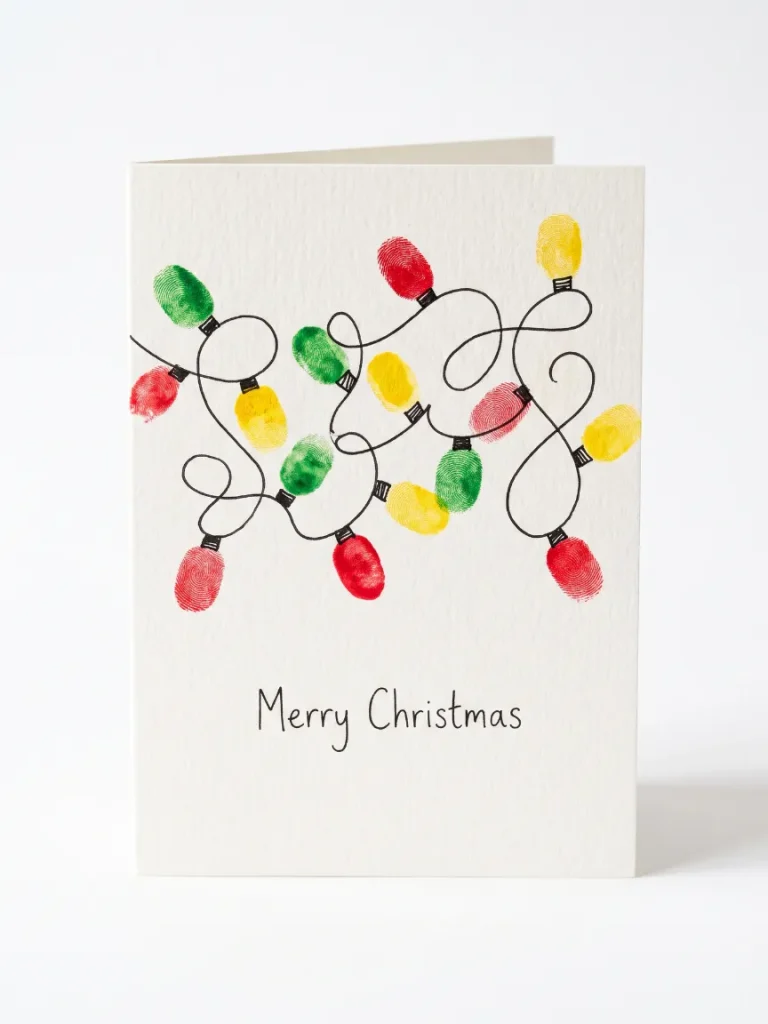
This is another incredibly charming option for families. It turns a simple smudge of ink into a colorful string of festive lights.
Draw a looping, tangled line across the top half of the card using a fine-tip black marker. Press a fingertip onto a washable red or green ink pad and stamp it right along the black line.
Repeat this process using different colors to mimic glowing bulbs. Keep baby wipes nearby to clean fingers between color changes so you do not accidentally mix the inks.
6. Beginner Watercolor Wash
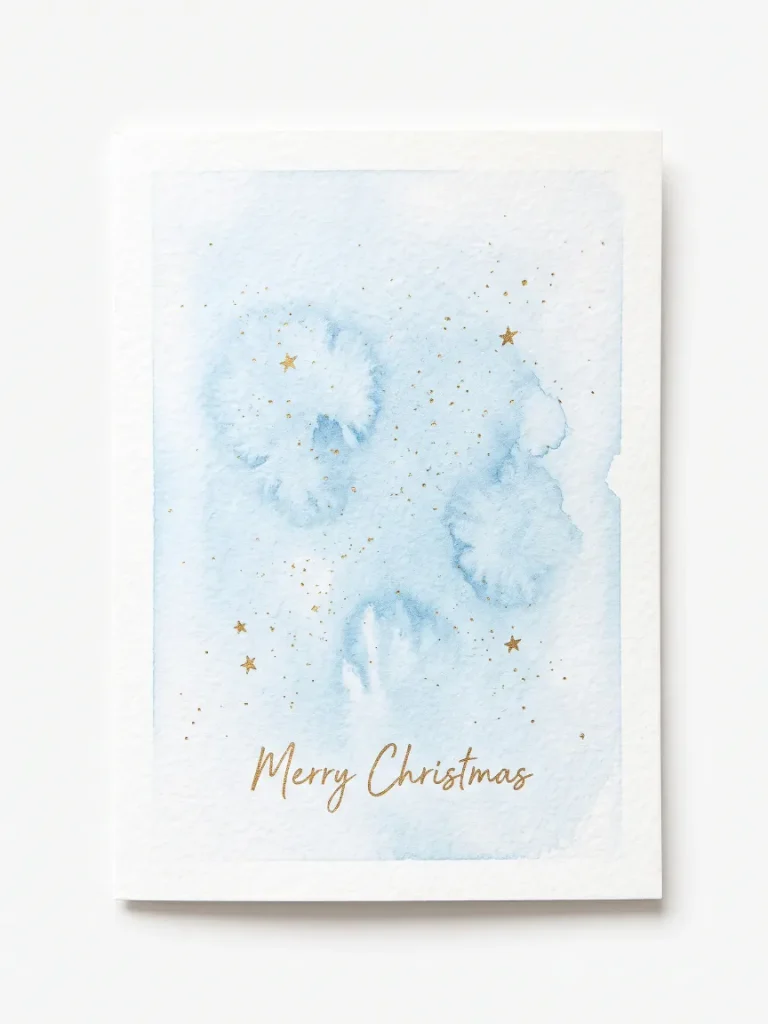
You do not need to be a trained painter to achieve a beautiful, ethereal watercolor background. The secret is simply controlling the water on the paper.
Tape the edges of a watercolor-paper card front to your table using gentle painter’s tape. This prevents the heavy paper from buckling and leaves a crisp, professional white border when removed.
Brush a generous layer of clean water over the center of the card, then dab a wet brush loaded with light blue paint onto the surface. The color will bloom naturally, creating a beautiful backdrop for a handwritten greeting once completely dry.
7. Minimalist Hand-Lettered Greetings
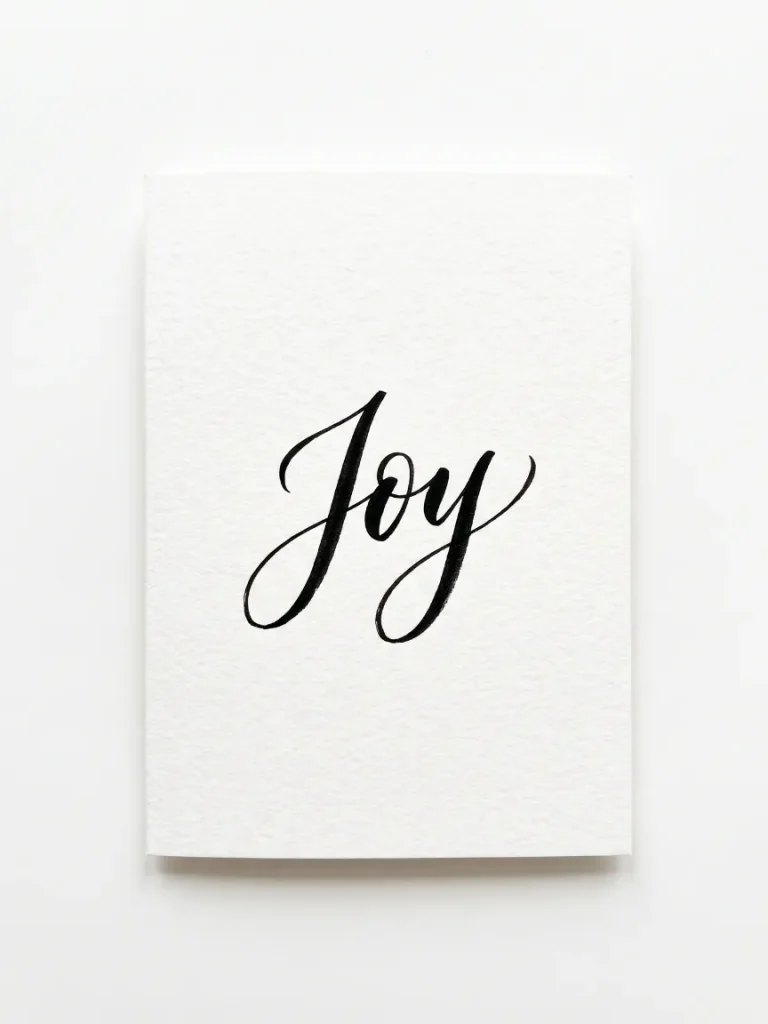
Sometimes a single beautifully written word carries more impact than a chaotic collage. This style thrives on empty white space and crisp execution.
Sketch your chosen word lightly in pencil right in the center of the card. Focus on short, impactful words like Joy, Peace, or Merry.
Trace over your pencil lines using a black brush pen or a fine-tip marker. Wait for the ink to dry fully before gently erasing the pencil lines to reveal a chic, modern design.
8. The DIY Photo Frame Card
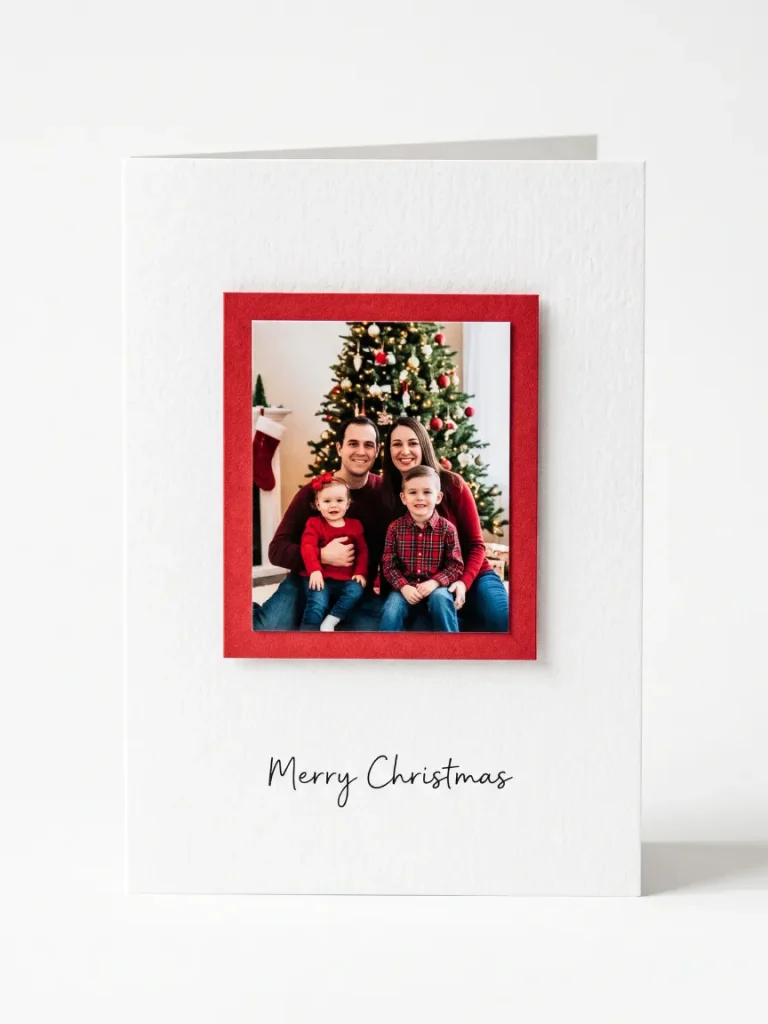
Skip the expensive custom-printed photo cards this year and make your own framed versions. Grandparents absolutely love these and often keep them on the fridge year-round.
Print a standard 4 x 6 inch family photo. Use a paper trimmer to cut a quarter-inch off every side so it fits perfectly onto the front of your A2 card.
Use double-sided tape to mount the photo onto a slightly larger piece of red or green paper. Secure this new framed photo to your folded white card base for a beautifully dimensional look.
9. Simple Pop-Up Holiday Tree
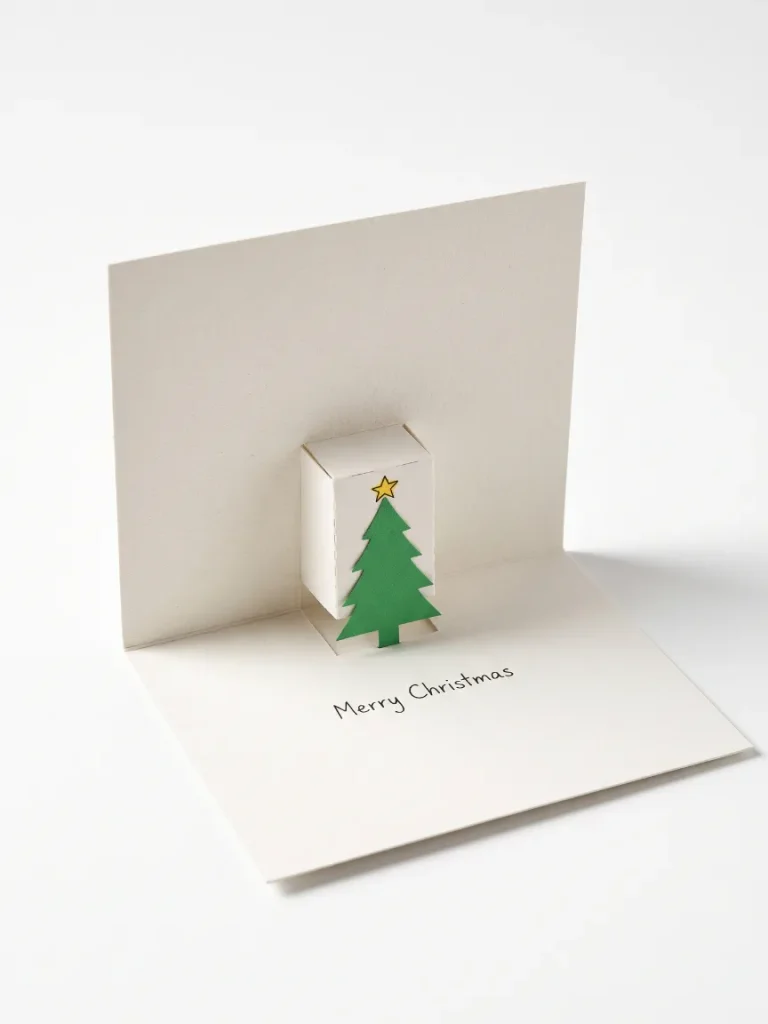
Pop-up cards look incredibly impressive but require nothing more than two strategic scissor cuts. It brings a fun element of surprise when the recipient opens the envelope.
Fold your card base in half and hold it horizontally. On the folded edge, use scissors to cut two parallel slits that are each one inch long and one inch apart.
Push the paper strip between those slits inward so it pops in the opposite direction of the main fold. Open the card and attach a lightweight paper tree to the front of that popped-out tab so it stands up when opened.
10. Pressed Botanical Wreath
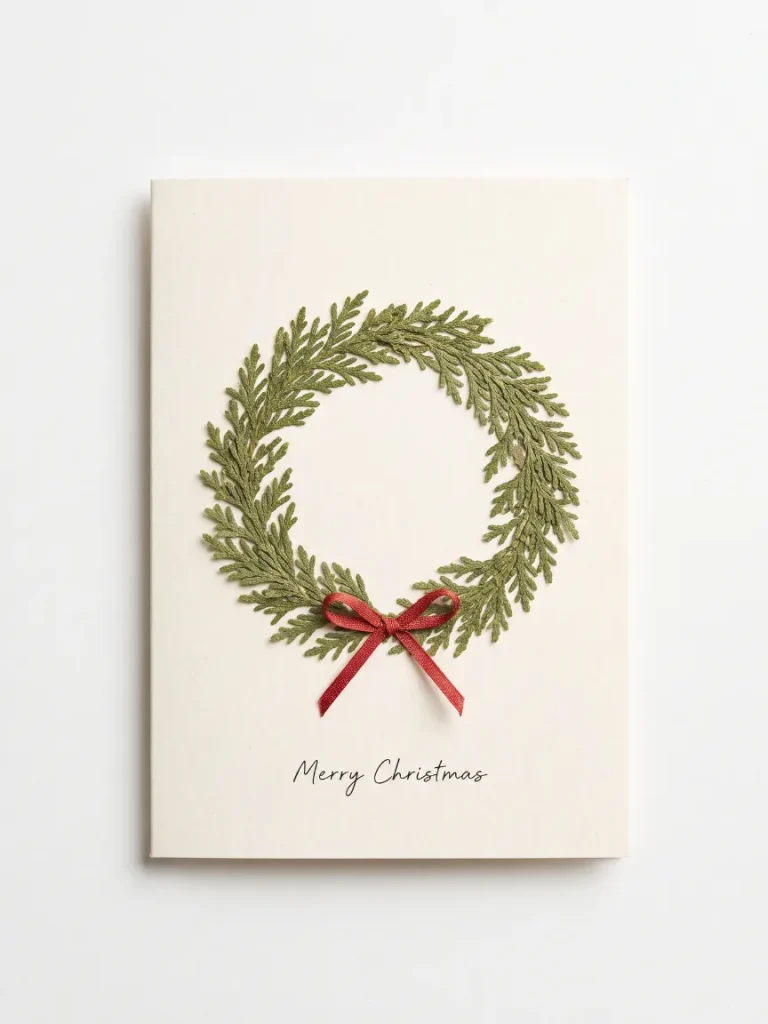
Gathering free supplies from your own backyard makes this card both economical and deeply personal. It results in a calm, rustic, and elegant design.
Collect small, flat cedar sprigs or interesting leaves and press them inside a heavy book for three to four days. Arrange the dried botanicals in a circular wreath shape on the front of a cream-colored card.
Secure each piece with a tiny dot of liquid glue applied with a toothpick. You can finish the wreath by gluing a thin red ribbon bow at the bottom center.
How to Make Your Cards Look Professional
Handmade should never mean sloppy. A few simple habits will elevate your crafts from looking like school projects to boutique stationery.
Always use a ruler or a dedicated paper trimmer to make your cuts. Scissors naturally drift and create uneven edges that immediately ruin the professional illusion.
Stick to a tight color palette of two or three shades per card. Navy, white, and gold look stunning together, as do traditional kraft brown, red, and forest green.
Finding the Perfect Words for the Inside
A handmade exterior deserves a warm, human message on the inside. Keep your writing concise and highly specific to the person receiving it.
Share a quick, fond memory from the past year or express a genuine wish for their upcoming season. Two or three heartfelt sentences are always more than enough.
If you are crafting a batch to hand out at the office, you might be wondering how to strike the right professional tone. You can easily adapt these corporate Christmas messages to fit perfectly inside your handmade creations.
Mailing Timelines and Postage Tips
Start gathering your materials and experimenting with designs by early November. Adhesives need time to cure, and addressing dozens of envelopes always takes significantly longer than you anticipate.
If your cards feature heavy buttons or thick twine, they may require extra postage due to their thickness. Always take one finished, sealed envelope to the post office to have it weighed before buying your stamps.
If you are shipping through the US postal system, aim to drop your finished cards in the mailbox by the second week of December.
Ready to Start Crafting Your Greetings?
Making your own holiday cards is a surprisingly therapeutic way to slow down during a chaotic season. It allows you to step away from screens and create something tangible with your own two hands.
Grab a pack of your favorite 80 lb cardstock and just try making one single design tonight. Once you see how easily that first washi-tape tree comes together, you will be hooked for the rest of the season.