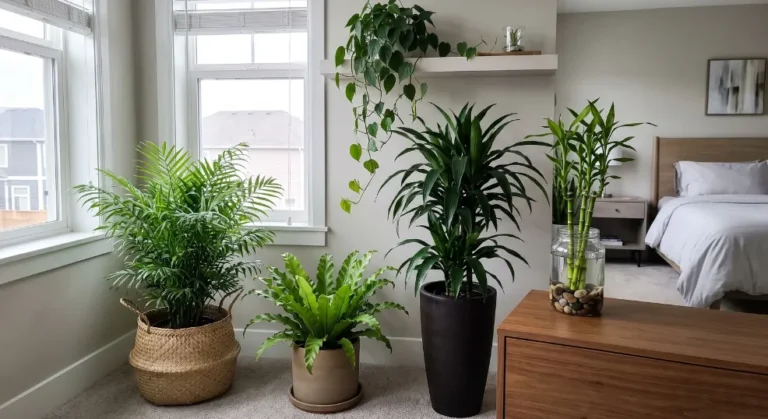
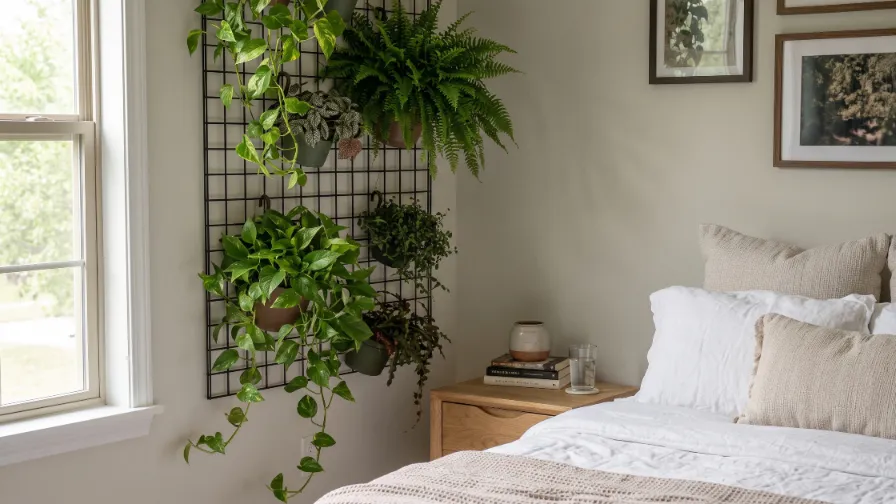
Short on floor space but dreaming of a lush indoor jungle? A DIY bedroom plant wall gives you a living green backdrop without eating up a single square foot of your sanctuary. You can build a stunning vertical garden using a trellis, grid panel, or scrap-wood shelves for much less than a designer setup costs.
Bedrooms come with their own unique microclimates and challenges. You have crisp textiles nearby, softer ambient light, and painted drywall you desperately want to protect from drips and humidity. Planning your build properly ensures your new living wall looks incredible while keeping your room safe and dry.
Your Before-You-Buy Checklist
Spend ten minutes reviewing your space before you hit the hardware store. Taking a few measurements now will save you a frustrating return trip later. Each of these factors changes which build path makes the most sense for your room.
First, identify your wall material to determine if you are dealing with drywall, plaster, or exposed brick. Grab a stud finder to map out your secure anchoring points. Take note of the available natural light from nearby windows to ensure your greenery thrives, though you can always opt for low-light bedroom plants if your space is dim. Next, think about the daily maintenance of your setup.
Next, think about the daily maintenance of your setup. Check your watering access to see if you can reach the top pots without dragging a chair across your mattress. Consider the mature size of your desired plants and verify your renter permissions if you do not own your home.
Choose Your Build Path
There are four distinct ways to construct a wall garden. Each method balances budget constraints, drilling requirements, weight capacity, and ongoing maintenance.
Trellis Wall
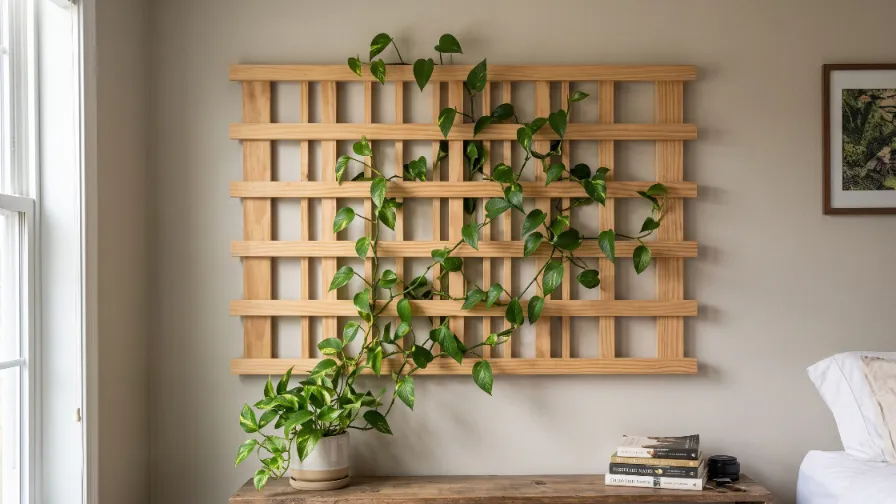
A vertical garden trellis is the lightest and most budget-friendly option for your bedroom. It works beautifully for climbers and trailing plants that you can train upward from a few lightweight base pots. You can even upcycle an old wooden baby gate or thrifted garden lattice to keep things eco-friendly.
Drilling into your wall is minimal with this method. Cleanup remains easy because the actual soil and pots sit neatly on a tray or shelf below the trellis. Weight capacity on the wall itself is incredibly low, making this highly renter-friendly. To keep this specific setup as effortless as possible, pair it with some easy-care bedroom plants
that don’t mind a little neglect.
Grid Panel Wall
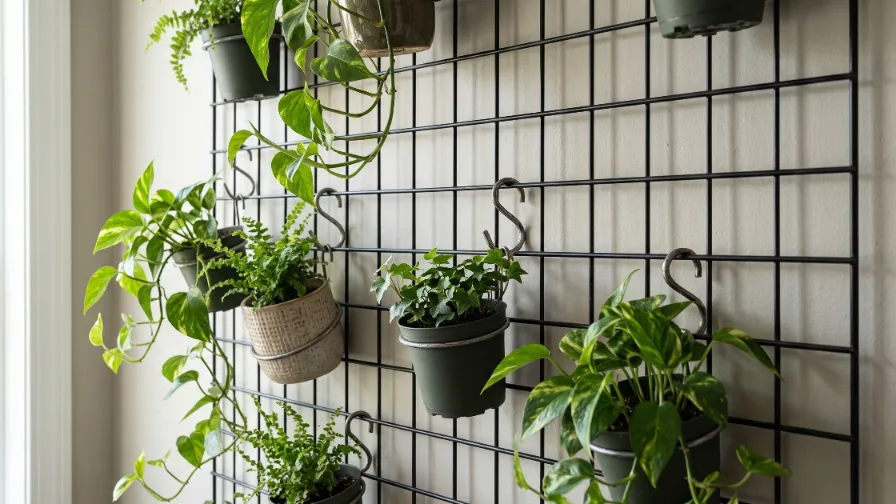
A plant wall grid panel uses a metal or wood grid to hold hooks, clips, and small suspended pots. You can rearrange your foliage whenever you want a fresh look or need to swap out a struggling plant. Repurposing a wire storage cube grid is a fantastic scrap-busting hack for this build.
This design spreads the heavy wet weight across multiple attachment points. This distribution greatly increases the overall stability of your display. You will usually need several heavy-duty drywall anchors or direct stud mounting, so map out your installation carefully.
Hanging Pocket Planter
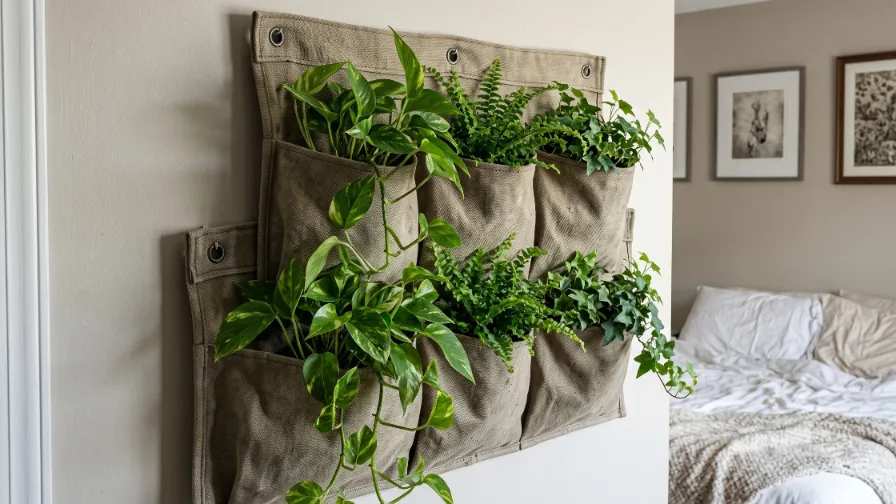
A hanging pocket planter delivers that fully lush, dramatic living wall look right out of the gate. Each fabric or felt pocket holds an individual plant, allowing the greenery to fill in rapidly. For a thrifty DIY alternative, a sturdy canvas over-the-door shoe organizer works wonders.
Be aware that this is the messiest and heaviest option once you soak the soil. You must never mount soil-filled, damp pockets directly flat against bare drywall. You always need a waterproof barrier and an air gap to prevent severe moisture damage.
Staggered Shelves
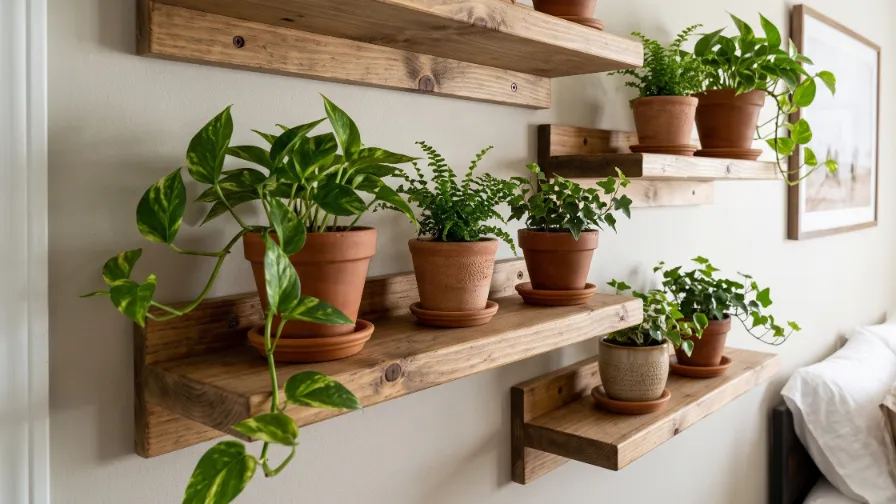
Staggered shelves are the ultimate classic budget move for indoor gardeners. You can utilize leftover scrap wood or inexpensive floating shelves to set pots at varying, eye-catching heights. This is a brilliant way to display propagation stations and small succulents.
Shelves make your weekly watering routine incredibly simple. You can just lift each pot out of its saucer and take it to the sink. These shelves demand solid mounting, so finding your wall studs is absolutely critical here.
Renter-Friendly or Permanent?
Renter-friendly does not automatically mean a completely damage-free installation. The safest choice for your security deposit depends entirely on how much saturated weight you plan to hang.
For a no-drill display, heavy-duty adhesive hooks and spring tension systems can support very lightweight trailing vines. You can bridge a tension rod between two bookcases to hang small macrame planters without touching the drywall. For a semi-permanent structural display, you must use high-rated hollow-wall anchors or drill directly into studs.
If you rent your space, always check your lease agreement and consult your landlord before drilling large holes.
Plan Your Layout
Start by analyzing the natural light patterns in your bedroom throughout the day. Place your new vertical garden where the foliage will receive the brightest indirect light available. Keep the layout a safe distance from direct contact with your pillows and bedding to avoid midnight soil spills.
Leave ample room between your starter plants so they can breathe and grow without crowding each other out. Always design your spacing based on the mature size of the plant, not just the tiny nursery pot you bought.
Wet Weight Is the Real Number
The shipping weight on a nursery label is nowhere near what your wall will actually carry. Dry indoor potting mix weighs roughly 15 to 25 lb (6.8 to 11.3 kg) per cubic foot. However, a fully saturated soil mix can easily skyrocket to 40 to 60 lb (18 to 27 kg) per cubic foot.
A standard 6-inch (15 cm) terracotta pot may gain about 3 to 4 lb (1.3 to 1.8 kg) immediately after a deep watering. Build a simple paper worksheet before you drill a single hole. Calculate the total combined weight of the empty planter, dry soil, the plant itself, retained water, and your hanging hardware.
Once you have that total number, add a generous safety margin. Choose wall anchors rated for at least twice that calculated load. Consider going up to three times the rating if curious pets or drafty windows are part of your bedroom environment.
Drainage and the Air Gap
Proper drainage is an absolutely non-negotiable part of indoor vertical gardening. Always use a cheap plastic inner grow pot with drainage holes inside your decorative cover pots. Slide a small, removable plastic saucer under the grow pot to catch the runoff.
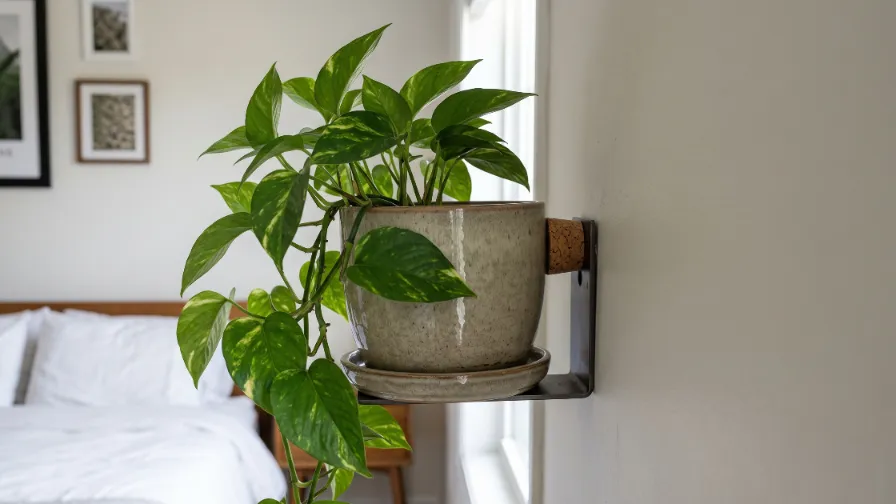
Without strict drainage management, your plant roots will sit in stagnant water and inevitably rot. Furthermore, rogue moisture can quietly wick behind planters and destroy your drywall before you ever spot a leak. You must leave a small air gap between the planter and the wall to allow for airflow.
A great DIY hack is gluing rubber washers or sliced wine corks to the back of your planters to create a cheap, invisible bumper. Check behind your hanging pockets from time to time during your watering routine. Watch closely for paint discoloration, soft spots, peeling, or musty smells.
Keep Bedroom Humidity in Check
A densely planted living wall acts as a natural humidifier, trapping moisture near your paint, drywall, and bed sheets. The EPA recommends keeping your indoor relative humidity below 60 percent to prevent mold growth. Ideally, you want your bedroom to sit comfortably between 30 and 50 percent humidity.
A cheap digital hygrometer placed on your nightstand will tell you exactly where your room stands. If things get too damp, simply cracking a window or running a small desk fan improves air circulation immensely.
Build It in 6 Steps
- Pick your specific build path using the environmental checklist and weight calculations above.
- Locate your wall studs and lightly mark your exact layout with a pencil.
- Calculate the total wet weight and purchase heavy-duty anchors with a wide safety margin.
- Mount your chosen trellis, grid, pockets, or shelves, ensuring you leave a protective air gap.
- Set up your inner nursery pots with plenty of drainage holes and insert your removable drip trays.
- Nestle your plants into their new home, water them lightly, and inspect the wall behind them after three days.
Your Wall, Your Way
A DIY bedroom plant wall is a massive visual upgrade that perfectly fits a frugal home improvement budget. By choosing the right build path and respecting the physics of wet soil, you can safely transform a boring wall into a lush focal point.
Upcycling old materials keeps your costs down while making your project uniquely yours. Keeping your living wall hydrated shouldn’t mean risking your home’s air quality, so be sure to read our guide on how to Stop Bedroom Plant Mold with Essential Watering Pro-Tips.
Do not let a small room stop you from cultivating the indoor garden you deserve. Grab your stud finder, plan your layout, and start bringing that greenery indoors today.